

Branding
A new Agent opens with a stock greeting, the Apologist AI mark, and a default color. This guide replaces all three with your own.
Purpose
Make the Agent your visitors see carry your ministry’s wording, mark, and colors, and credit the ministry behind it.
Prerequisites
- An Agent. Create one first in Quickstart.
- White labelling on your team’s plan. The intro text is available on every plan. The logo, colors, and attribution are not.
- Standalone Web UI or Embedded Web Widgets turned on for the Agent, under General > Capabilities. Without one of them, Branding does not appear in the row of pages.
What Your Plan Allows
Only the intro text is available on every plan. Everything else on this page, and all of Advanced Branding, needs white labelling.
Restricted fields are visible rather than hidden. If you can see them but cannot edit them, and an upgrade notice sits above them, white labelling is not on your team’s plan. Confirm your subscription tier, or set the intro text alone, which is not restricted.
For the background, fonts, footer, page metadata, and custom styles, continue to Advanced Branding once you have finished here.
Messaging and Branding are two sibling pages in the row across the top of the Agent, and each saves on its own. The steps below move between them twice, so save before each move, or the change you made on the first is lost.
Steps
Write the Intro Text
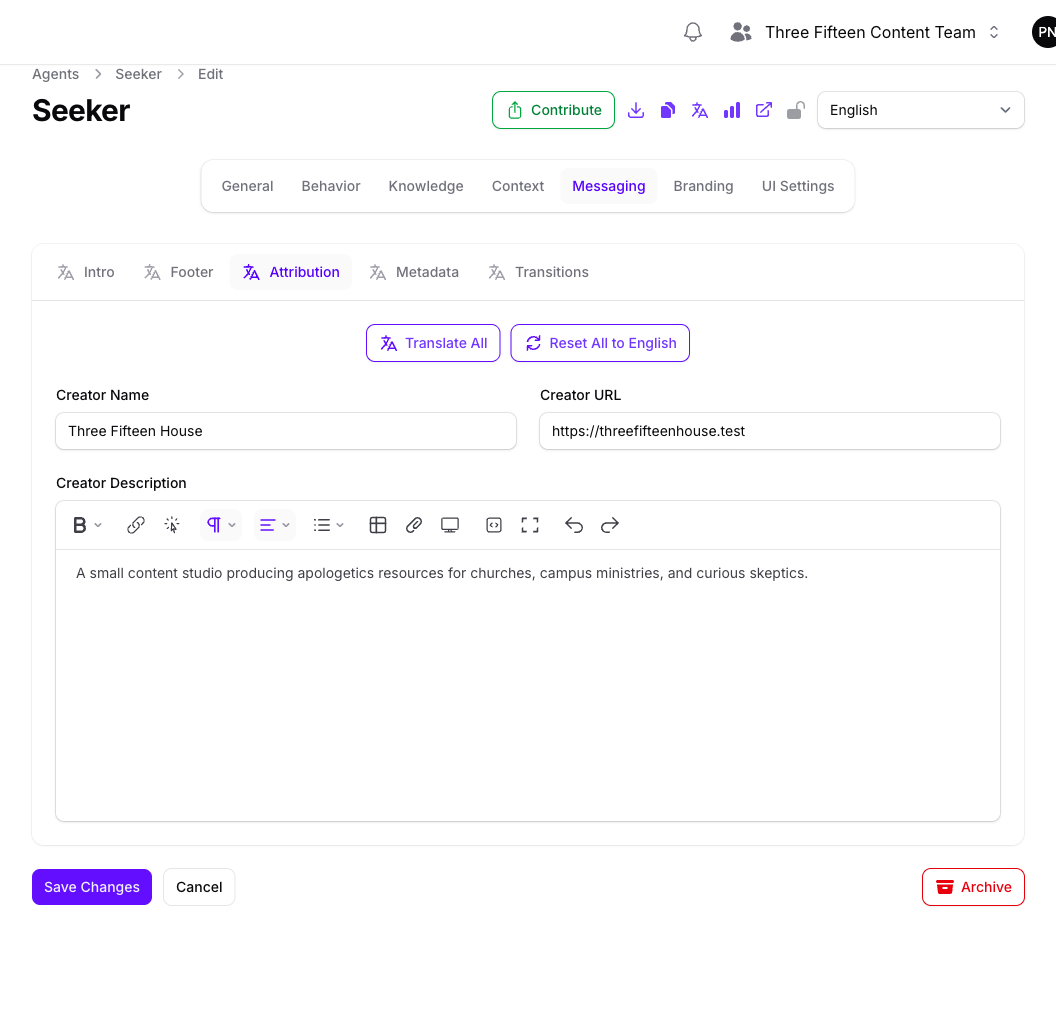
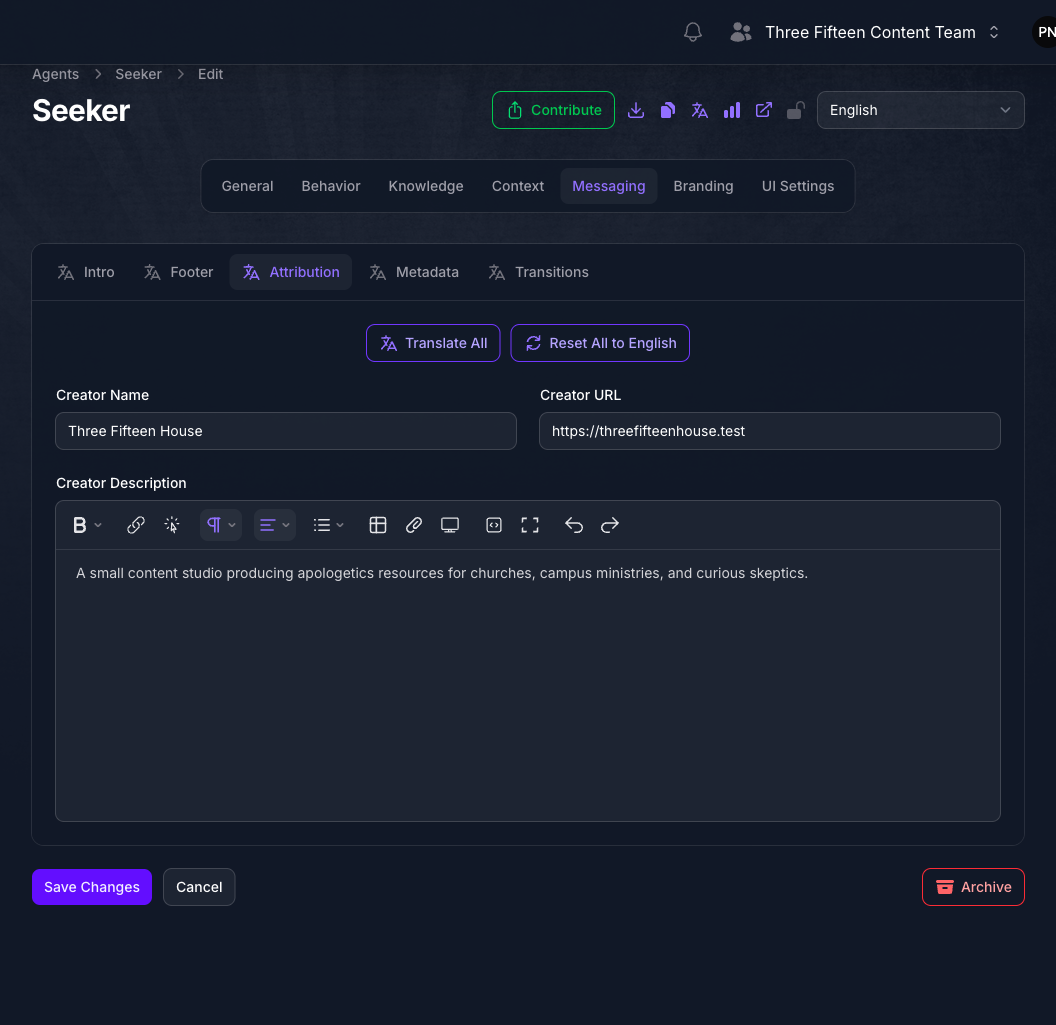
Choose Messaging from the row of pages across the top, then the Intro tab.
These fields are not empty. A new Agent arrives with Intro Preamble and Intro Headline already holding the greeting you saw at the end of Quickstart, so you are replacing wording rather than supplying it for the first time. Intro Description sets the line beneath the greeting.
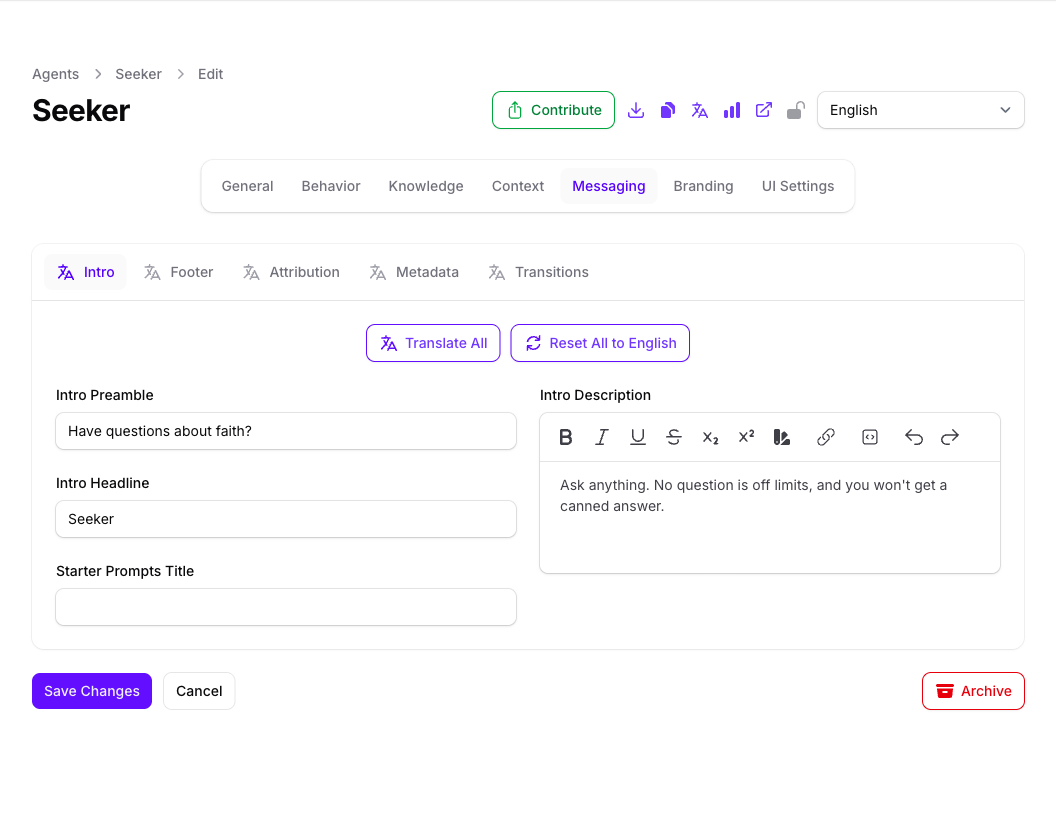
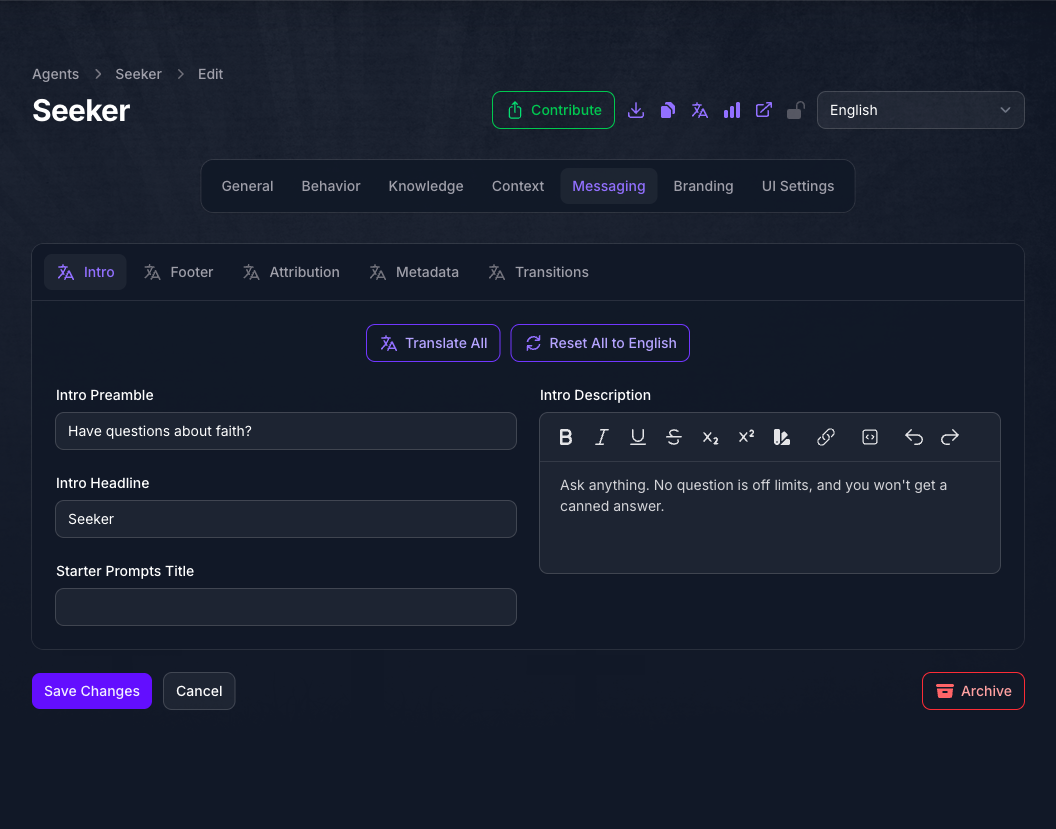
Intro text is stored per language, and an Agent shows nothing where it has no text in the visitor’s language. If you support more than one language, set the intro in each of them, or visitors in the others arrive at an empty greeting. Switch languages with the selector at the top right of the page.
Choose the Theme and Primary Color
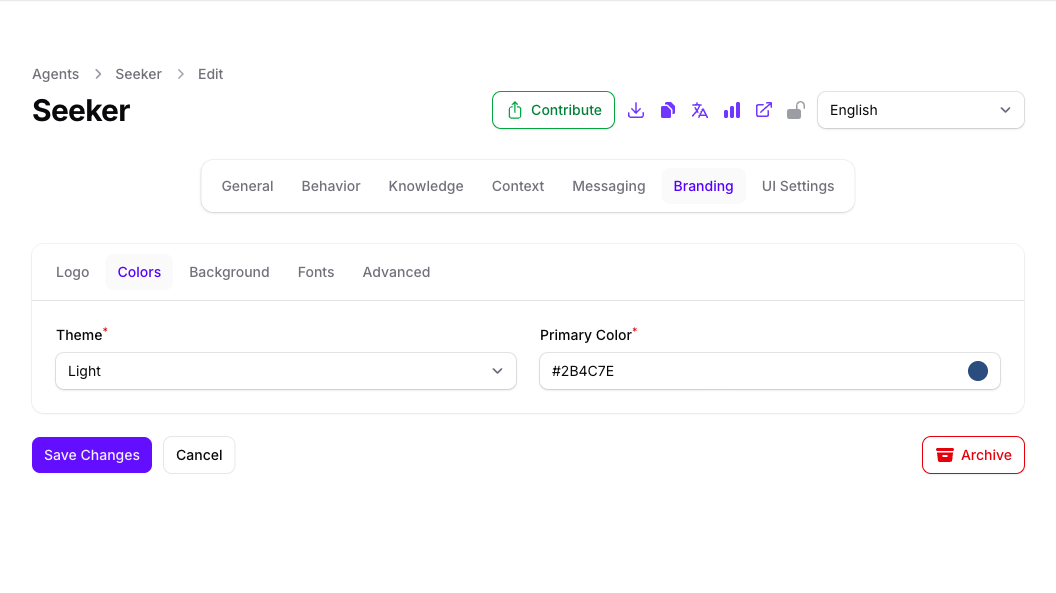
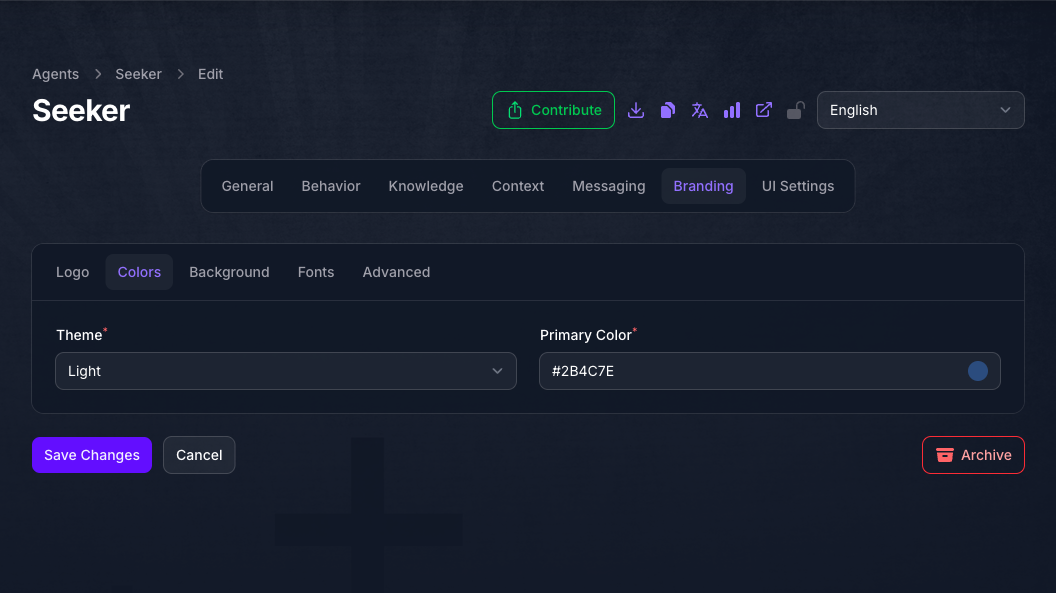
Choose Branding from the row of pages, then the Colors tab. Theme sets the Agent’s background to light or dark, and Primary Color tints buttons and interactive text.
Set the theme before the logo. It decides which logo will read against the background, and an Agent has one logo rather than one per theme.
Upload the Logo and Favicon
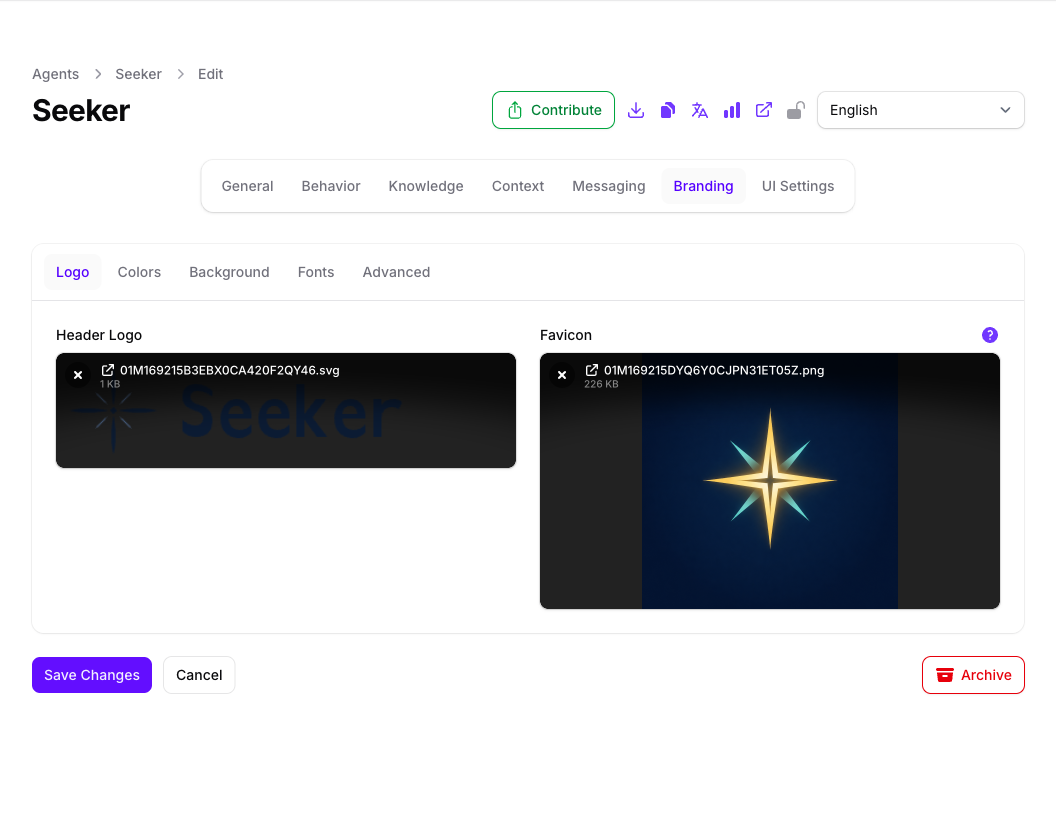
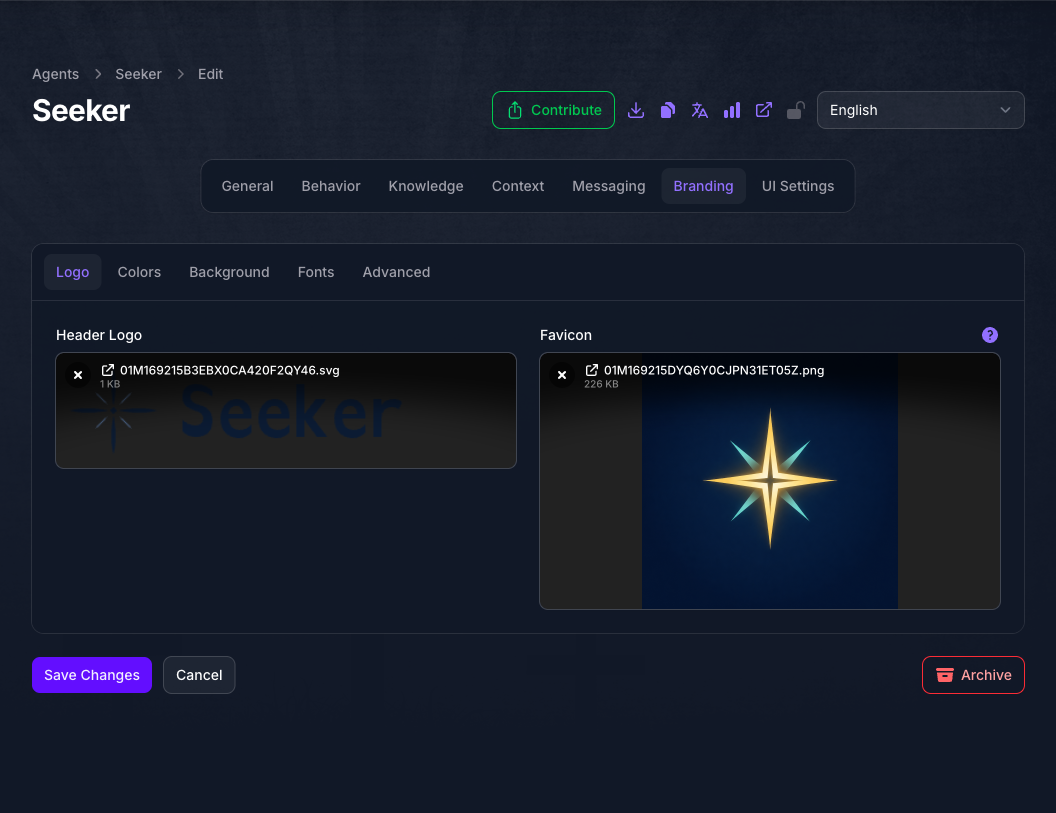
On the Logo tab, upload a Header Logo and a Favicon. The Header Logo replaces the Apologist AI mark at the top of the Agent and doubles as the control that opens the About panel. The Favicon is the icon shown in the browser tab.
Supply a logo that reads against the theme you chose, dark on light or light on dark. The Agent draws the logo at half strength until a visitor points at it, so a faint mark reads as washed out rather than subtle.
Expected Result
Open the Agent at its own address. The greeting, logo, and colors are yours, and selecting the logo opens the About panel carrying your ministry’s name and description.
Light and Dark
The two themes are the same Agent configured twice. Only Theme and the uploaded logo differ between them.
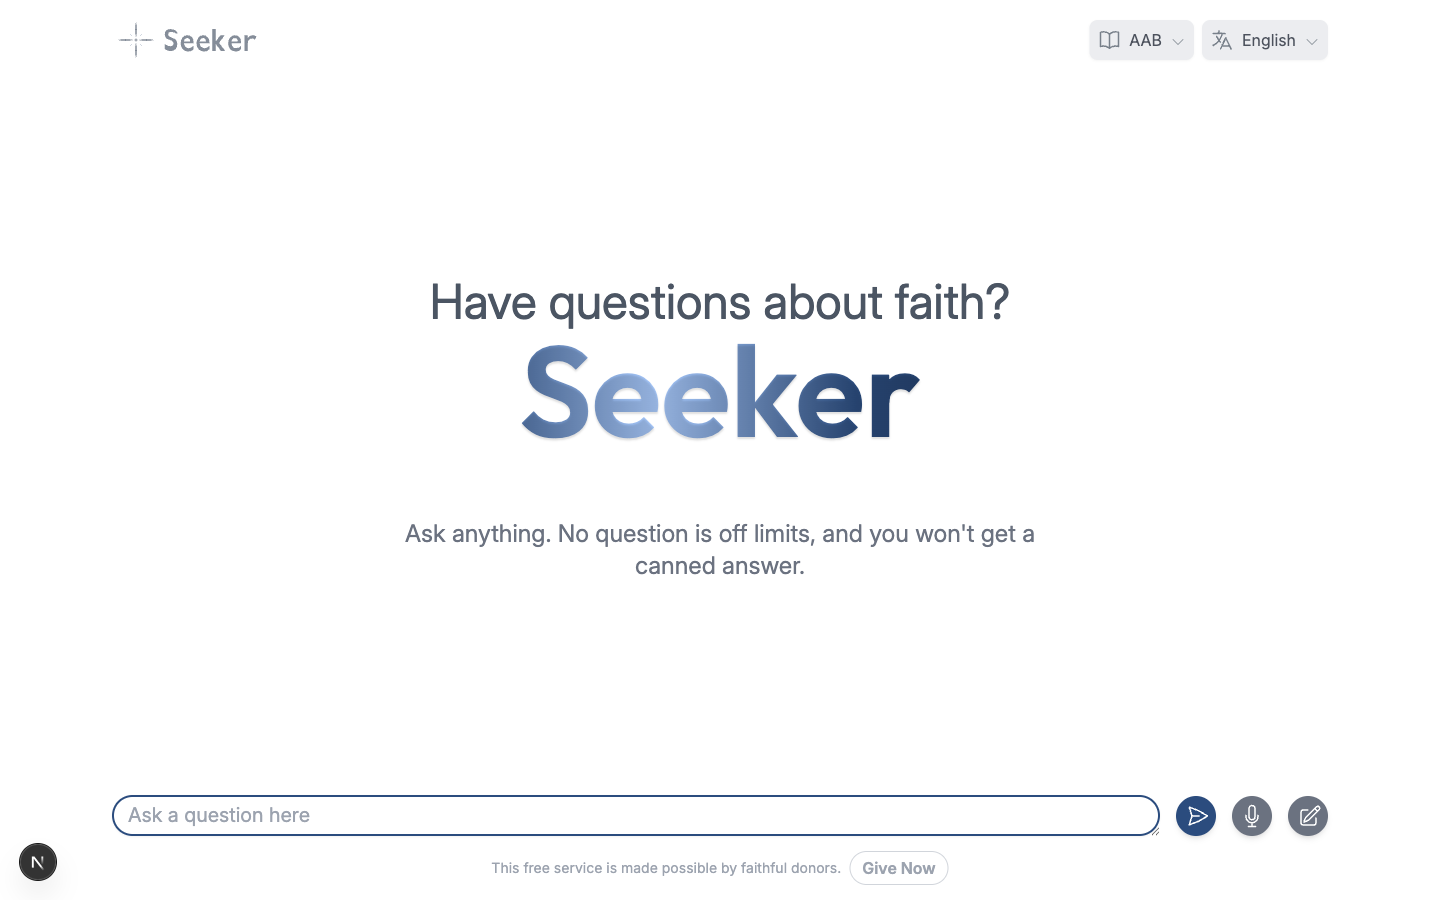
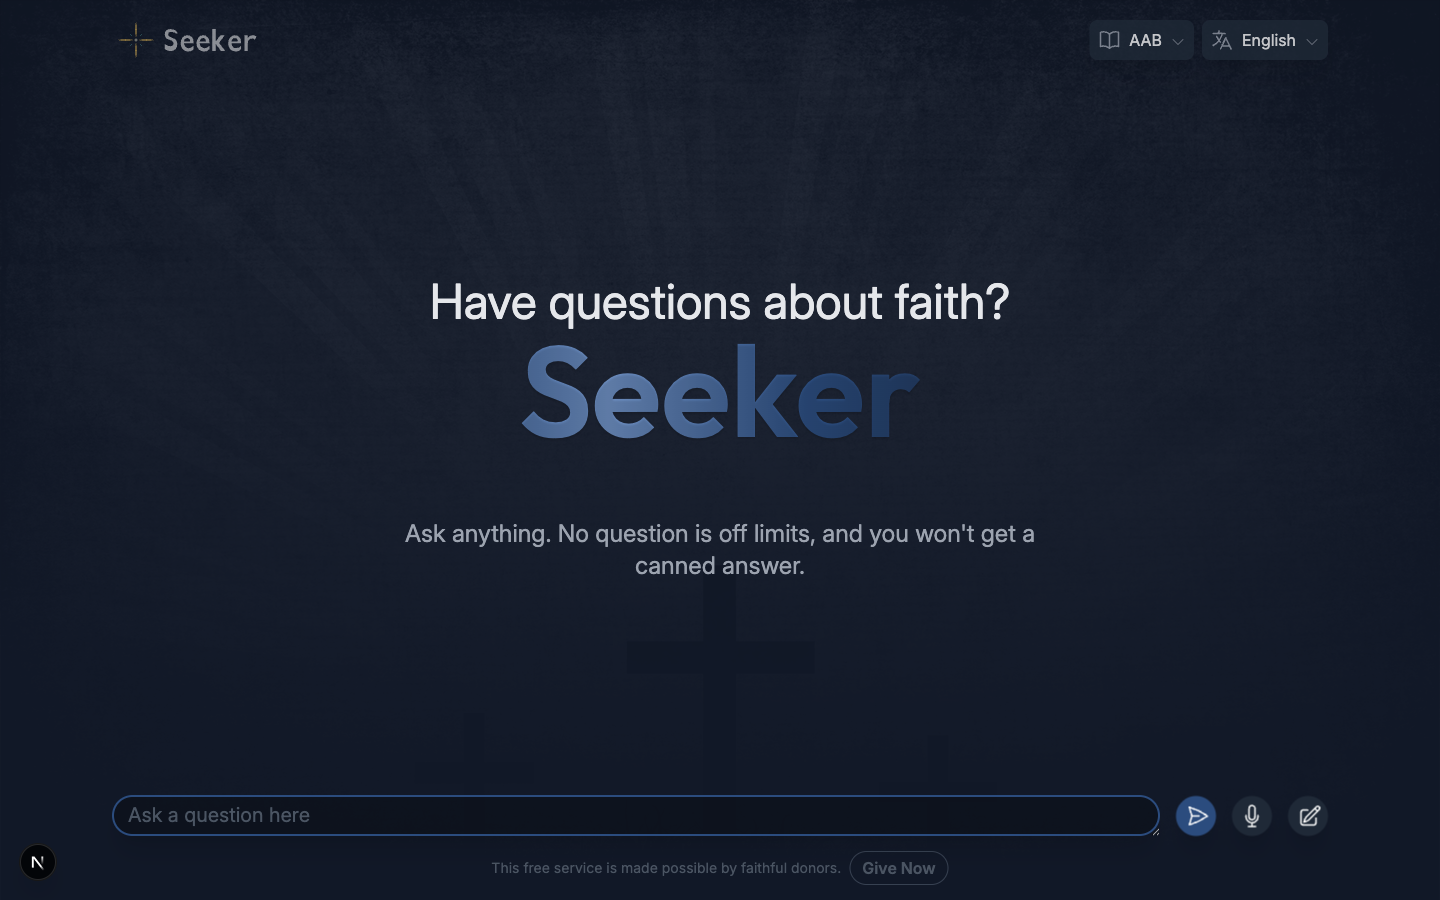
Pick the theme that suits the site the Agent sits beside, then supply the logo that reads against it.
Troubleshooting
- Branding is missing from the row of pages. The Agent has neither Standalone Web UI nor Embedded Web Widgets turned on. Turn one on under General > Capabilities.
- The fields cannot be edited, and an upgrade notice sits above them. White labelling is not on your team’s plan. The intro text on Messaging > Intro is still available.
- The logo looks faded. The Agent draws it at half strength until a visitor points at it. That is deliberate, not a failed upload.
- The logo is hard to make out. It does not read against the theme. Upload a dark mark for the Light theme and a light one for Dark.
- The greeting is blank for some visitors. Intro text is stored per language, and an Agent shows nothing where it has none. Set the intro in every language the Agent supports.
- A change disappeared. Messaging and Branding save separately. Moving between them without saving discards the edit.
Next Step
Continue to Configuring Languages to set the Agent’s language and locale behavior.