

Configuring Languages
Use language settings to make an Agent available to audiences in the languages they expect.
Purpose
Choose which languages an Agent supports, set the language it falls back to, and decide whether to extend its reach with real time translation.
Prerequisites
- A configured Agent. See Quickstart.
- A list of the audience languages you intend to support.
- Permission to edit Agent settings for your team.
Steps
Open the Agent's Language Settings
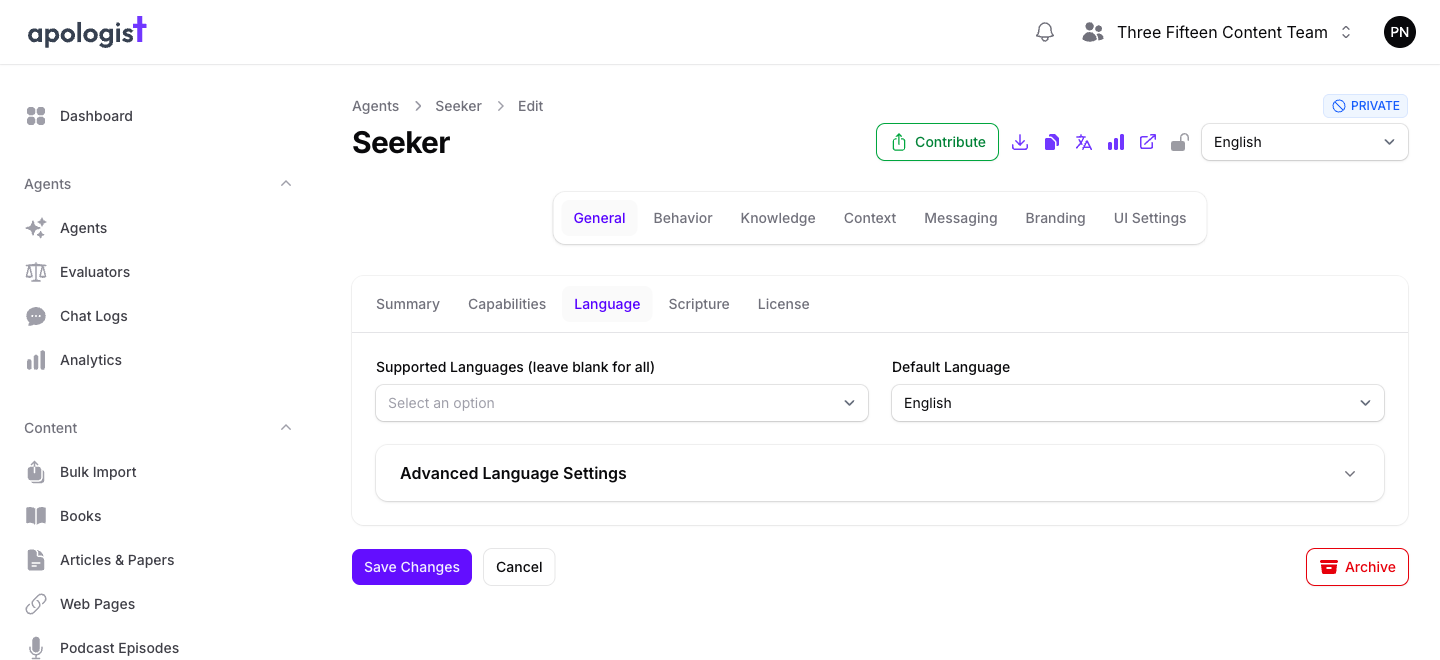
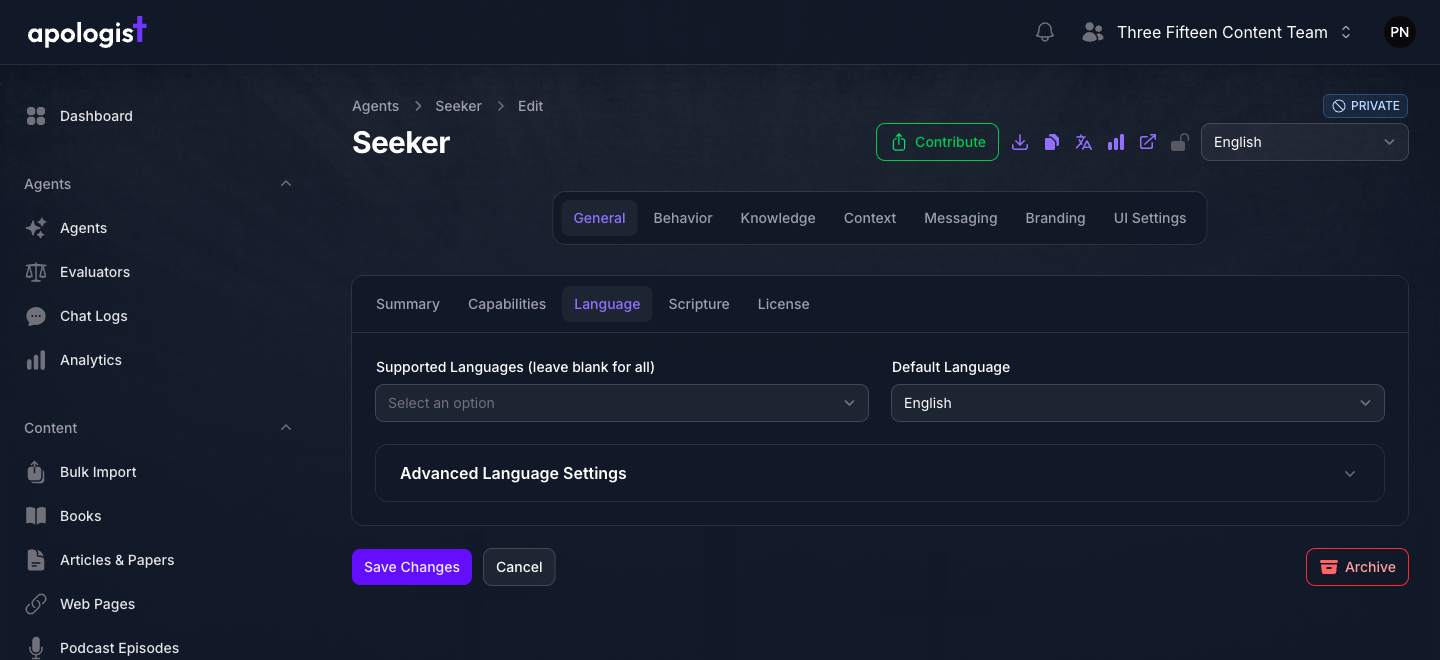
Select Agents in the left-hand navigation, open your Agent, then choose the General page and the Language tab.
Choose the Supported Languages
In Supported Languages, select each language the Agent should offer. Users choose among these in the language selector on the Agent’s site.
Leaving the field blank makes every available language supported. Select languages only when you want to restrict the list.
Set the Default Language
First-time visitors on the Agent’s site start in Auto. The Agent detects the language of the first prompt, then locks the interface and later replies to that language until the user picks another one.
Default Language is the fallback for that Auto path. The site uses it for the chrome when the browser language is not supported, and for detection when the prompt language cannot be identified.
This list is limited to the languages you selected in the previous step, so set the supported languages first. If you narrow the supported languages later, confirm the default is still among them.
Extend Reach With Real Time Translation (Optional)
Expand Advanced Language Settings to find two more controls:
- Use Real Time Translation for Specified Languages translates incoming prompts into English and translates the Agent’s responses back into the language the user wrote in. This widens language coverage well beyond the built-in list.
- Real Time Translation Languages limits that behavior to specific languages. It stays disabled until the toggle above is on, and leaving it blank applies real time translation to all non-English languages.
English never uses real time translation, whether or not it is selected.
Real time translation consumes additional credits for every response it handles. Leaving the language list blank applies it to all non-English languages, which is the most expensive setting. Select the specific languages you need.
If you do not see Advanced Language Settings, real time translation is not included in your team’s current plan.
Expected Result
The Agent offers the languages you selected, opens in Auto for first-time visitors, falls back to your chosen default language when it cannot detect one, and optionally handles further languages through real time translation.
About the Page Language Switcher
The language dropdown in the top right of the Agent pages is a different control. It does not change what the Agent supports. It selects which language’s content you are currently editing, and its options come from the Agent’s supported languages.
Several settings store a separate value per language, including the Bible translation defaults covered in the next guide. When you edit those, check the page language switcher first so your change lands on the language you intended.
Troubleshooting
- A language is missing from the Default Language list. Add it to Supported Languages first, then reopen the Default Language field.
- Advanced Language Settings is not shown. Real time translation is a plan feature. Confirm your subscription tier.
- The Real Time Translation Languages field is greyed out. Turn on Use Real Time Translation for Specified Languages first.
- The live Agent still shows other languages. Confirm you saved the change, then reload the Agent’s site.
Next Step
Continue to Configuring Bible Translations.