

API And MCP
An Agent can also power your own products and integrations, not just its website, over the Apologist Agent API or over Model Context Protocol (MCP).
Purpose
Turn on programmatic access for an Agent, issue and manage its API keys, and set the defaults those requests use.
This guide covers the Console side only: enabling access, keys, and defaults. Request and response formats, code samples, and endpoint details live in the Agent API documentation.
Prerequisites
- An Agent, configured and answering the way you want. Programmatic access exposes the same Agent, so its instructions, sources, and model all apply.
- A plan that includes API access.
- Somewhere to store an API key securely.
Two Capabilities, One Set Of Keys
API and MCP are separate capabilities that answer different questions:
They share one thing: API Keys. The API Keys tab appears when either capability is on, and a key issued there works for both. What differs is the endpoint the caller uses.
The API page, with its Defaults, Observability, Semantic Search, and Evaluators tabs, appears only for the API capability. Turning on MCP alone gives you API Keys but no API page, because those defaults govern completions requests rather than MCP tool calls.
Steps
Turn On the Capability You Need
Select Agents in the left-hand navigation, open your Agent, then choose General and select the Capabilities tab.
Under Interfaces, turn on API, MCP, or both. Save, and let the page reload.
An API Keys tab appears at the bottom of the page. If you turned on API, an API entry also appears in the row of pages across the top.
Create an API Key
Select the API Keys tab at the bottom of the page, then choose Create API Key.
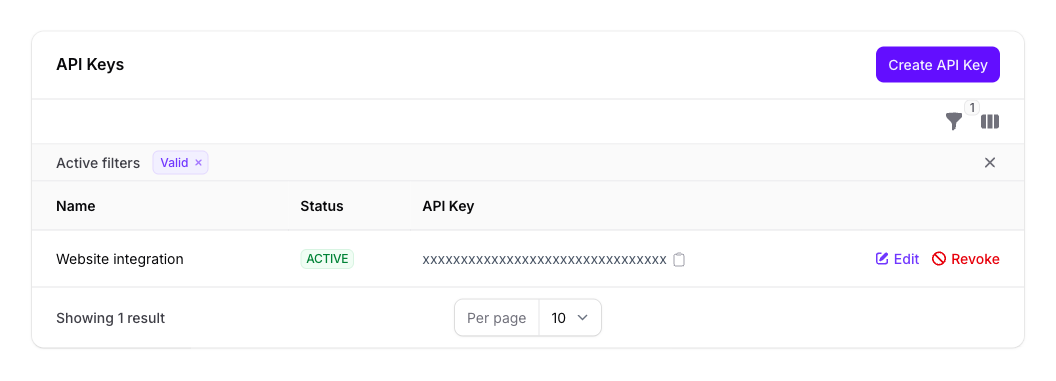
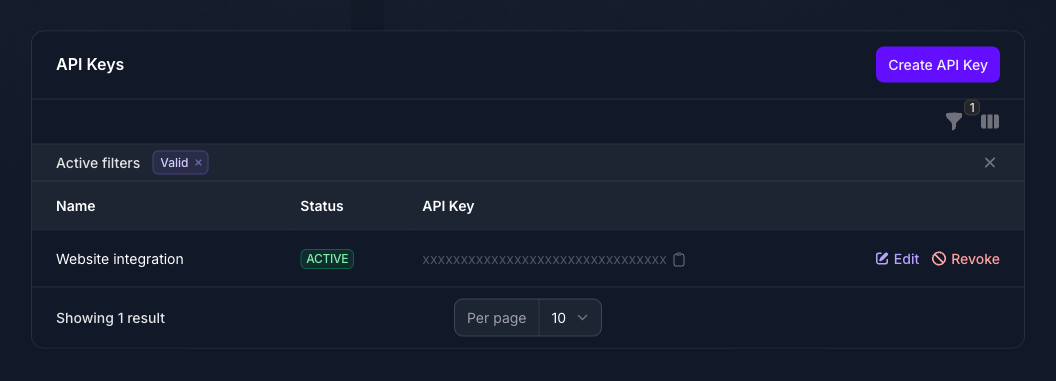
Give it a Name that says where it will be used, for example “Website integration” or “Staging”. The name is the only way to tell keys apart later, since the key itself is masked in the table. Leave Active on.
Once created, copy the key from the table and store it somewhere safe.
An API key grants the ability to spend your team’s credits through this Agent. Treat it like a password. Do not commit it to a repository, paste it into client-side JavaScript, or share it in a channel that outlives the conversation. Issue one key per integration so a single compromised key can be revoked without disrupting everything else.
Set the API Defaults
Open the API page from the row of pages across the top, then select the Defaults tab.
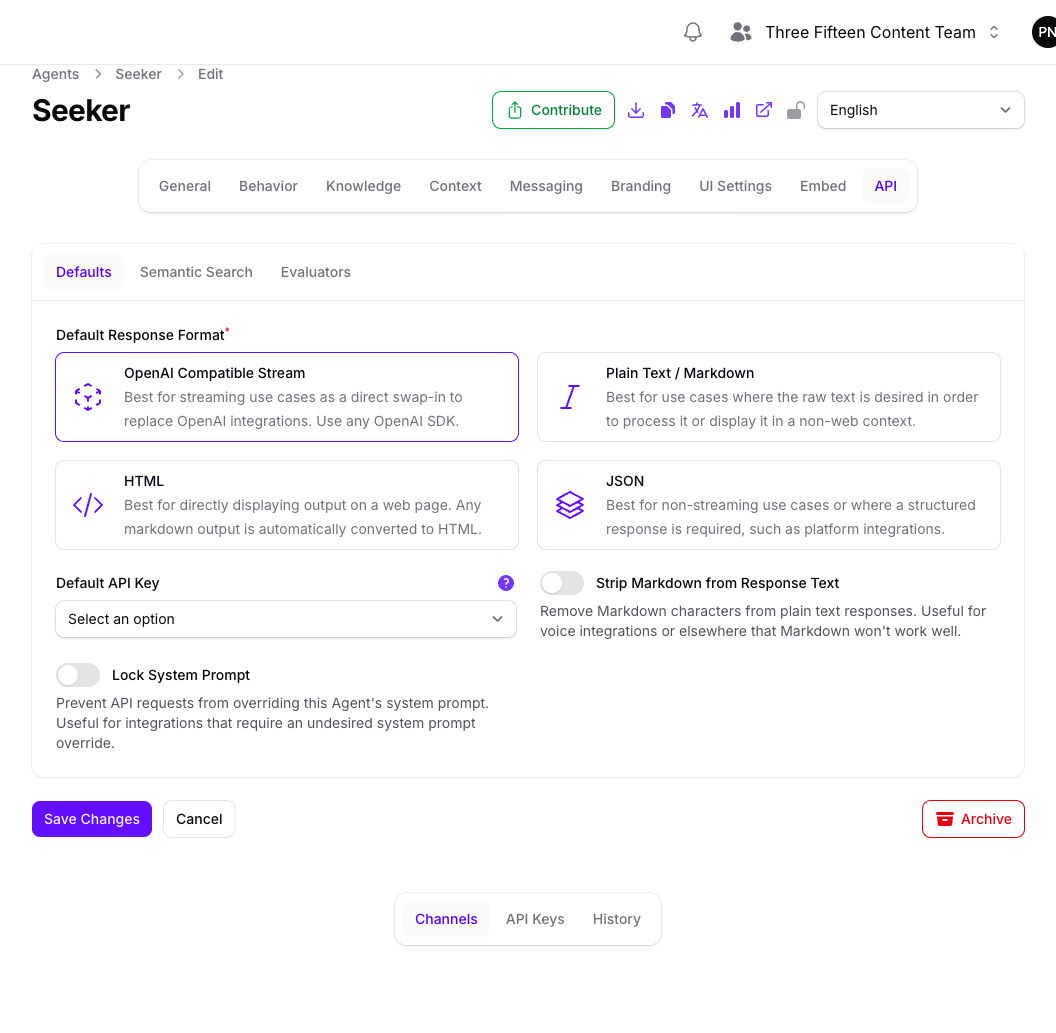
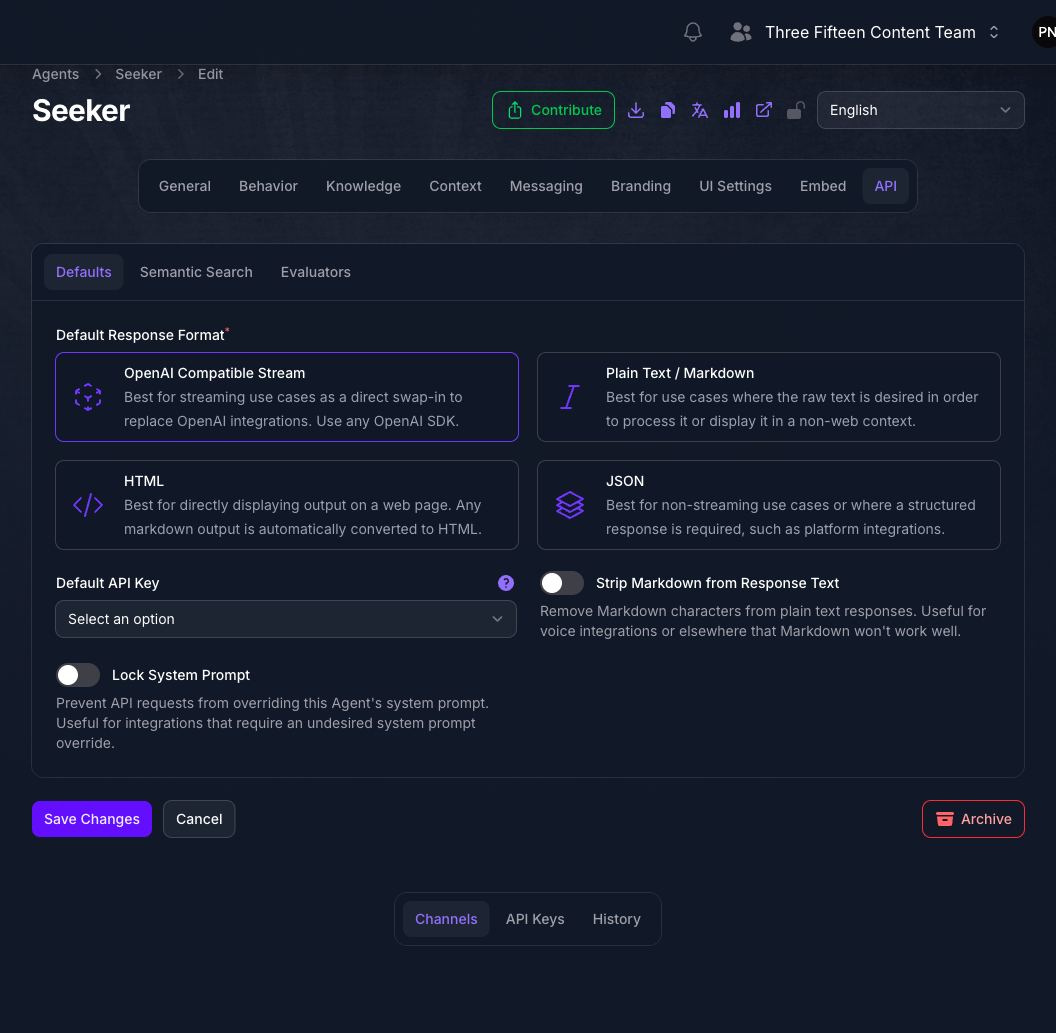
Default Response Format decides what a request gets back when it does not ask for something specific:
Default API Key selects which of the Agent’s active keys this interface uses for its own calls. It stays unset even after you create a key, so choose one deliberately.
Two further options change the response itself:
- Strip Markdown from Response Text removes Markdown characters from plain text responses. Turn it on for voice integrations and anywhere Markdown would be read aloud or displayed literally.
- Lock System Prompt stops API requests from overriding the Agent’s system prompt. Turn it on when an integration insists on sending its own system prompt and you need the Agent’s configured behavior to win.
Lock System Prompt is the setting that keeps a caller from quietly undoing your work in Customizing Instructions. If an Agent behaves correctly in the browser but not through the API, check this first.
Send Traces To Your Collector, If You Need It
Select the Observability tab. It is editable on Pro and Enterprise (and trial teams, which use Enterprise options). Other plans still get traceparent / traceresponse and notification trace ids; they cannot set a per-agent collector.
Enable OpenTelemetry Export turns the feature on. The endpoint and headers stay disabled until this is on, and a stored URL does not export until you enable it.
OpenTelemetry Endpoint is an HTTPS collector URL, for example https://otlp.datadoghq.com or a Grafana Cloud OTLP gateway. A base URL gets /v1/traces appended. Required when export is on. Private and metadata hosts are rejected.
OpenTelemetry Headers are optional auth headers. Add one row per header (name and value), for example name dd-api-key and your key as the value. Put credentials here, not in the URL. They are stored encrypted as JSON.
Only this Agent’s spans are sent to that collector. Prompt text is never recorded on spans. See Tracing.
Enable Semantic Search, If You Need It
Select the Semantic Search tab. It appears only when your plan includes semantic search.
Enable Semantic Search exposes search over the Agent’s sources through its API, separately from asking the Agent questions. It returns matching passages rather than a generated answer, which suits site search and any feature that needs the underlying material instead of prose.
Cache Duration sets how long results are cached. Individual requests can override it through headers or URL parameters. The field stays disabled until semantic search is on.
Ranking factors for search appear below when your plan includes ranking. They work the same way as the ones in Curating Sources, but they apply to search results rather than to the passages behind an answer.
Enable the Evaluators API, If You Need It
Select the Evaluators tab. It appears only when your plan includes evaluators.
Enable Evaluators API lets your code run this Agent’s evaluators over content programmatically, rather than only inside Console.
Connect an MCP Client
An Agent with the MCP capability exposes a connector at /api/connectors/mcp on the Agent’s own domain, for example:
Clients that use the older server-sent events transport connect to /api/connectors/sse on the same domain instead.
The client sends an API key issued above as a bearer token, and a connection without one is refused. Clients that support OAuth can authorize interactively instead of being handed a key.
Once connected, the Agent appears to the calling assistant as a tool it can invoke to ask this Agent a question and get an answer grounded in your sources.
Expected Result
Your integration reaches the Agent with its own API key, receives responses in the format you configured, and is governed by the same instructions and sources as the Agent’s website.
Managing Keys Over Time
There are two ways to stop a key working, and they are not the same.
Deactivating is not a row action, which is the part people look for and do not find: open Edit and turn Active off instead.
Deactivate is the right first move when you suspect a problem but are not certain which integration a key belongs to, because it is reversible. Revoke once you are sure.
Where the Endpoint Documentation Lives
Request bodies, parameters, and response schemas are generated from the API specification and kept in one place, so they cannot drift out of date here.
- Agent API Overview for what the API covers.
- Getting Started for authentication and a first request.
- SDKs for the official client libraries.
Troubleshooting
- There is no API Keys tab. Neither the API nor the MCP capability is on, or your plan does not include API access.
- The API page is missing but API Keys is there. Only the MCP capability is on. The API page belongs to the API capability.
- The Semantic Search or Evaluators tab is missing. Your plan does not include that feature.
- Observability fields are disabled. Your plan does not include
agent.otel(Pro and Enterprise only). You still get HTTP and webhook correlation ids. - Cache Duration cannot be edited. Turn on Enable Semantic Search first.
- Requests are rejected as unauthorized. Confirm the key is active and not revoked, and that it is being sent as a bearer token.
- The API returns a different personality than the website. The caller is overriding the system prompt. Turn on Lock System Prompt.
- Responses contain Markdown characters where they should not. Turn on Strip Markdown from Response Text, or request a different response format.
- An MCP client cannot connect. Confirm the MCP capability is on, that the URL is
/api/connectors/mcpon the Agent’s own domain, and that the client is sending an API key. Connections without credentials are refused.
Next Step
Continue to the Agent API Overview for the endpoints themselves, or return to Standalone Web UI if you still need the Agent’s own website configured.