

Advanced Branding
Branding an Agent goes wider than its greeting, logo, and colors, and it is spread across several places in Console rather than gathered in one. This page covers the settings on the Branding and Messaging screens that Branding does not.
Purpose
Take an Agent’s appearance further than the basics, and control what visitors see in the footer, in the browser tab, and while the Agent is not answering.
Prerequisites
- An Agent with its Branding already set. The settings here build on the greeting, logo, and colors set there.
- White labelling on your team’s plan. Every setting on this page needs it, without exception.
- Standalone Web UI or Embedded Web Widgets turned on, or the Branding page does not appear.
Where Branding Lives
Several surfaces shape how an Agent looks, and most of them are documented with the feature they belong to rather than here:
The six settings below are independent. None depends on another and none is required, so change only the ones you need: Footer, Background, Fonts, Custom Styles, Page Metadata, and Transition Messages.
Messaging and Branding are two sibling pages in the row across the top of the Agent, and each saves on its own. Save before moving between them, or the change you made on the first is lost.
Footer
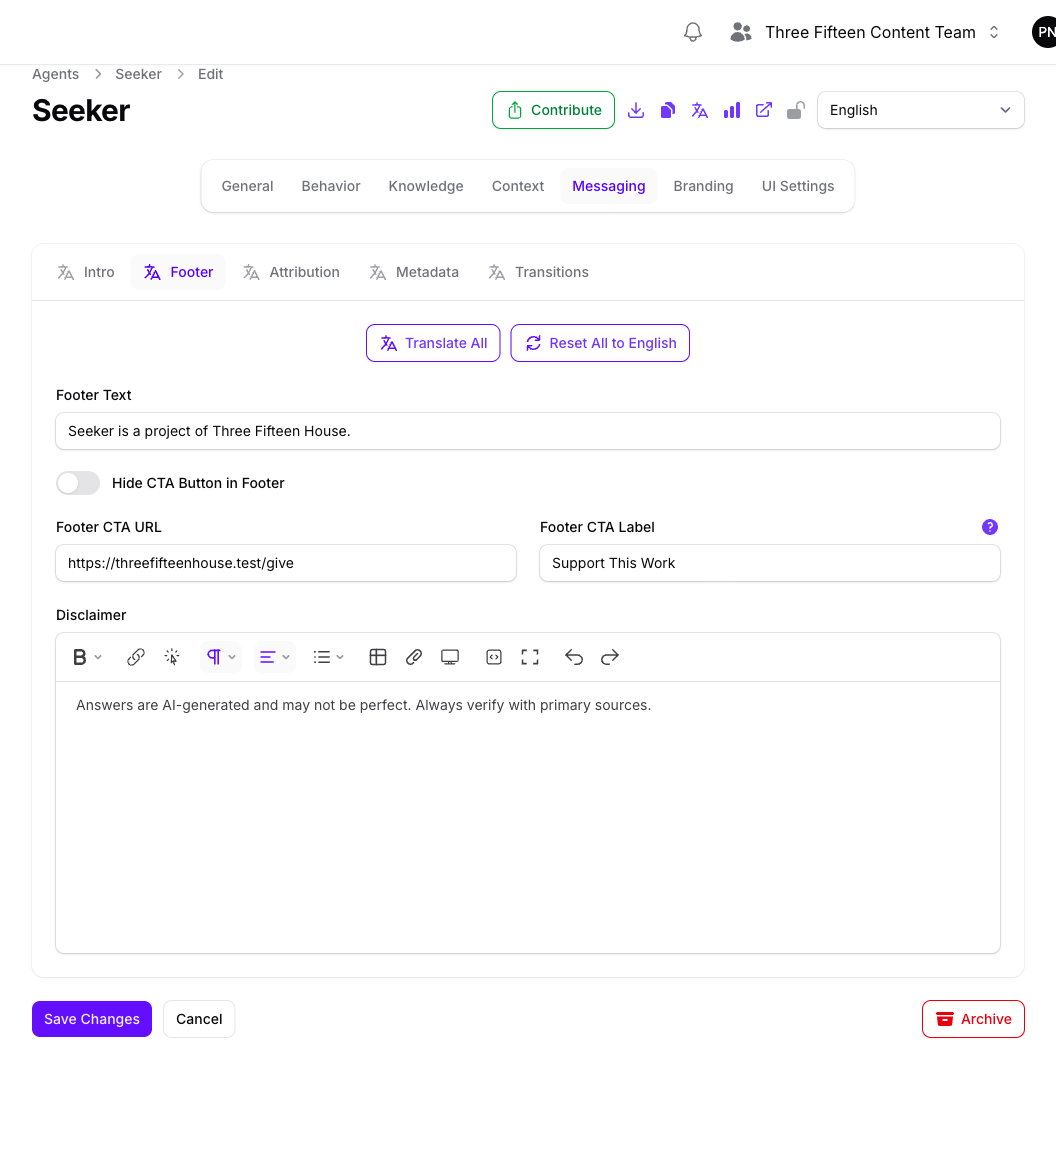
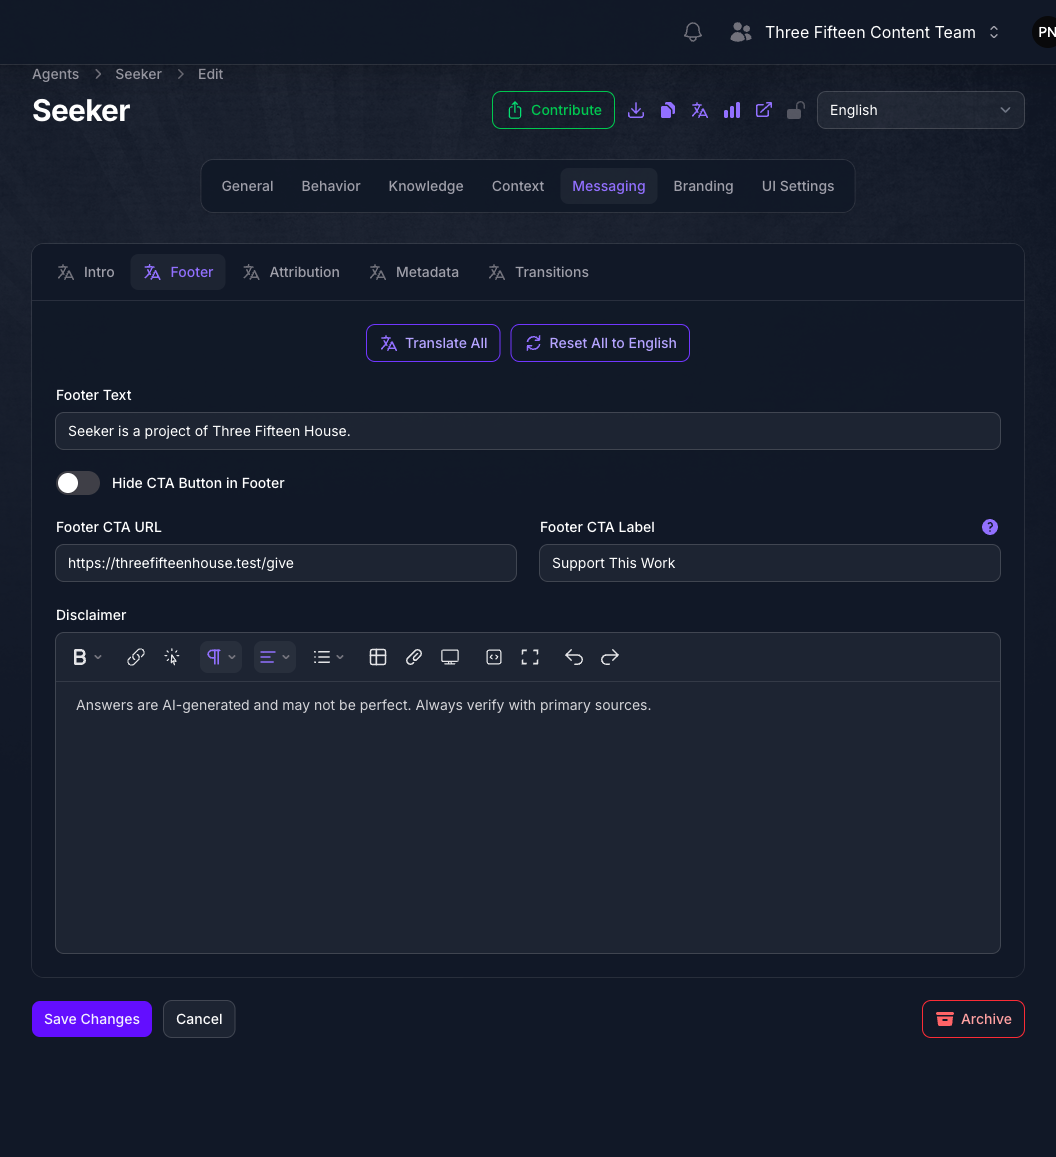
Choose Messaging, then the Footer tab.
Footer Text replaces the default line along the bottom of the Agent. Hide CTA Button in Footer removes the call to action beside it, and disables Footer CTA URL and Footer CTA Label while it is on, so leave it off if you want a button. The label defaults to “Give” when you leave it empty.
Disclaimer belongs to the same credit as Creator Name and Creator URL, which are on the Attribution tab, but it is set here. It appears as a link beside the footer text, and opens in its own panel rather than sitting on the page.
Background
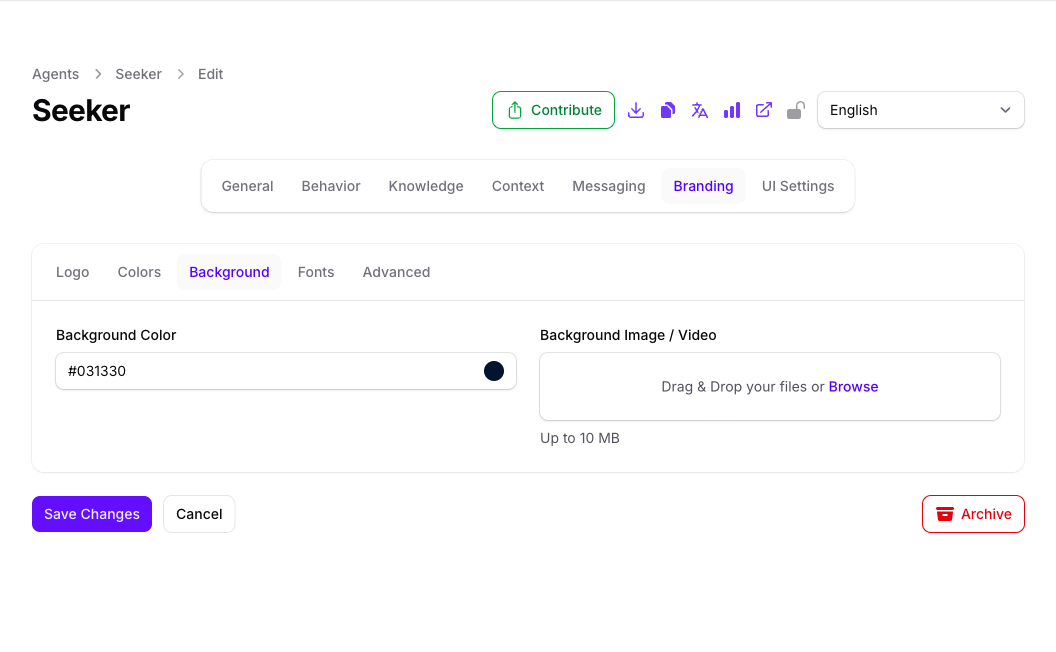
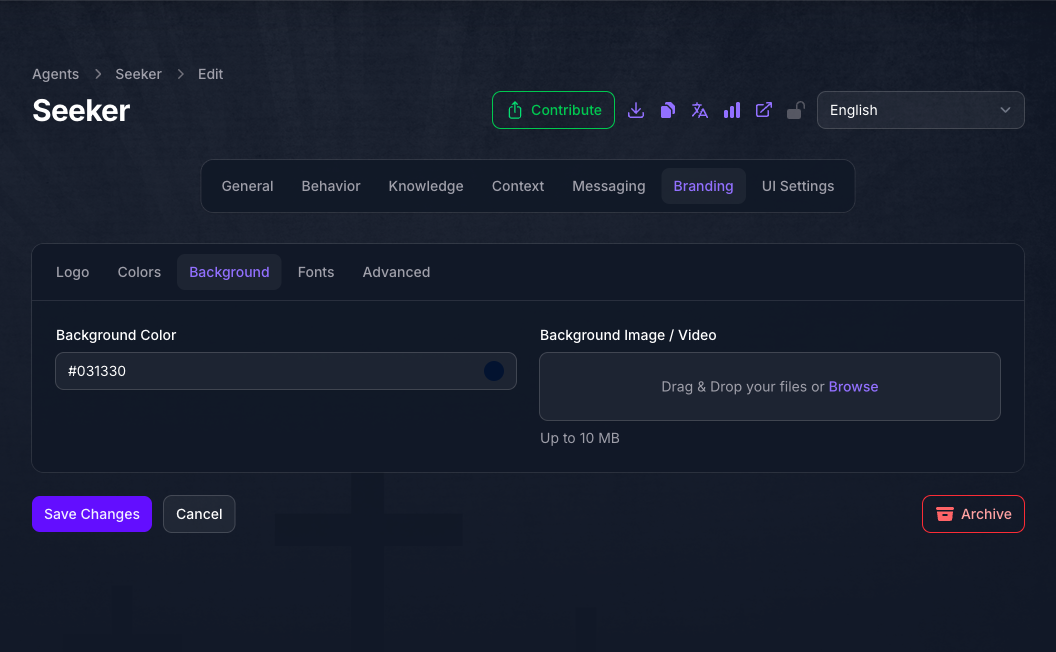
Choose Branding, then the Background tab. Background Color replaces the backdrop the theme supplies. Background Image / Video layers a file over that color, up to 10 MB, and takes a video as readily as an image.
A background competes with the logo and the greeting for attention. A single color that matches your palette is usually enough, and it is what the example below uses.
Fonts
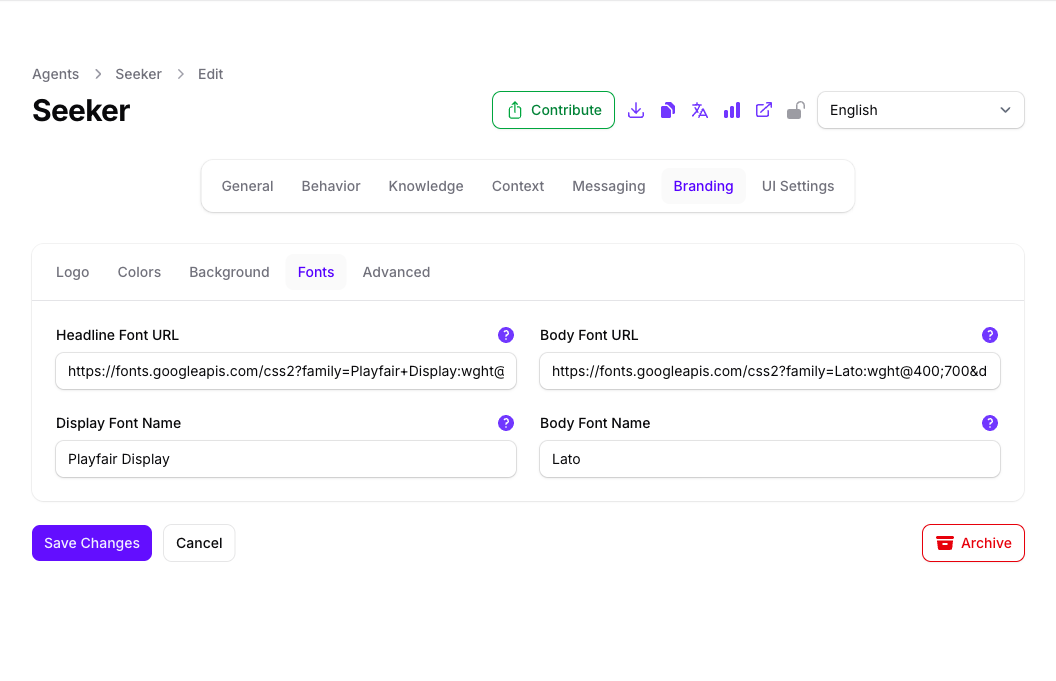
Choose Branding, then the Fonts tab. Set two pairs. Headline Font URL and Display Font Name apply to the Intro Headline, the large line in the middle of the greeting. Body Font URL and Body Font Name apply to everything else, including the rest of the greeting.
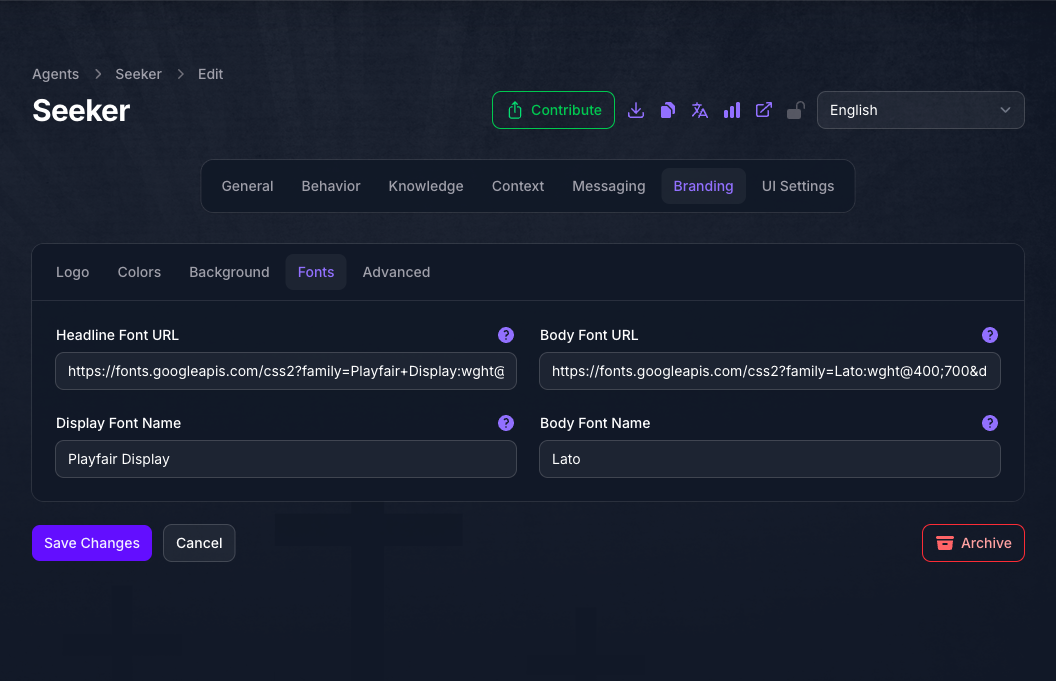
The URL is any web-accessible stylesheet, including a Google Fonts link, and the name is the family that stylesheet provides. Both halves of a pair are needed: the URL loads the font and the name tells the Agent to use it. The example below pairs Playfair Display for headings with Lato for body text.
A font whose name contains a digit does not work. Names such as Source Sans 3 or Roboto Flex 2 are applied without quotes, and a CSS font name cannot begin with a digit, so the Agent silently falls back to its default font with no error anywhere. Choose a family whose name is words only.
Custom Styles
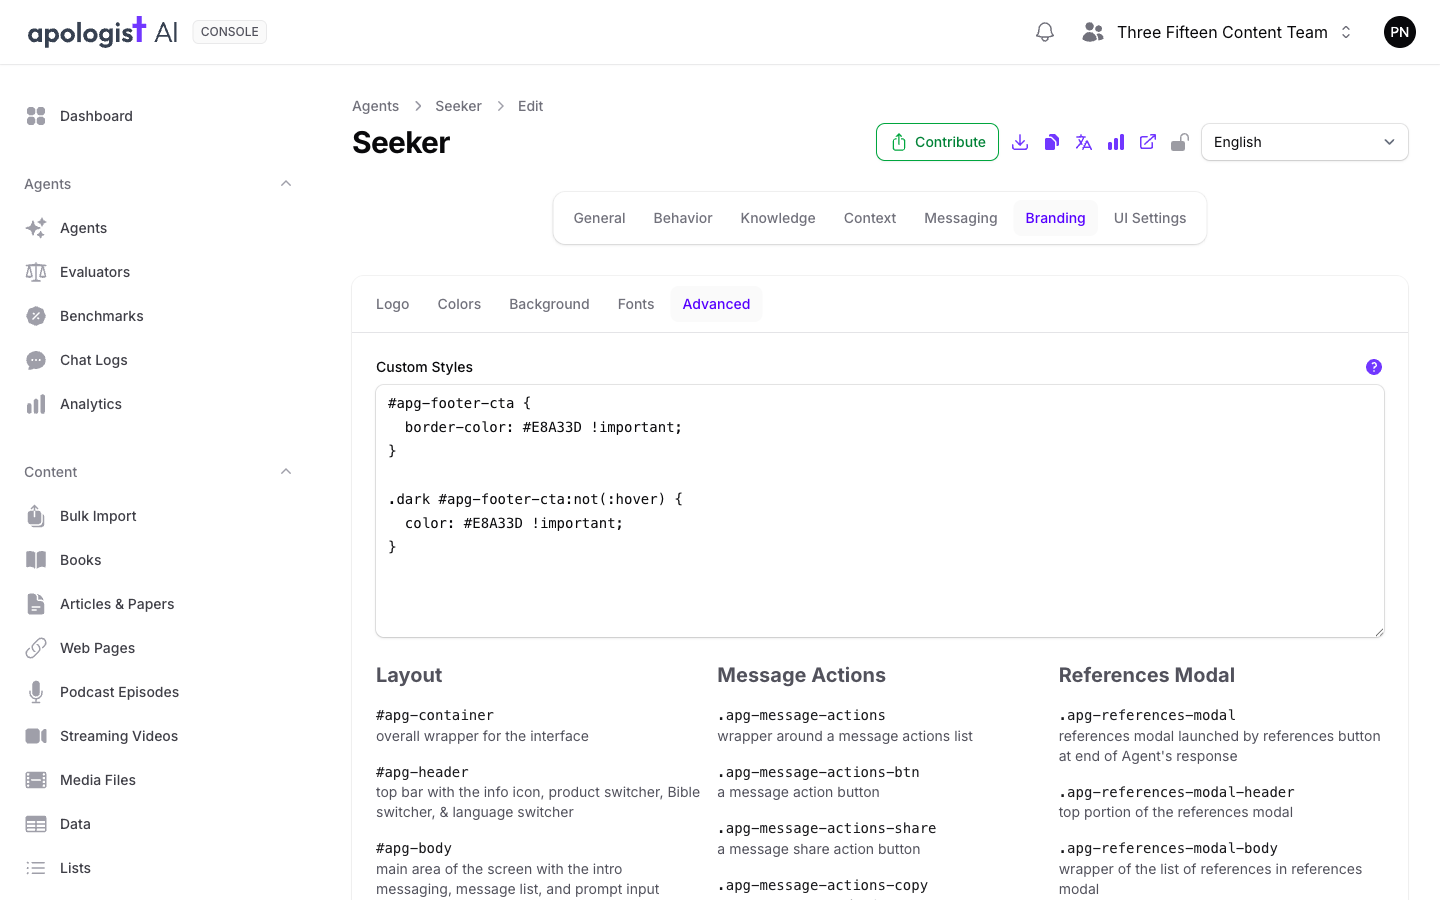
Choose Branding, then the Advanced tab. Custom Styles takes CSS that is applied to the Agent’s interface. Use it for anything the other settings do not cover, such as a second brand color.
Console lists every selector you can target beneath the field, grouped by area: the header, the intro messaging, the info and disclaimer modals, message actions, footer citations, and the PWA install banner. Scroll past the box and use that list rather than guessing at an id, and rather than inspecting the page yourself.
Your CSS is applied after the Agent’s own, but the Agent sets its themed colors with !important and scopes them to the theme, so a plain rule loses to them. Mark yours !important too, and match the theme scope when you are overriding a color.
For example, to give the footer button an accent color that has no field of its own:
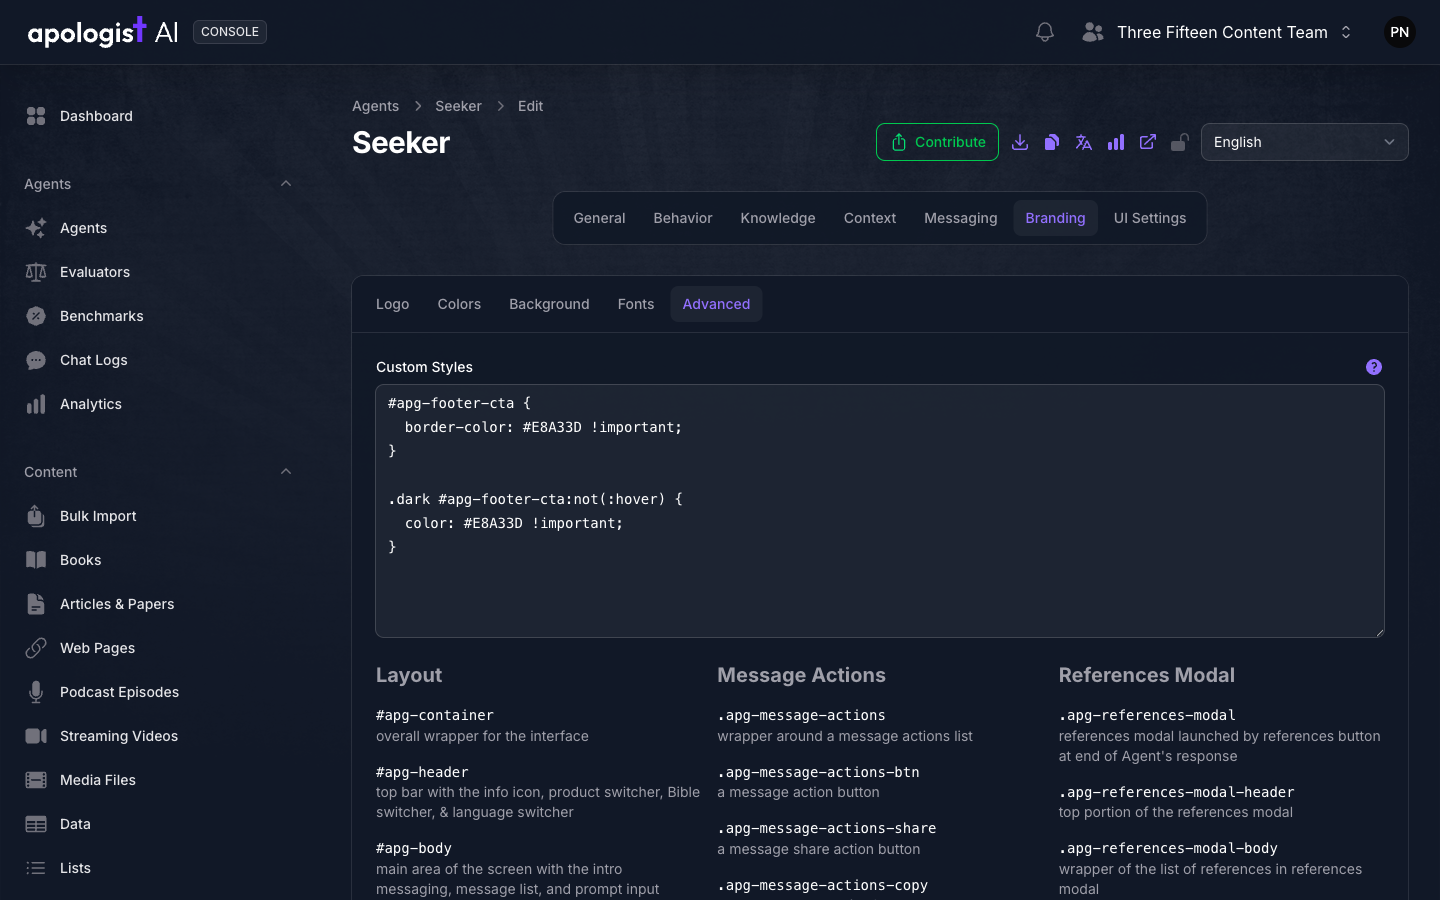
The border needs only !important, because nothing else sets it. The text color needs the longer selector as well, because the Agent’s own dark-theme rule is more specific than a plain id.
Page Metadata
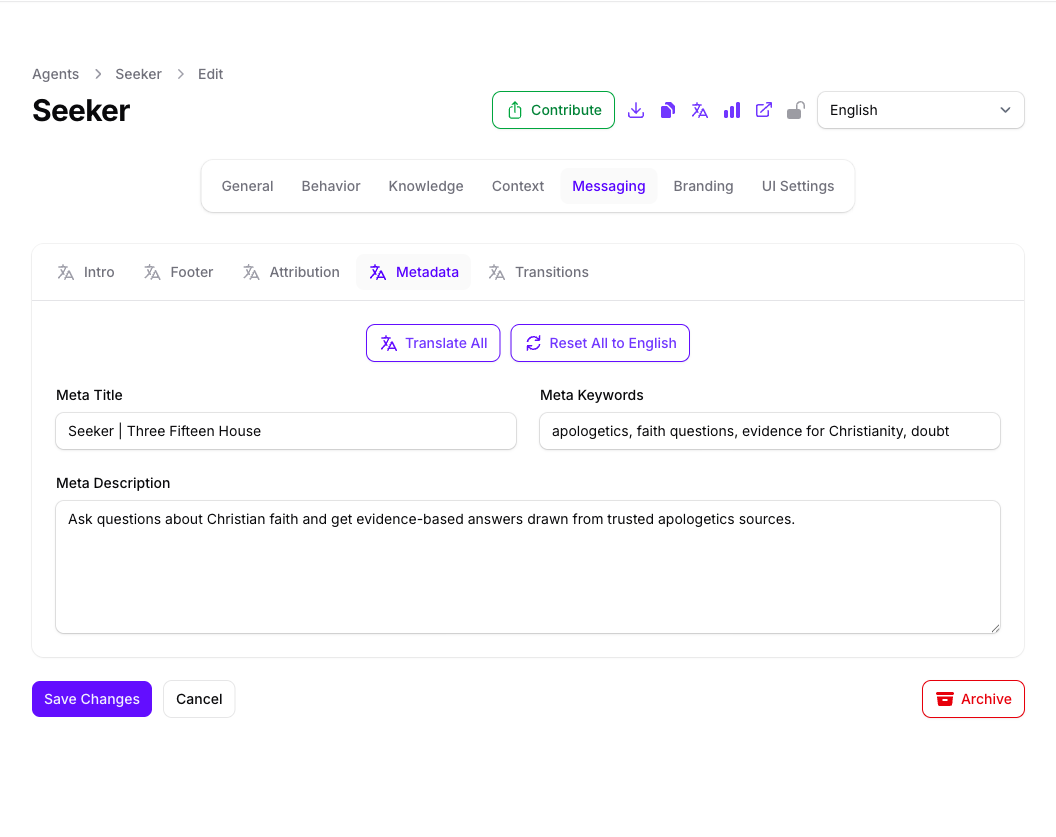
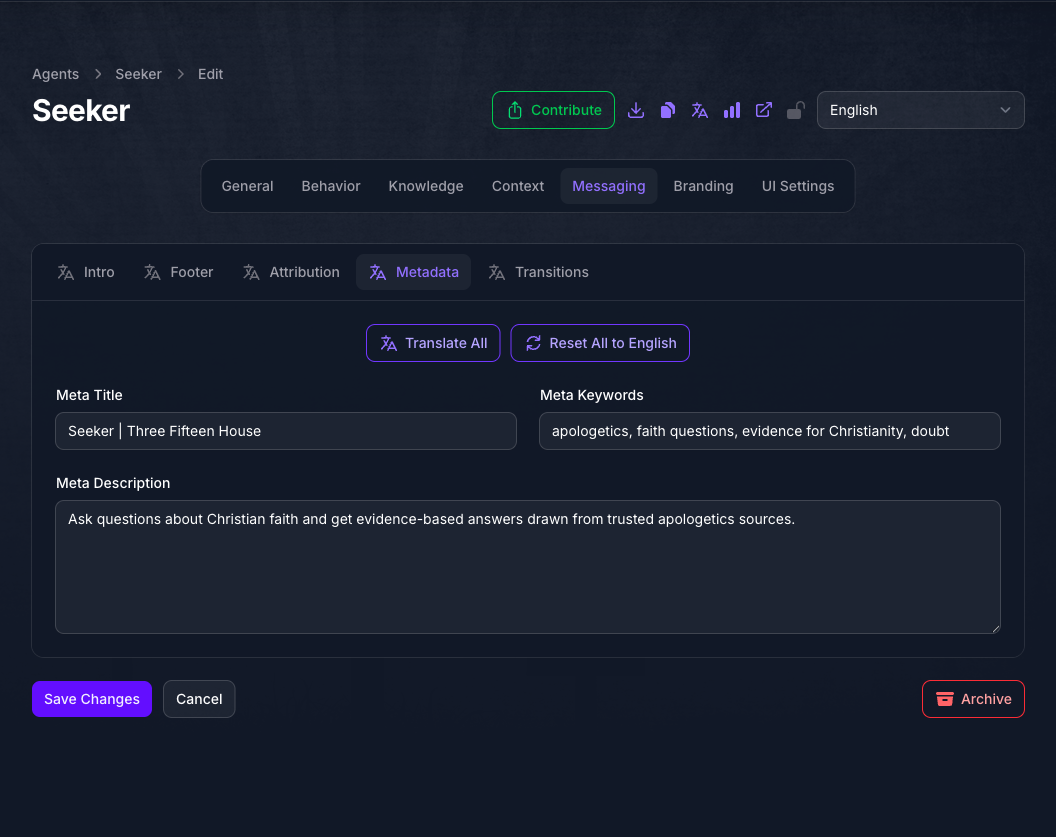
Choose Messaging, then the Metadata tab. Meta Title, Meta Keywords, and Meta Description are what search engines and link previews read, and the title is what names the browser tab.
None of this appears on the Agent itself, so check it in the tab and in a link preview rather than on the page. Leave Meta Title empty and the tab falls back to the Agent’s name.
Transition Messages
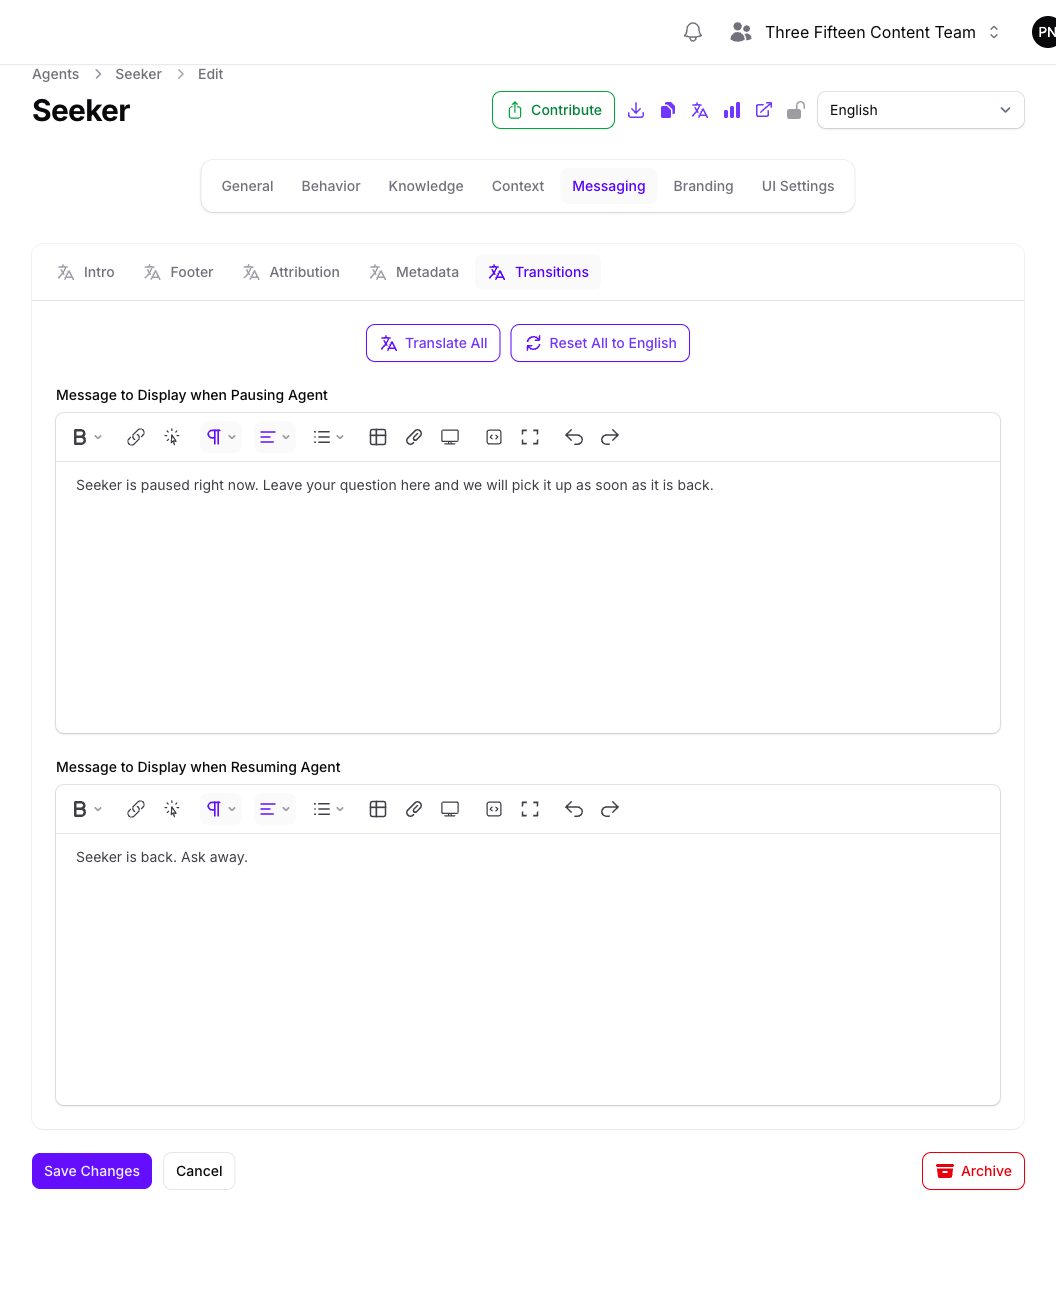
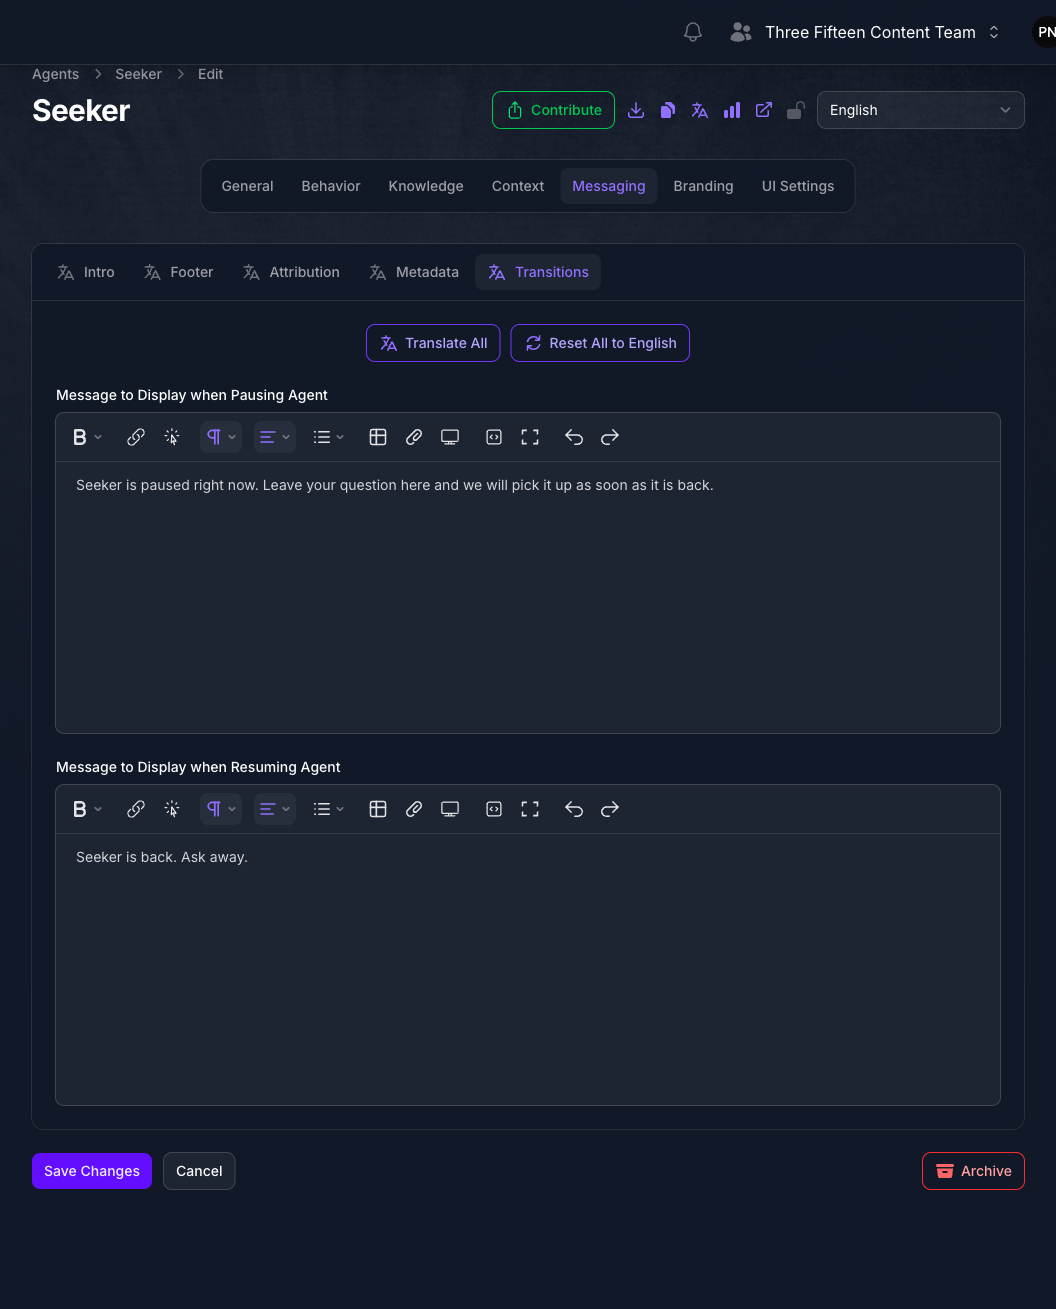
Choose Messaging, then the Transitions tab. Set the message shown when the Agent is paused and the one shown when it resumes.
These appear inside a conversation that is already under way, as a reply to the visitor’s last question, rather than on the opening screen. A visitor who arrives while the Agent is paused sees the normal greeting and can still send messages.
Pausing is controlled by Pause Agent on the Agent’s General page, and that toggle stays disabled until the Agent has a default API key. If you cannot turn it on, that is why. The messages can be written here at any time and take effect whenever the Agent is next paused.
Expected Result
The Agent below has every setting on this page applied at once, which is what a fully worked example looks like rather than what you have to do. Set one of them and only that one changes.
Open the Agent at its own address. Here the background, the fonts, and the footer are its own, and the footer button carries the accent from Custom Styles.
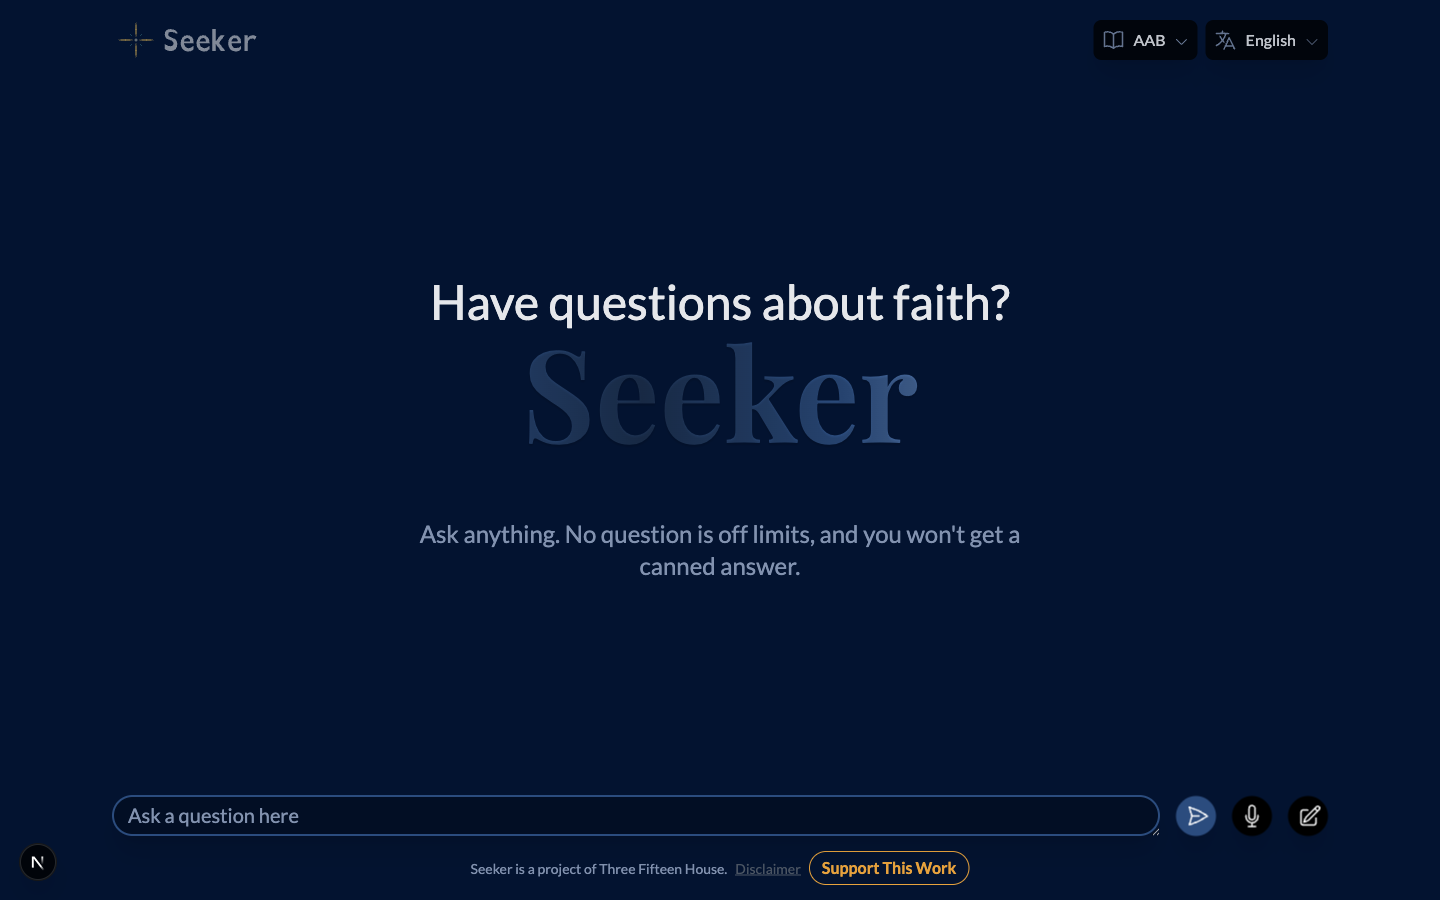
The metadata and the transition messages are deliberately absent from this view. Metadata lives in the browser tab and in link previews, and the transition messages appear only inside a conversation while the Agent is paused.
Troubleshooting
- The fonts did not change. Both halves of a pair are needed. A URL with no matching name leaves the Agent on its default font, and a name with no URL points at a font the visitor’s browser has to already have.
- The font name is right and it still did not change. Check it for a digit. A family such as Source Sans 3 cannot be applied, and fails silently.
- The background image does not show. Files are capped at 10 MB. A larger one is rejected on upload rather than shown broken.
- Custom Styles did nothing. Add
!important. The Agent sets its own colors that way, so a plain rule is ignored. If it still does not apply, the Agent’s rule is more specific than yours: prefix your selector with.darkor.lightto match it. Otherwise check your selector against the list Console shows beneath the Custom Styles field, and confirm the Agent has the feature you are styling turned on. - A change disappeared. Messaging and Branding save separately. Moving between them without saving discards the edit.
- Pause Agent cannot be turned on. The Agent has no default API key. Set one on the Agent’s API page first.
- The footer button disappeared. Hide CTA Button in Footer is on, which also disables its URL and label.
Next Step
Continue to Starter Prompts to offer visitors example questions on the opening screen.