

Messaging / Social Channels
Messaging / Social Channels
Channels let an Agent answer where people already are, in a messaging app or a social platform, instead of only on a page you send them to.
Purpose
Connect an Agent to a messaging or social platform, and control when it replies there.
Prerequisites
- An Agent, configured and answering the way you want. A channel exposes the same Agent, so its instructions, sources, and model all apply.
- An account on the platform you are connecting, with permission to create an app or integration and to set a webhook.
- A plan that includes channels. See Step 1 for what you see when your plan does not.
- Permission to update the Agent. A team Manager can create and edit channels; you do not need an Apologist administrator.
How Channels Fit Together
A Channel belongs to your team, not to one Agent. Agents are attached to channels, so one channel can serve several Agents and one Agent can answer on several channels. Removing a channel from an Agent detaches it and leaves the channel available to everything else using it.
That sharing is also why each channel has two Active toggles: one on the channel, governing it everywhere, and one in each Agent’s channel list, governing it for that Agent alone. Both must be on for the Agent to reply, and they do not start in the same position. See Step 7.
Steps
Turn On the Channels Capability
Select Agents in the left-hand navigation, open your Agent, then choose General and select the Capabilities tab.
Under Interfaces, turn on Messaging / Social Channels and save. A Channels panel appears below the form once the page reloads, and that is where you set up every channel on this Agent.
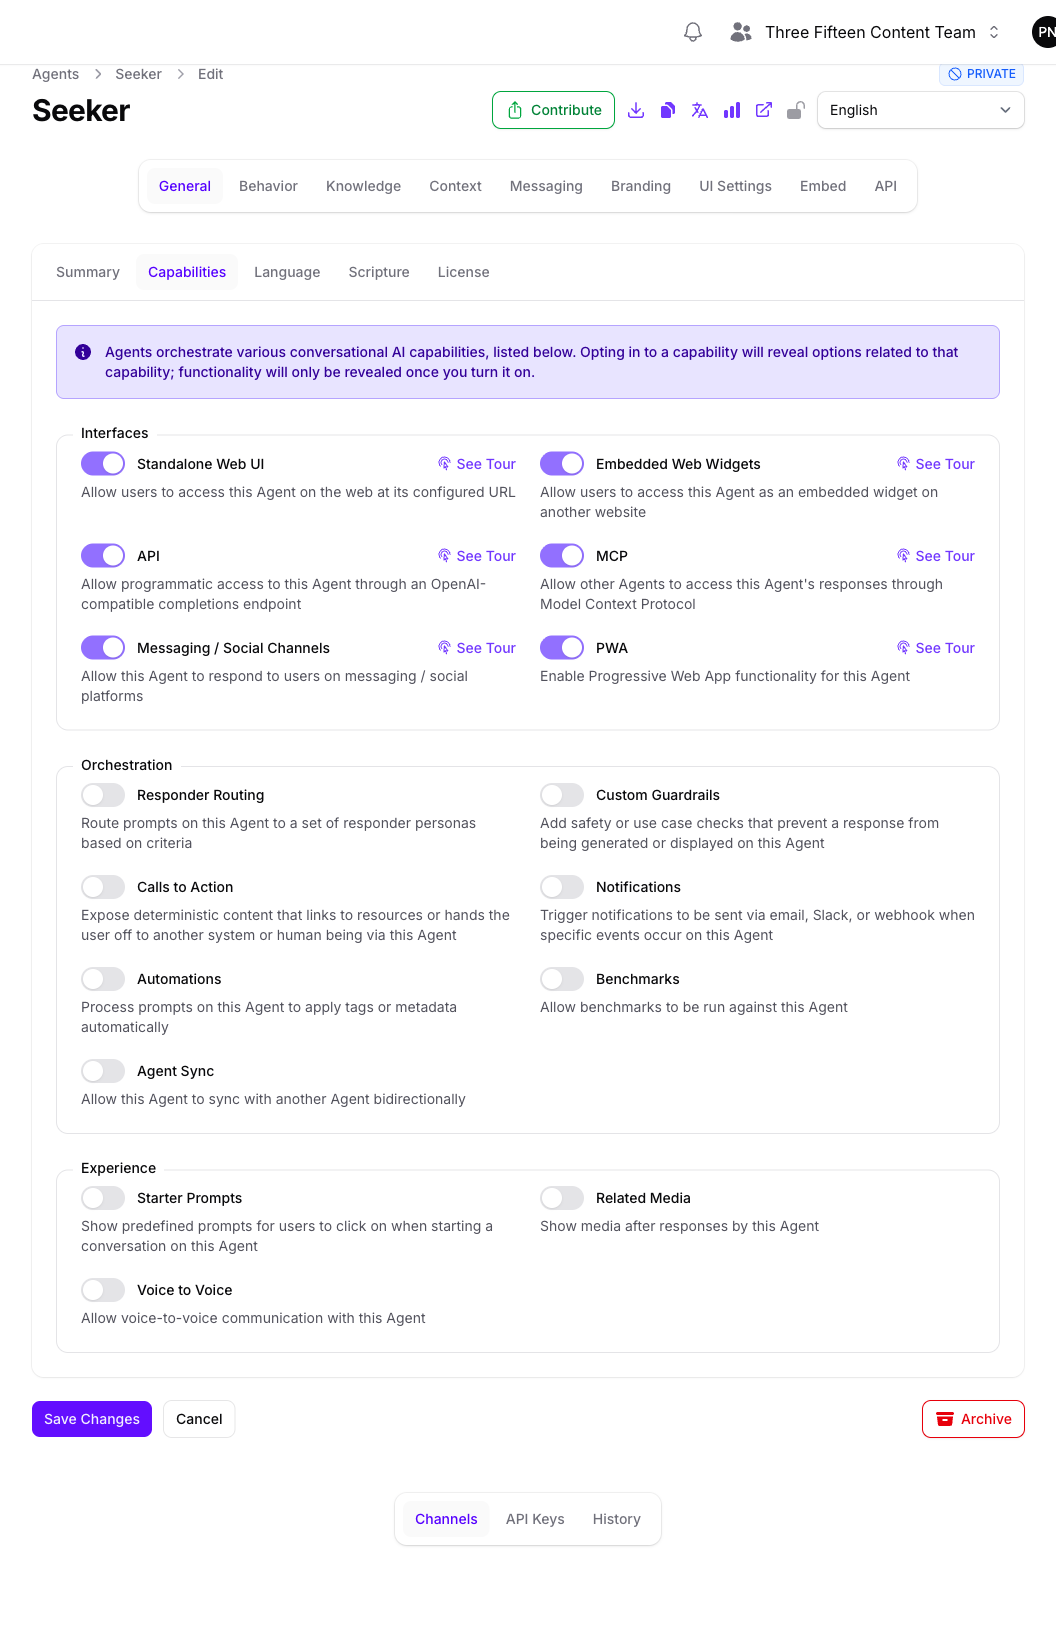
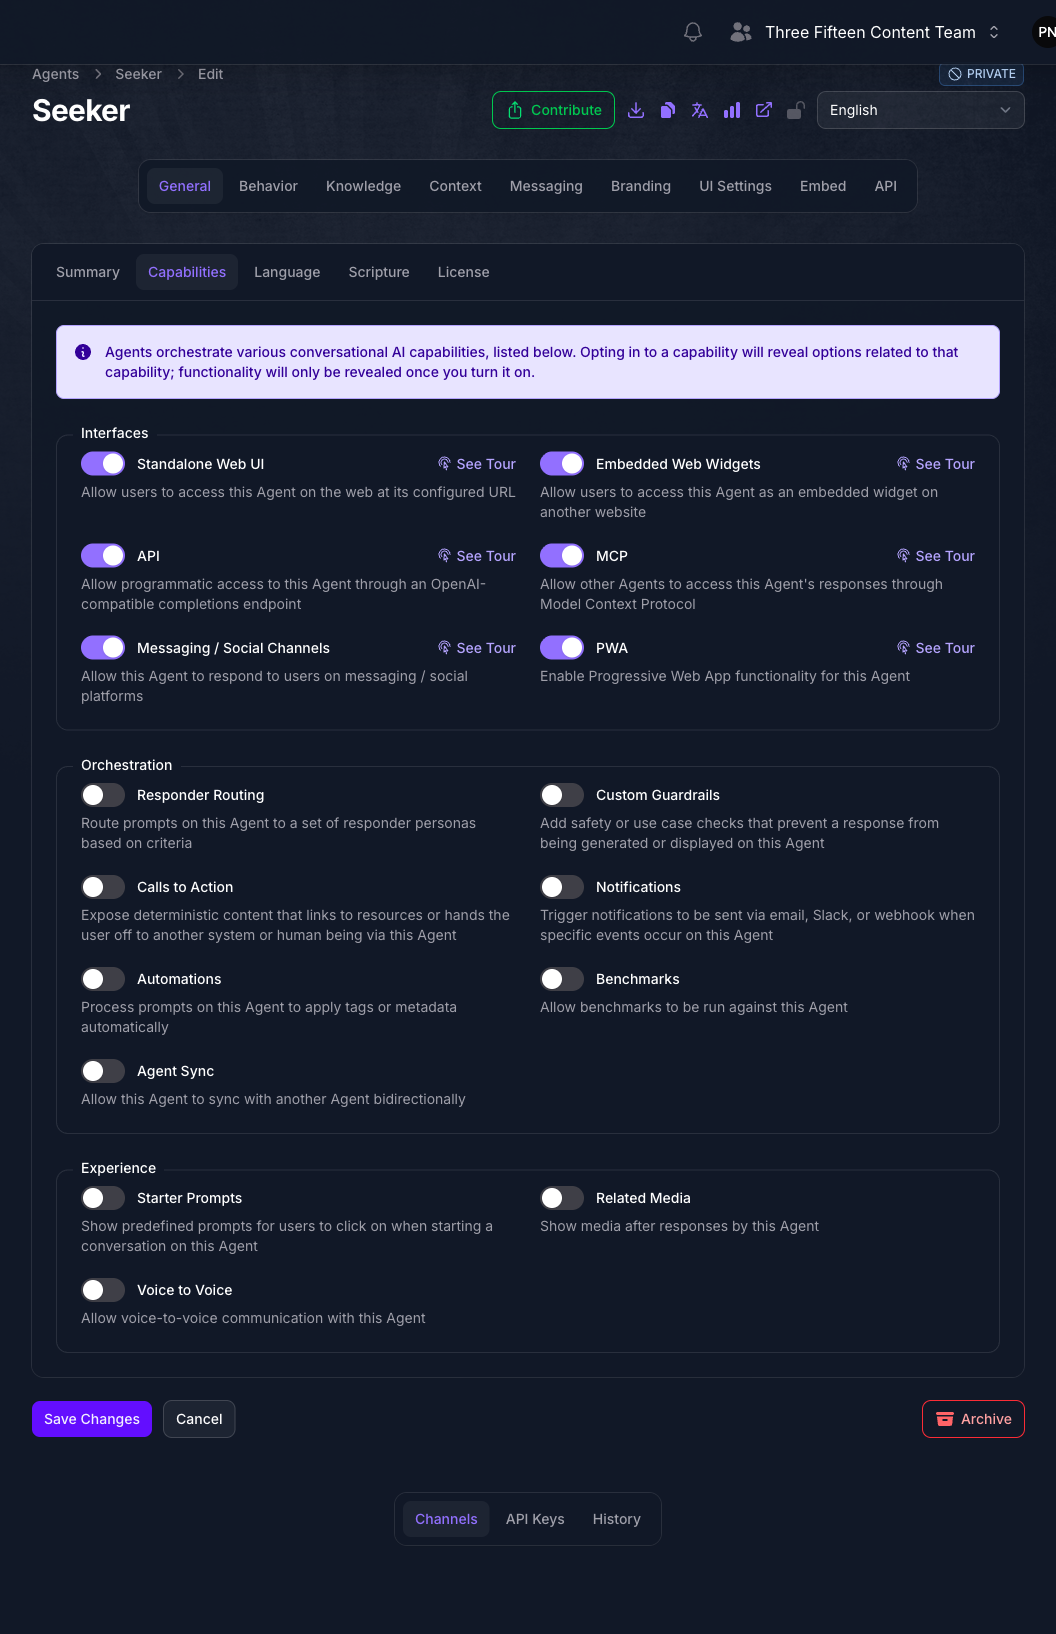
If the toggle will not switch on and shows an Upgrade to Unlock button, your plan does not include channels. The button takes you to your subscription page.
Create Or Attach a Channel
In the Channels panel, choose one of:
- Create New Channel to set up a connection that does not exist yet.
- Add Existing Channel to attach one your team already configured for another Agent.
Attach an existing channel when several Agents should answer on the same account, so you are not maintaining two copies of the same credentials.
Create New Channel opens the Add Channel form, which spans three tabs: Summary, Connection, and Messaging. Fill in all three before saving, since one Add Channel button at the bottom commits the whole form. The next three steps cover one tab each.
Choose the Platform
On the Summary tab, select the platform you are connecting. Seven are available: Twilio, WhatsApp, Facebook Messenger, Telegram, Discord, LINE, and Chatwoot.
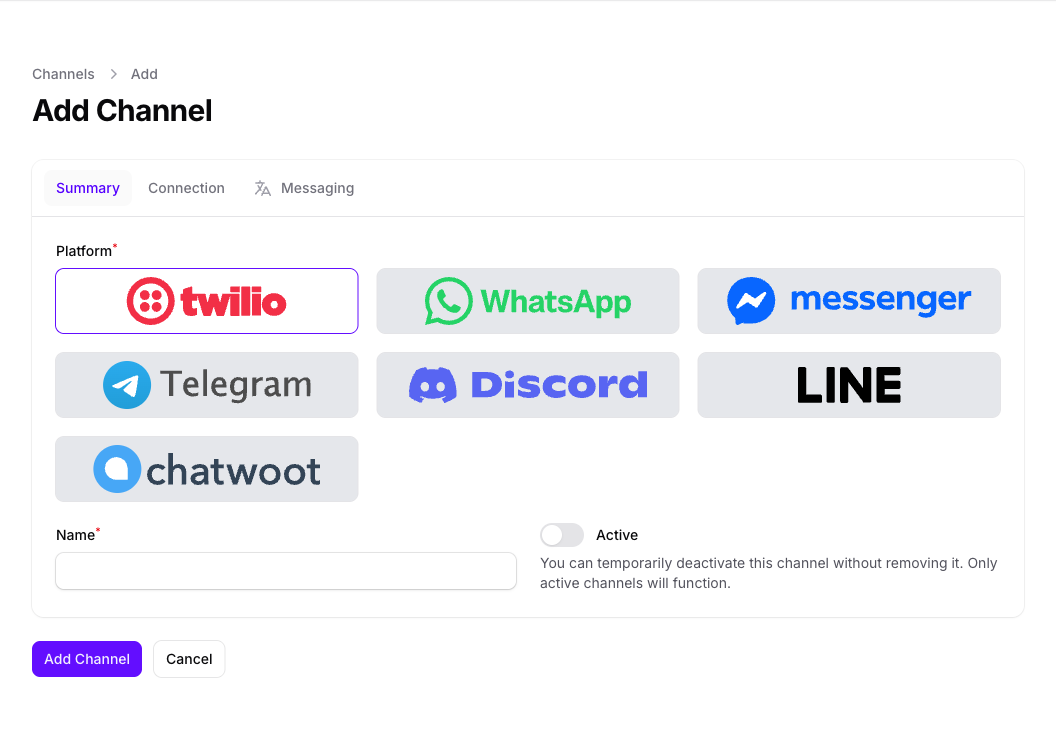
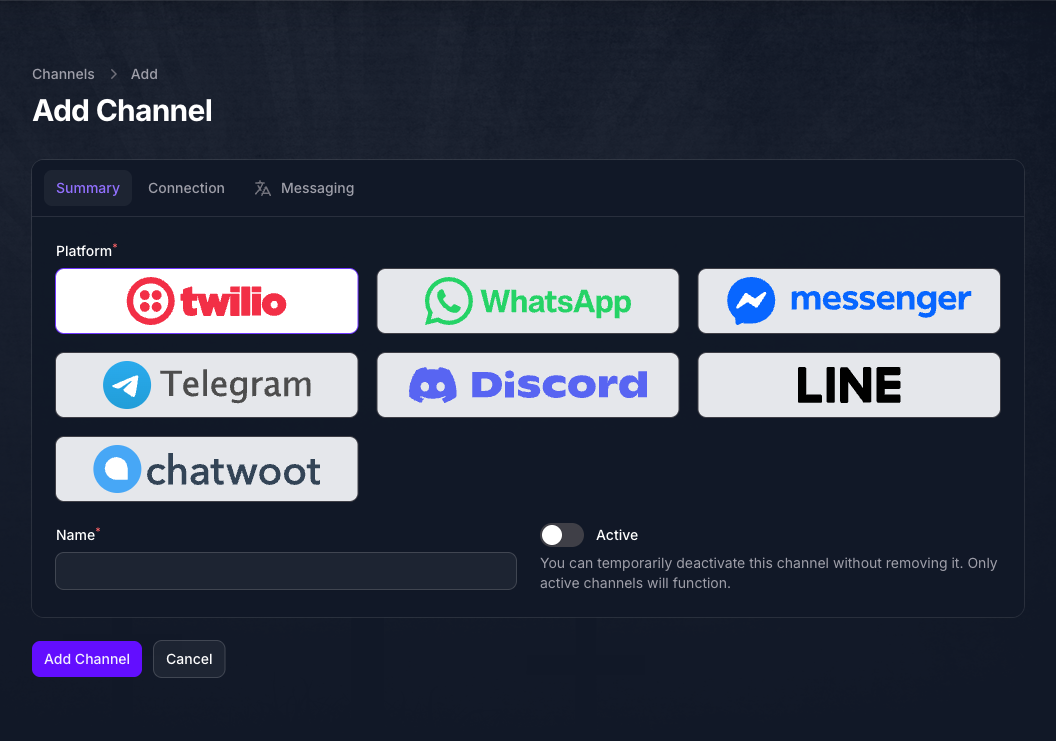
Twilio is selected by default, so change it unless that is the one you want. This choice determines which fields appear on the remaining tabs, and it cannot be changed later without redoing setup on the platform’s side, so confirm it before continuing.
Then give the channel a Name to identify it in your channel list and in the Agent’s Channels panel.
Fill In the Platform's Requirements
Open the Connection tab and complete the fields your chosen platform asks for.
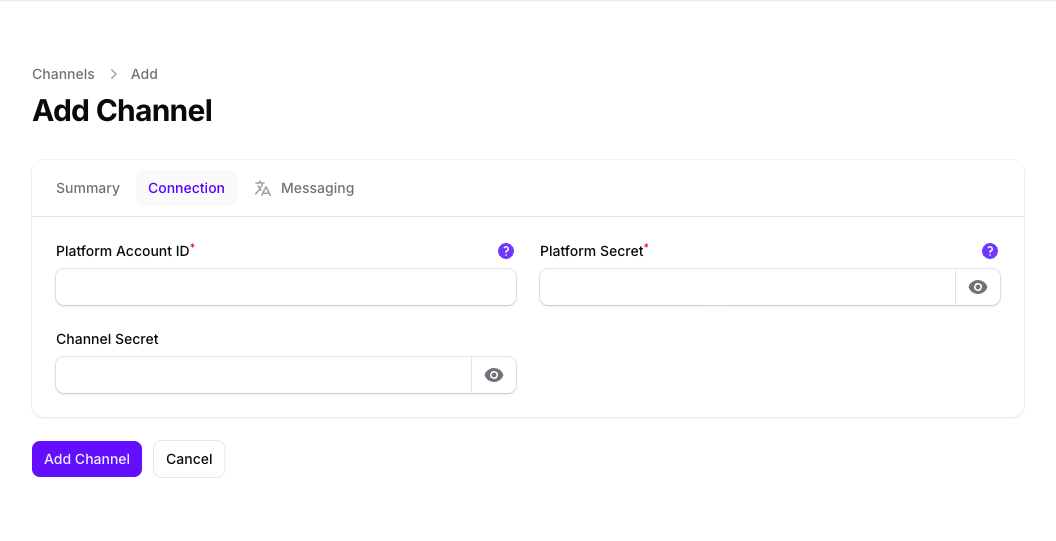
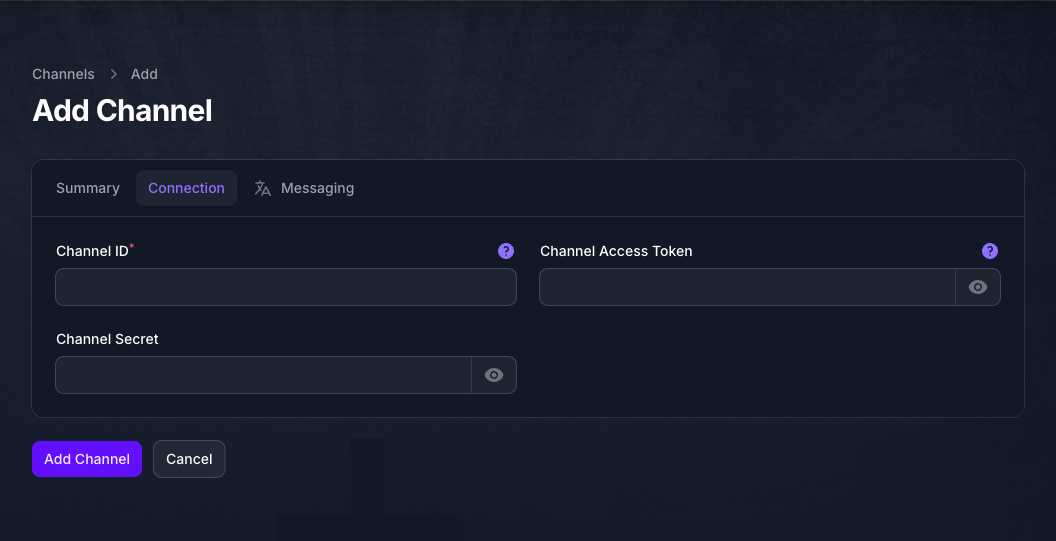
Two fields are shared across platforms:
Beyond those, a platform may ask for up to three more values, labeled with the names its own developer documentation uses so you can match them to what you copy from that platform. Use this table to check what yours will ask for:
Only Platform Account ID and Platform Secret are enforced as required. The form treats the rest as optional, but several of them are what lets the platform’s own requests authenticate, so fill in everything you have. Step 6 says which ones matter for your platform.
Platform Secret is a live credential for your account on that platform, and anyone holding it can act as your integration. Anyone who can open this form can also read it back, so treat access to the channel as access to the credential.
Decide When the Agent Replies
Open the Messaging tab.
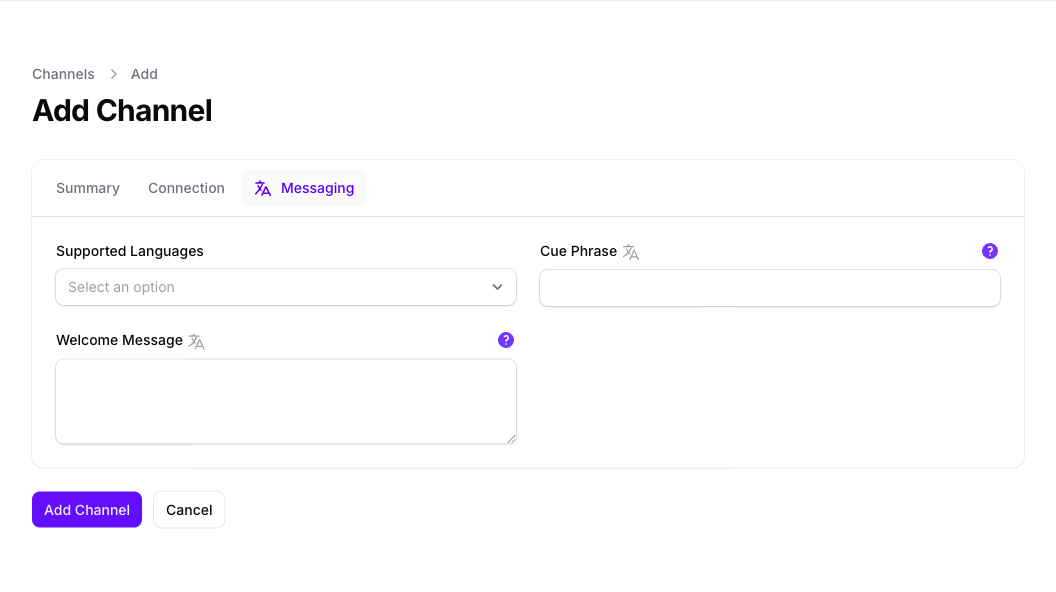
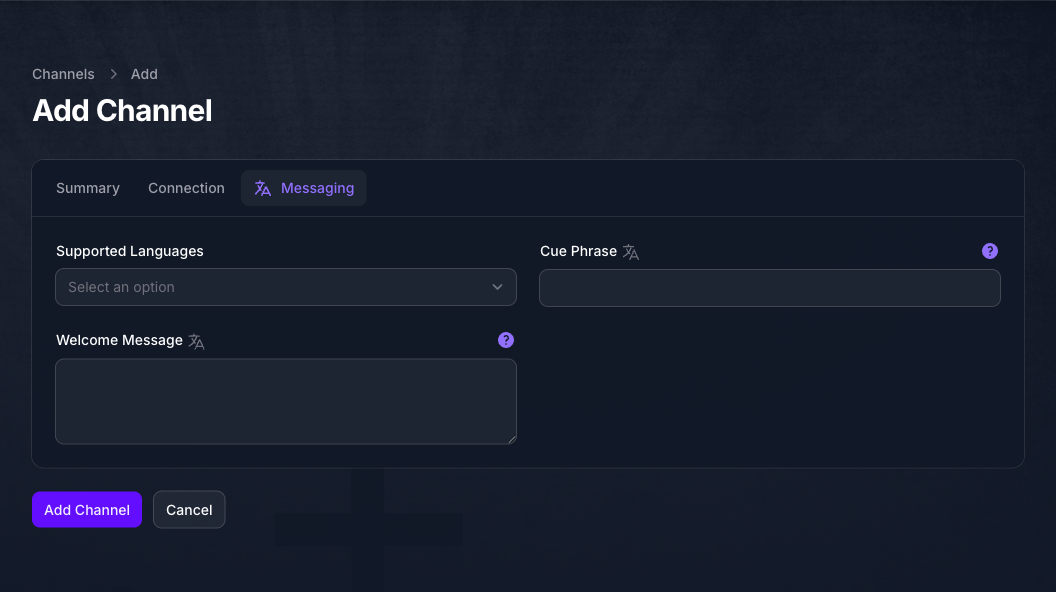
Supported Languages limits the channel to particular languages. Leave it empty to allow all of the Agent’s languages.
Cue Phrase decides when the Agent speaks. Enter one, such as “Hey Seeker”, and it replies only to messages that mention it; leave it empty and it replies to every message, which in a busy group means everything said there.
Welcome Message greets someone as they start a conversation. On platforms that use welcome templates, enter the template’s id instead of the text.
You can translate both Cue Phrase and Welcome Message, using the language selector at the top right of the channel’s edit page. Neither field is on every platform:
Where Cue Phrase is absent, the Agent replies to every message it receives and you cannot narrow that from Console. Plan for that before connecting the Agent to a group conversation.
Point the Platform At the Endpoint
Select Add Channel to save. Console returns you to the Agent’s Channels panel, where the new channel now has an Endpoint. This is the address the platform delivers messages to, and until you set it on the platform’s side nothing reaches the Agent.
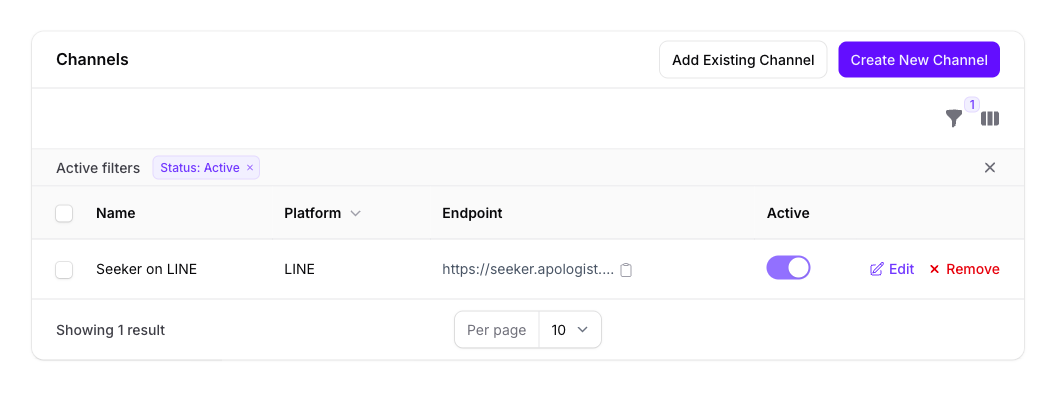
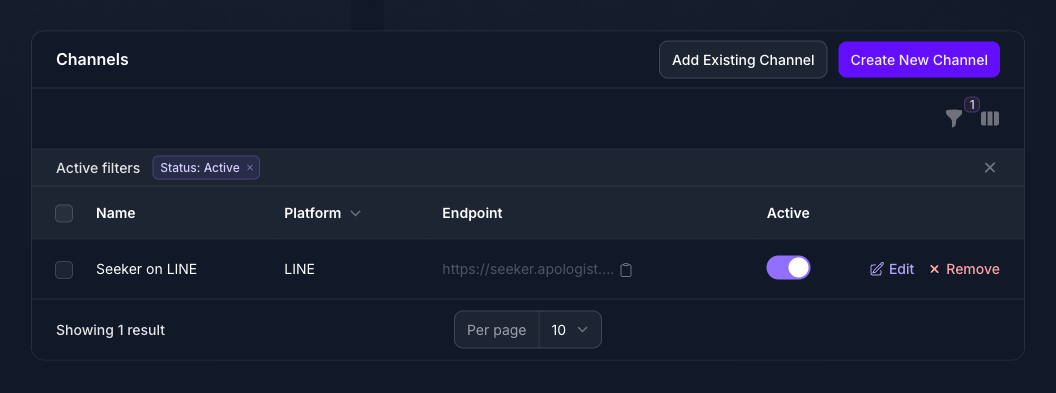
Use the copy button, since the column is too narrow to read the full address. What you copy looks like this:
Replace {api_key} yourself. Console copies the endpoint with that placeholder still in it, and a webhook set to the URL as copied will be rejected. Paste it somewhere you can edit, swap {api_key} for one of the Agent’s API keys, then set the finished URL as the webhook in the platform’s developer settings.
To create a key, turn on the API capability on the Agent’s Capabilities tab, which adds an API Keys panel. You need API only to create the key; the channel itself keeps working off the Messaging / Social Channels capability.
Some platforms sign their own requests, and for those you can delete ?api_key={api_key} from the URL instead. Check your platform before you go looking for a key:
The endpoint contains the Agent’s domain. If you later move the Agent to a vanity domain, copy the endpoint again and update it on the platform, or messages will keep going to the old address.
Activate And Test
A new channel is saved inactive, so open it with Edit, turn Active on, and save. The separate toggle beside the channel in the Agent’s Channels panel is already on, and both have to be on before the Agent replies.
Then send a message from a real account on that platform and confirm the Agent replies. If you set a cue phrase, test a message that includes it and one that does not.
Expected Result
People messaging your account on the connected platform get answers from the Agent, grounded in the same sources and shaped by the same instructions as its website.
Managing Channels Across Agents
Because a channel belongs to the team rather than to an Agent, there is a team-level list of all of them. Open Agents in the left-hand navigation and select Channels in the top right.
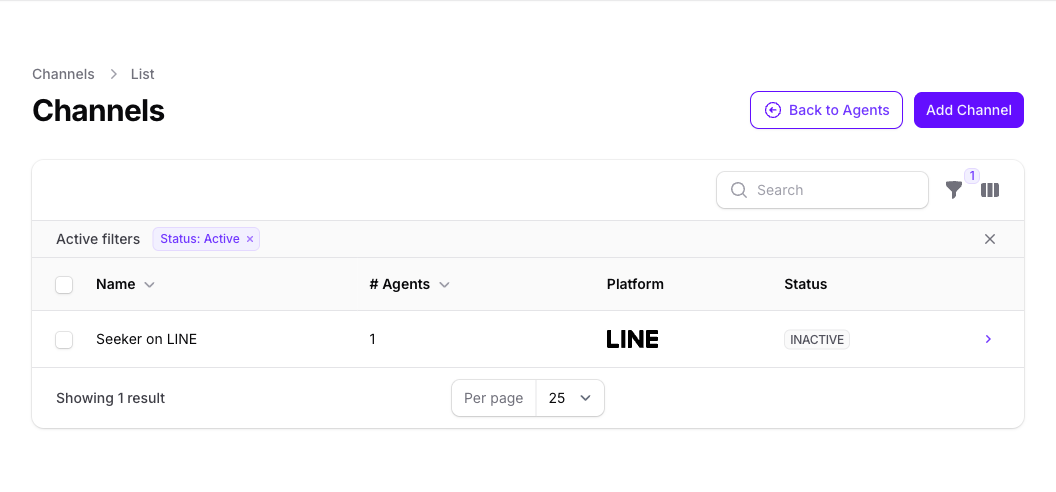
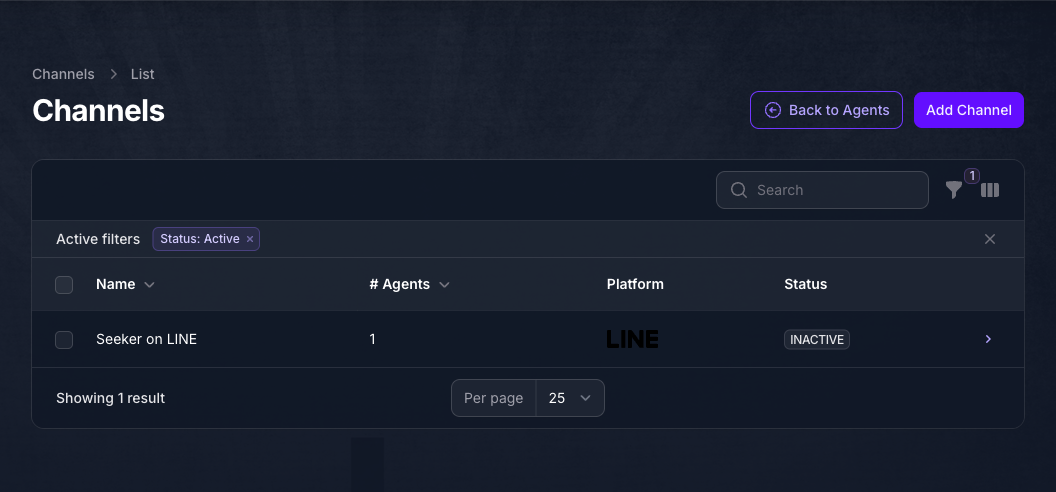
Come here to check # Agents before you change or deactivate a shared channel, since an Agent’s own panel cannot tell you who else depends on it. This is also where you find channels not yet attached to anything, and where you retire one with Archive, which Restore reverses.
Detach before you archive. Console refuses to archive a channel that is still attached to an Agent. Use Remove in each Agent’s Channels panel first; # Agents tells you how many Agents you have to visit.
Troubleshooting
- The Messaging / Social Channels toggle will not switch on, and shows an Upgrade to Unlock button. Your plan does not include channels. The button links to your subscription page.
- The Channels panel does not appear after enabling the capability. Save the form and let the page reload; the panel is added on reload, not as you flip the toggle.
- A field this guide mentions is not on the form. Each platform declares which fields it needs, and Console shows only those. A missing Cue Phrase, Welcome Message, Platform Account ID, or Platform Secret means that platform does not use it. The tables in Steps 4 and 5 list which platforms have which.
- The Agent does not reply, and you have just set the channel up. Check the channel’s own Active toggle. A new channel is saved inactive, while the toggle in the Agent’s channel list is already on, so this is the usual cause.
- The Agent still does not reply, and both toggles are on. Confirm the webhook URL on the platform matches the Endpoint shown in Console exactly, including the channel id, and that you replaced
{api_key}with a real key or removed the parameter as the table in Step 6 allows. - The platform reports that your webhook returned 403. The request failed authentication. On Facebook Messenger and Telegram the endpoint must carry a valid
api_key. On the others, either supply the key or fill in the platform’s signing secret. - The platform reports that your webhook returned 405. The Messaging / Social Channels capability is off on the Agent.
- The Agent replies to everything in a group. Set a Cue Phrase so it answers only when addressed. On a platform with no Cue Phrase field this cannot be narrowed.
- The Agent ignores every message. A Cue Phrase is set and the messages do not contain it. Check spelling and, if you set it per language, that the phrase exists for the language being used.
- Removing a channel did not delete it. Remove detaches the channel from that Agent. The channel remains available to your team and to any other Agent using it. Archive it from the team-level Channels list instead.
- Archiving a channel is refused because it is still associated with an Agent. Detach it from every Agent with Remove first. The # Agents column on the Channels list tells you how many are left.
- Visitors get two replies. The same inbox is connected both as a Chatwoot inbox and as its own Agent channel. Remove the native channel and let Chatwoot own the inbox. See Chatwoot Integration.
- Chatwoot conversations jump to Open with no Agent reply. The Agent Bot webhook failed or timed out. Confirm the outgoing URL is reachable from Chatwoot and that the Agent returned 200. The Agent acknowledges immediately, so a jump to Open usually means auth failed or Chatwoot could not reach the endpoint. See Chatwoot Integration.
Chatwoot
Chatwoot is different from the other platforms on this form. You connect Facebook, a website widget, or another inbox to Chatwoot, then attach this Agent as a Chatwoot Agent Bot. The Agent starts the conversation. Staff take over in Chatwoot, which pauses the Agent, and assign the conversation back to the bot to resume it.
Chatwoot Integration covers connecting the bot, handing conversations off, and conversation labels.
Next Step
Continue to Chatwoot Integration when the inbox lives in Chatwoot, or to API And MCP to reach the Agent from your own code.