

Standalone Web UI
The standalone web UI puts the Agent on its own address, with nothing else on the page.
Purpose
Publish an Agent at a web address you control, decide who is allowed to reach it, and set the page-level options that apply wherever it runs.
Prerequisites
- An Agent. See Quickstart for creating one and choosing its address.
- Permission to edit Agents for your team.
- A decision about whether the Agent should be public or restricted to people you give credentials to.
How an Agent Gets Its Address
Every Agent resolves to exactly one address, and Console builds it from two fields on the General page’s Summary tab:
Setting a vanity domain does not retire the standard domain, but the vanity domain becomes the address the Agent presents as its own.
Subdomains are unique across the whole platform, not just your team, so a name another ministry has taken is unavailable to you. The root domain list is set by your team’s plan, so a domain you expect may not appear.
A vanity domain does not work on its own. You have to point a CNAME record for that domain at dns.apologist.ai, and Apologist has to complete the setup on their side. Enter the domain in Console, then contact support to finish it. Until both halves are done, the domain will not serve the Agent.
Steps
Confirm the Standalone Capability Is On
Select Agents in the left-hand navigation, open your Agent, then choose General from the row of pages across the top and select the Capabilities tab.
Under Interfaces, confirm Standalone Web UI is on. This is what puts the Agent on the web at its configured address.
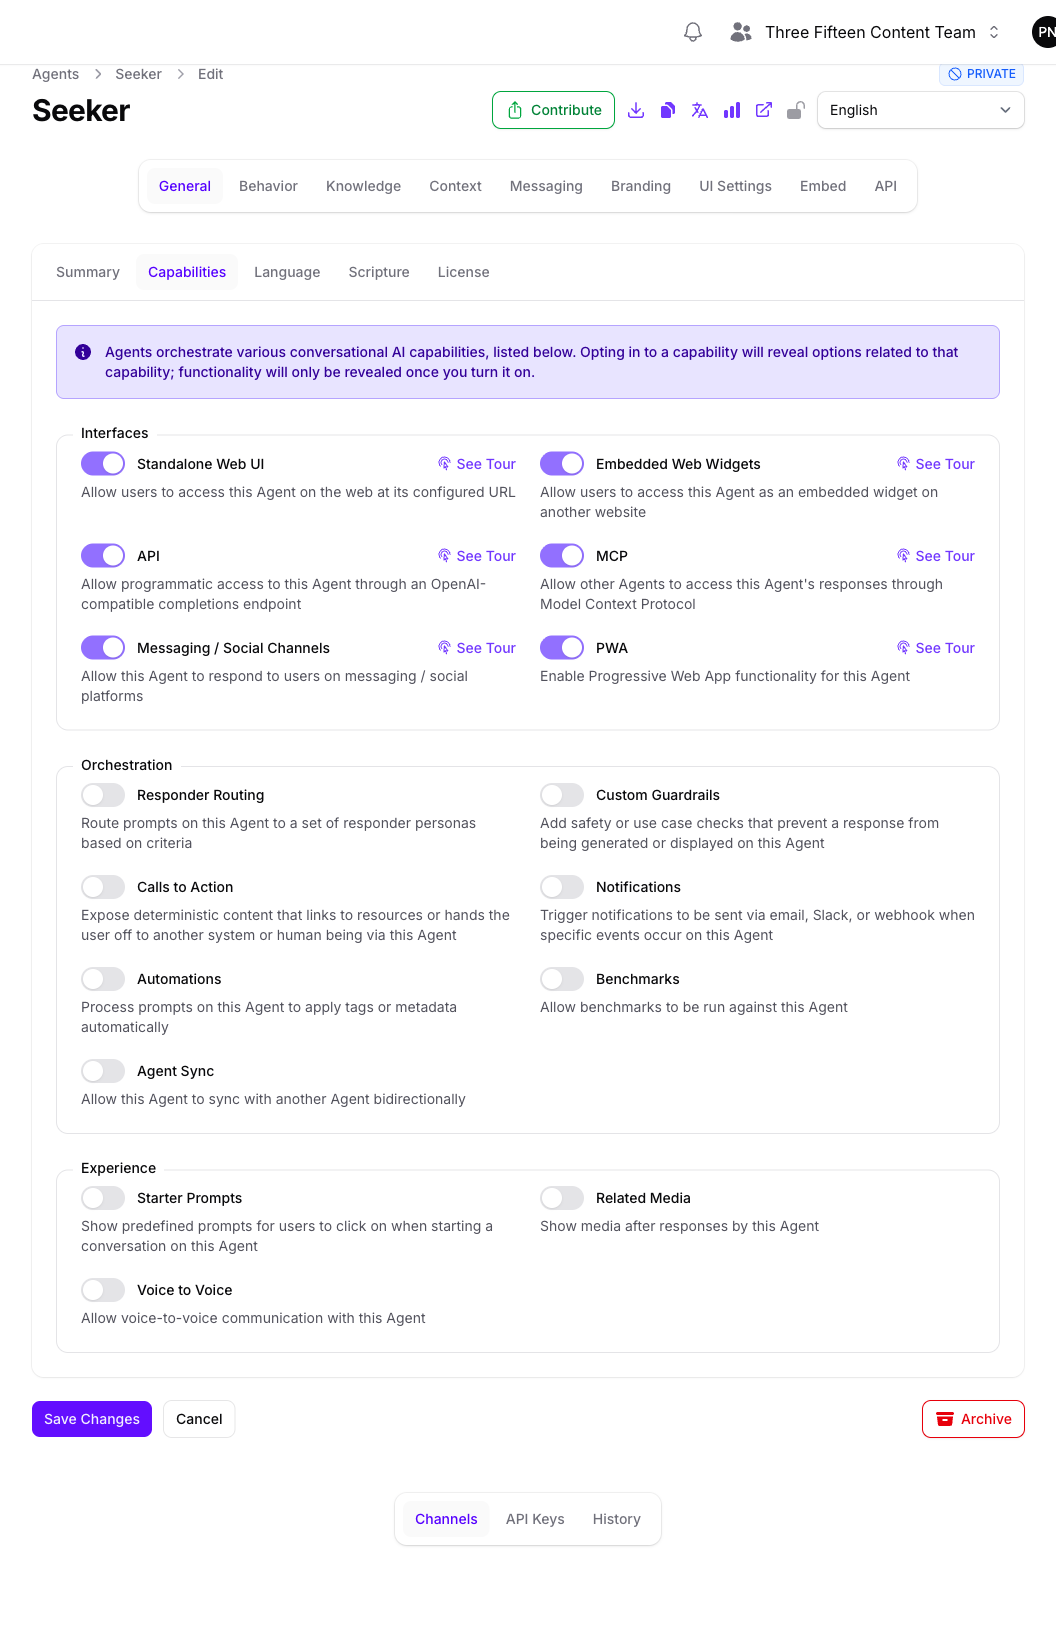
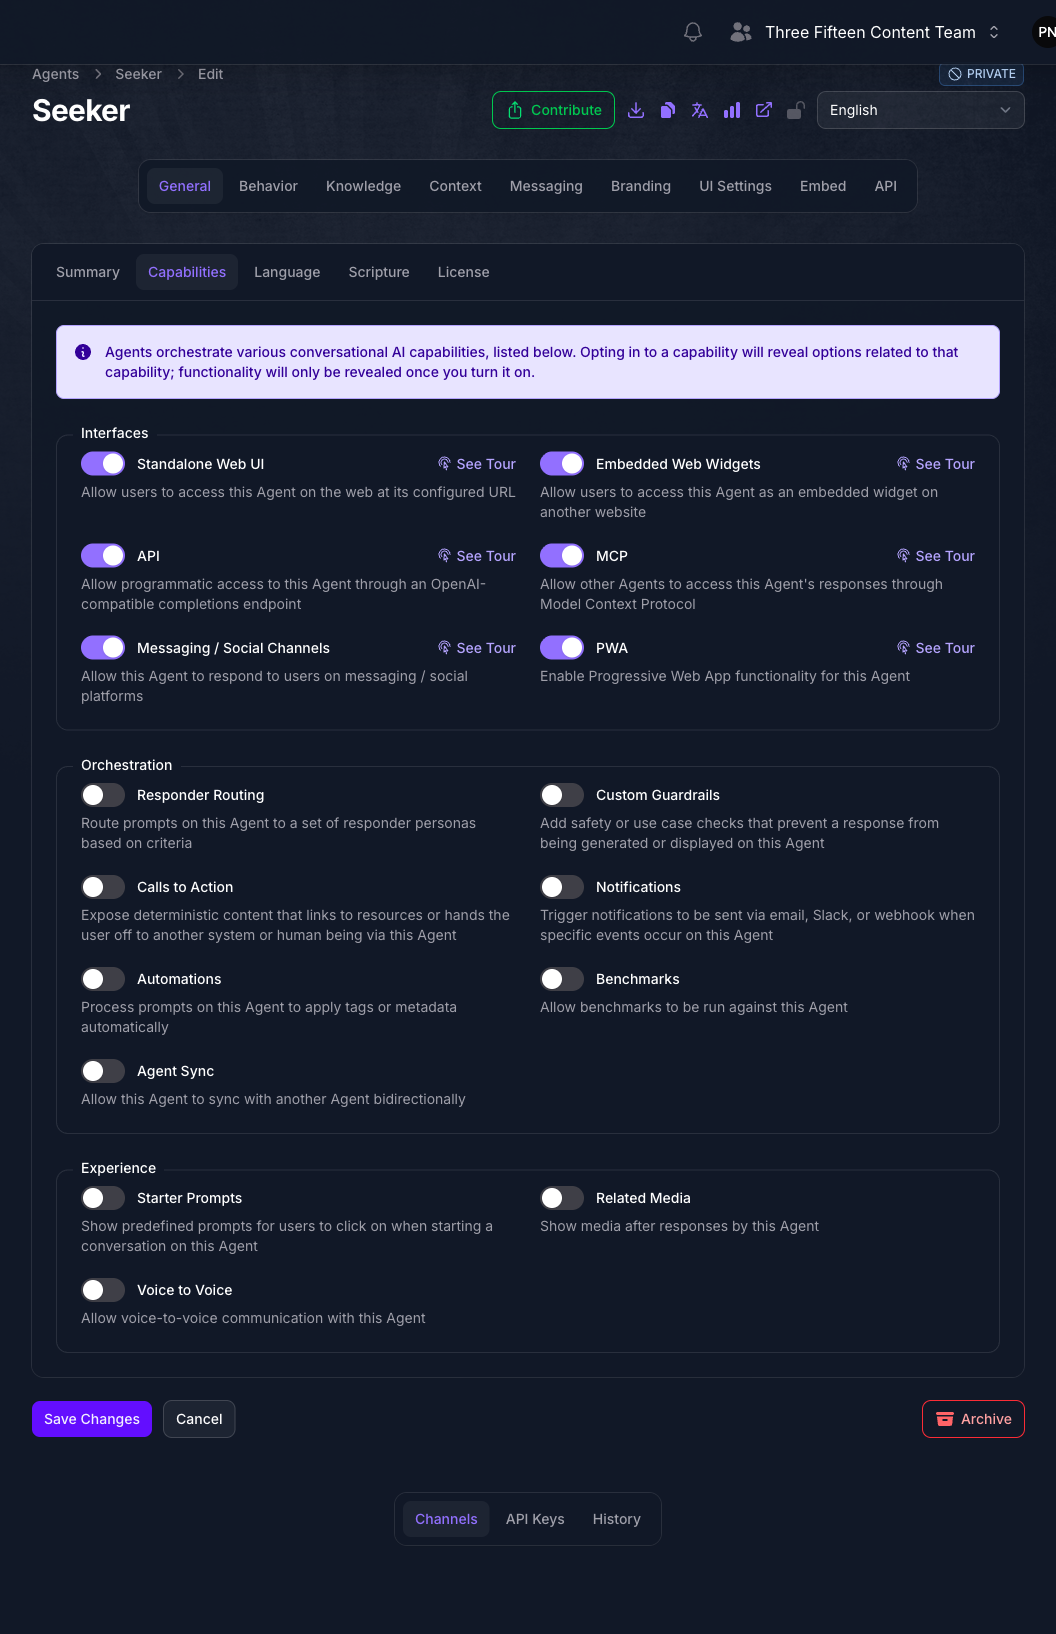
This is the one capability that is on by default for a new Agent, which is why the Agent created in Quickstart was already live at its address. If it has been turned off, the Agent stops serving at its URL.
Turning a capability on or off reloads the page, because the row of pages across the top and the panels below the form are rebuilt from the capabilities you have enabled. Expect the reload, and save before you navigate away.
Set the Address
Select the Summary tab.
Under Standard Domain, the subdomain and root domain are edited independently. Change either one and the Agent’s address changes with it.
To use your own domain instead, enter it under Vanity Domain, then arrange the CNAME record and the support request described above.
Confirm Active is on. An inactive Agent is not visible to the public, whatever its address says. Console also disables this toggle, and deactivates the Agent, if your team uses pay-as-you-go credits and the balance runs out.
Decide Who Can Reach It
Choose UI Settings from the row of pages across the top, then select the Password Protection tab.
By default the Agent is public: anyone with the address can use it. Enable Password Protection puts a username and password in front of it, which is the usual way to run an Agent in front of a limited audience before launch.

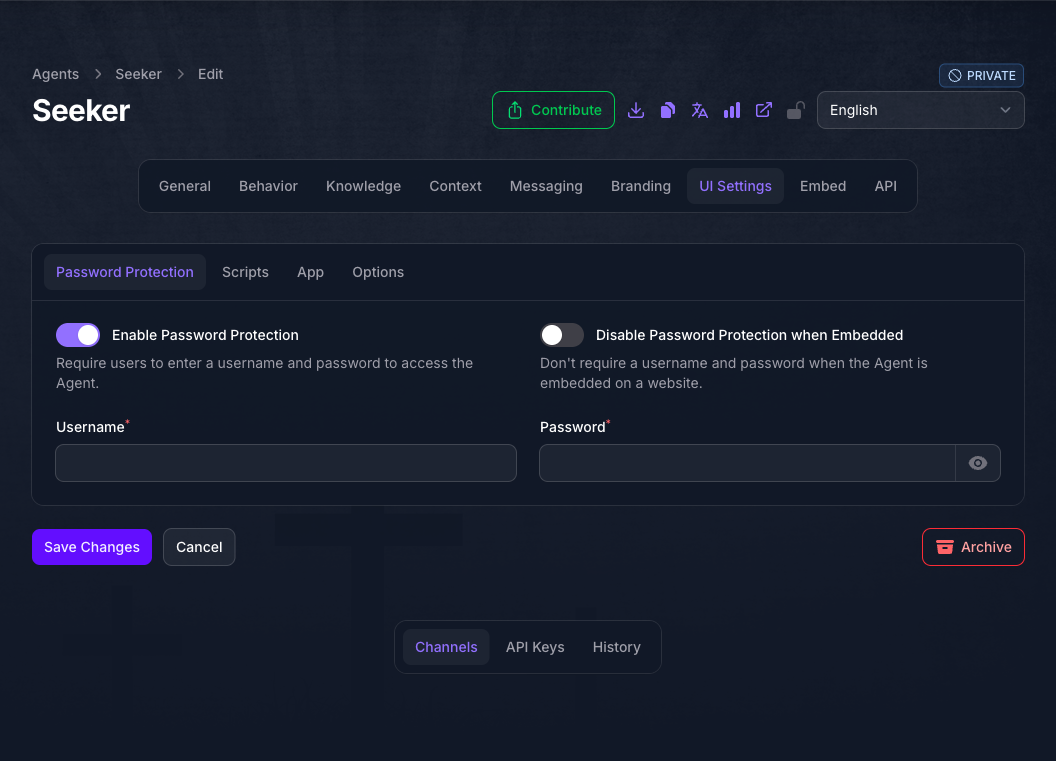
The Username and Password fields stay disabled until Enable Password Protection is on, so turn that on first.
This is a single shared credential for the whole Agent, not per-person accounts. Everyone you give it to uses the same username and password, and changing it cuts off everyone at once. It suits a staged rollout or an internal review, not per-user access control.
Disable Password Protection when Embedded means exactly what it says. If you embed the Agent on a page anyone can reach, the password no longer protects it, because the embedded copy does not ask for one. Use it when the host page already restricts access, not as a convenience.
Set the Page Options
Select the Options tab.
Show Sources in Response Footer puts the sources behind an answer directly underneath it, instead of in a separate modal the reader has to open. Turn it on when citations are part of what you want readers to see rather than something they go looking for.
This option depends on the Agent citing anything in the first place. See Curating Sources for turning on inline citations.
Add Analytics, If You Use Them
Select the Scripts tab.
Custom Scripts takes analytics tags and other custom JavaScript, and injects them into the Agent’s pages. See Custom Tracking Scripts for what to put here.
Anything entered here runs on the Agent’s pages for every visitor. Paste only scripts you trust and understand, and check your obligations around consent and visitor privacy before adding tracking.
Expected Result
The Agent answers at its own address, reachable by the audience you intended and no one else, with citations and analytics behaving the way you configured them.
What Lives Elsewhere
The UI Settings page collects settings that apply to the Agent’s own pages, but several of its tabs belong to other guides:
- Related Media appears only when the Related Media capability is on. See Related Media.
- App appears only when the PWA capability is on. See Progressive Web Apps (PWA).
Colors, logo, and intro copy are not on this page at all. See Branding for the intro text, logo, colors, and attribution, and Advanced Branding for the footer, metadata, background, fonts, and custom styles.
Troubleshooting
- The address does not resolve. For a standard domain, confirm the subdomain and root domain on the Summary tab. For a vanity domain, confirm the CNAME points at
dns.apologist.aiand that support has completed the setup on their end. - The address loads someone else’s Agent. The subdomain is probably not the one you think it is. Check the Summary tab rather than relying on memory, since subdomains are unique platform-wide and a taken one cannot be reused.
- The Agent is not visible to the public. Check Active on the Summary tab. If it is off and will not turn on, your team may be out of credits under the pay-as-you-go option.
- The UI Settings page is missing. It appears only when at least one of the Standalone, Embedded, PWA, or Related Media capabilities is on.
- The password prompt does not appear on an embedded copy. That is Disable Password Protection when Embedded working as designed. Turn it off if the embedded copy should also be protected.
- The Username and Password fields cannot be edited. Turn on Enable Password Protection first. They stay disabled until it is on.
- Sources still open in a modal. Confirm Show Sources in Response Footer is on and saved, and that the Agent is citing sources at all.
Next Step
Continue to Embedding On a Website to put the same Agent on pages you already run.