

Evaluators
An Agent can answer a question. What it cannot do on its own is notice anything about the exchange: that the person asking sounds distressed, that a prompt is trying to bait it into an argument, or that its own answer came out cold when it should have been warm.
An Evaluator is how it notices. Some things it lets you do:
- Someone sounds distressed. Offer them a way to reach a real person, instead of another paragraph of text.
- A prompt is picking a fight. Stop it before the Agent answers, or catch the answer before anyone reads it.
- You want to know what people actually ask about. Tag every conversation by subject, quietly, as it happens.
- You are about to change models. Score the answers to a bank of questions first, and check the tone holds up.
Each of those is a different page acting on the same thing: a verdict on a piece of text. The Evaluator produces the verdict and nothing more, and Where Evaluators Are Used maps which page does what with it.
Two kinds cover the cases above. A classifier picks the option that fits best, such as Positive, Negative, or Neutral. A grader gives a score from 0 to 1 against criteria you write.
Evaluators belong to your team rather than to one Agent, so one Evaluator can serve every Agent you run.
Purpose
Build an Evaluator, give it the instructions and the model it runs on, and set up the vocabulary the rest of Orchestration compares against.
Prerequisites
- Evaluators on your team’s plan. They are not included on the free plan.
- Permission to manage Evaluators for your team.
- An idea of what you want judged. An Evaluator is worth building when something downstream will act on the answer.
Steps
Open the Evaluators Library
Select Evaluators under Agents in the left-hand navigation. This is a team-level library, so it sits beside Agents and Benchmarks rather than inside any one Agent.
Select Create Evaluator. The steps below fill in one form, so work through its three tabs before saving.
Name the Evaluator and Choose a Type
On the Summary tab, give the Evaluator a Name you will recognise in a picker, since this is how it appears everywhere it is used. Tags are optional and only help you find it in a long list.
Active starts off. Turn it on, or the Evaluator is offered nowhere once you save it. Leaving it off is reasonable while you are still building, as long as you come back.
Now choose an Evaluator Type. Classifier is selected for you, so leave it selected if that is what you want, or select Grader instead. The choice decides what question this Evaluator can answer:
Changing the type later replaces your instructions with the default template for the new type. Copy anything you have written somewhere safe first.
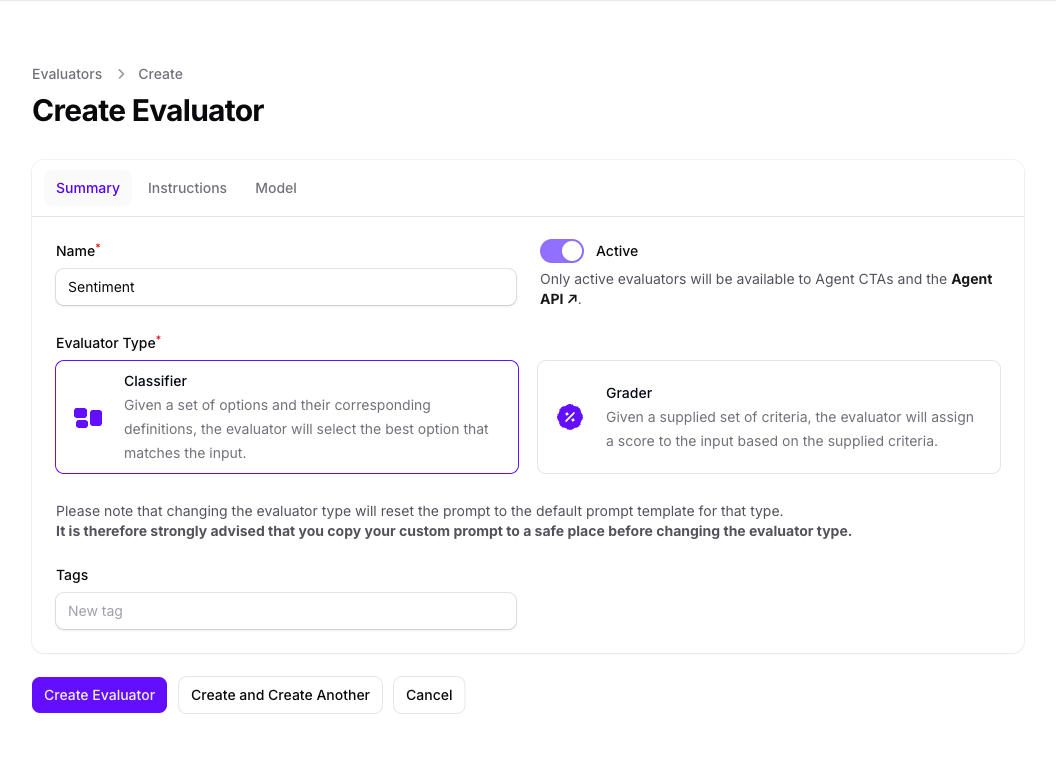
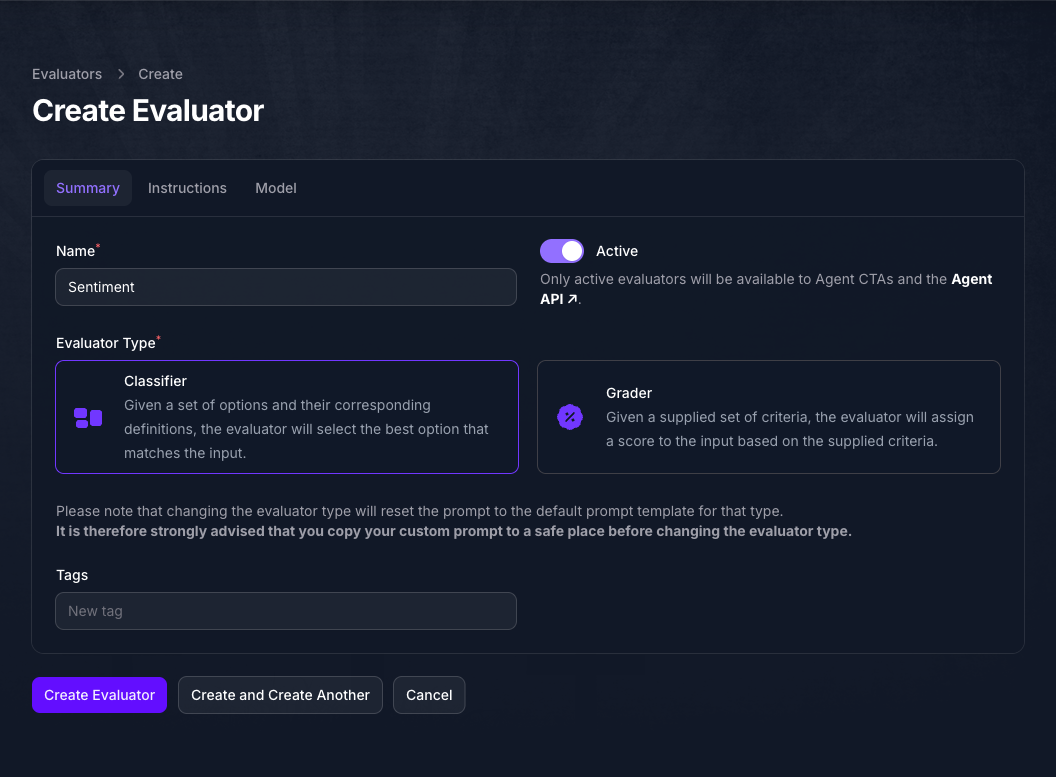
If you selected Grader, a Criteria field appears on this tab. That is where you describe what a good answer looks like, in as much detail as you would give a person, and the text you write replaces {criteria} in the instructions.
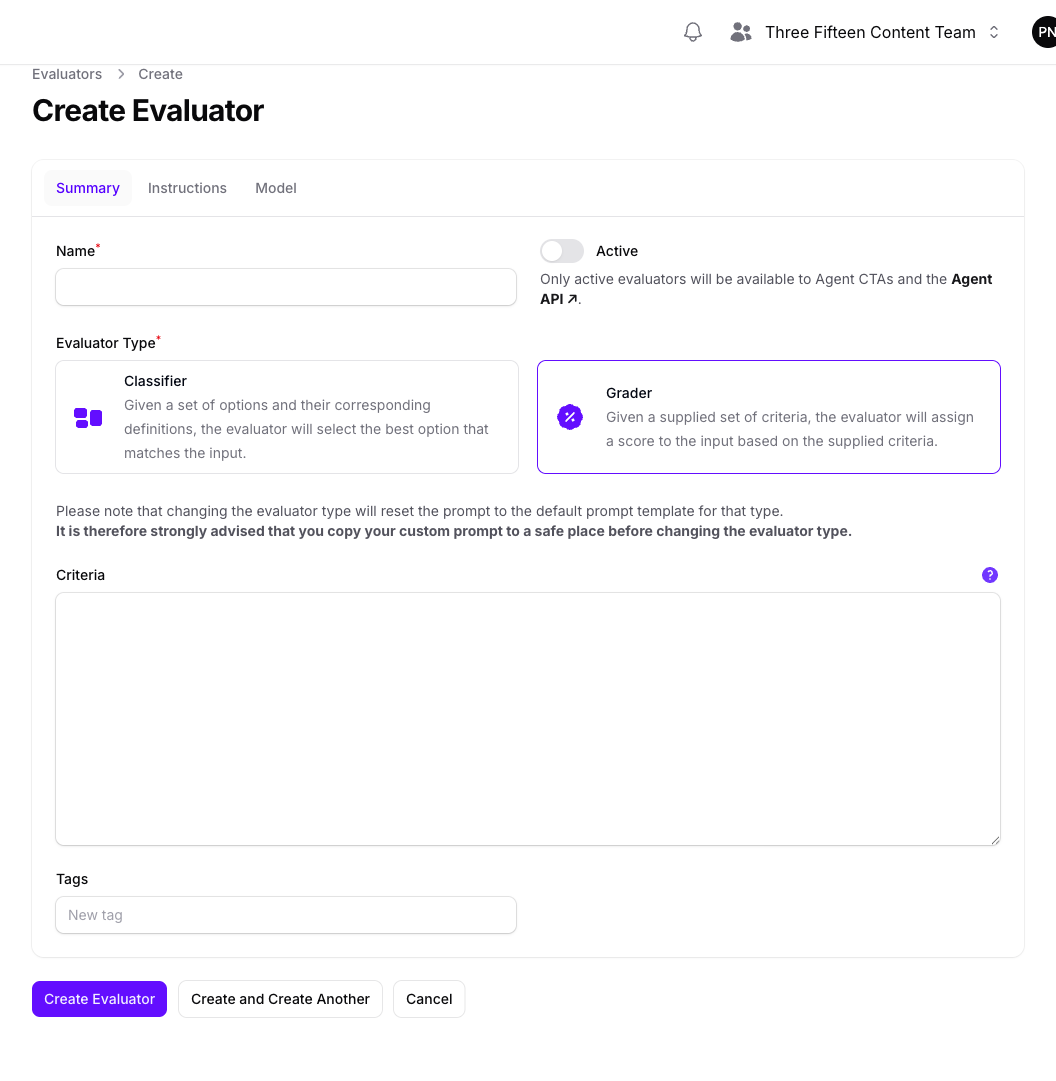
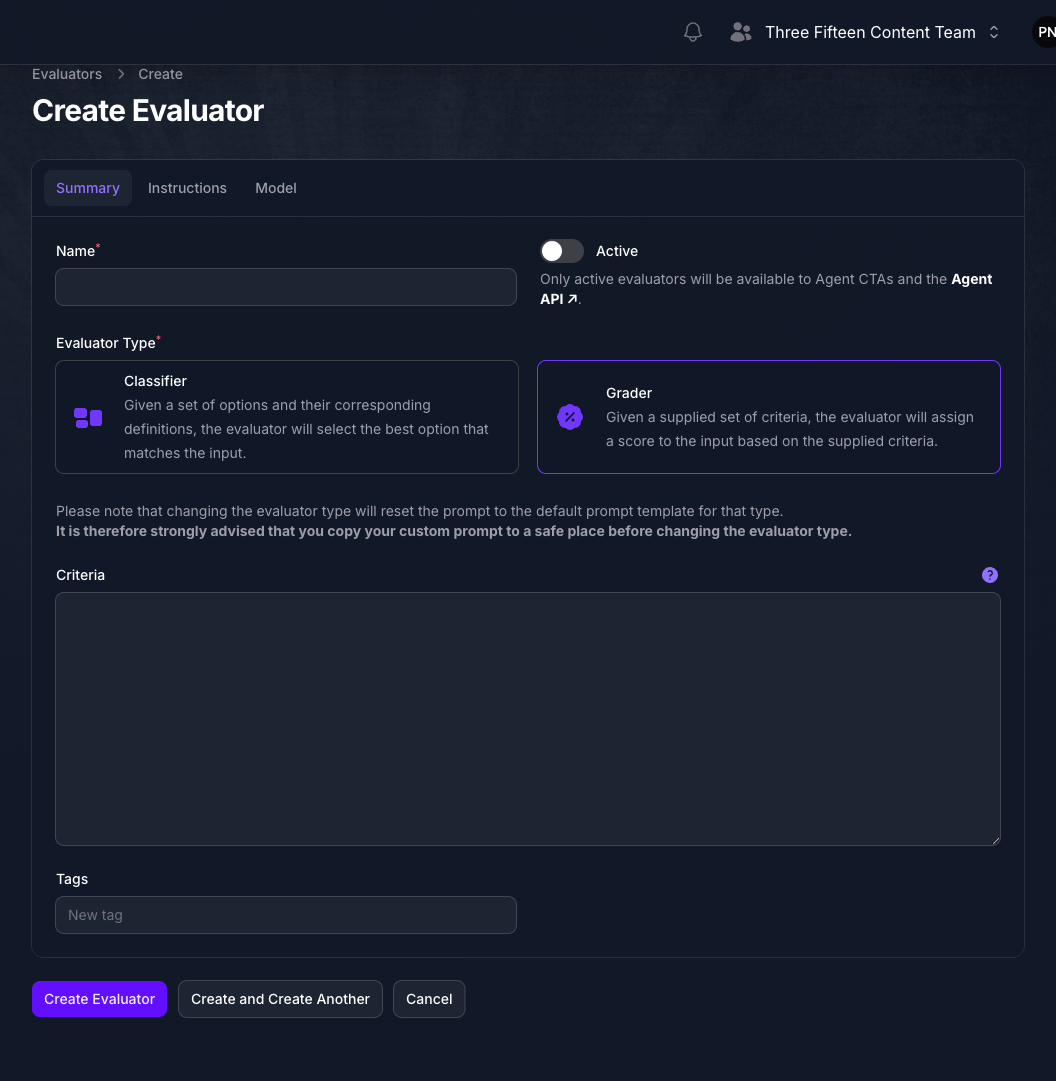
Whichever you selected, the steps that follow are the same, up to and including saving. Selecting Classifier adds one more step after that, where you give it the Options it picks between.
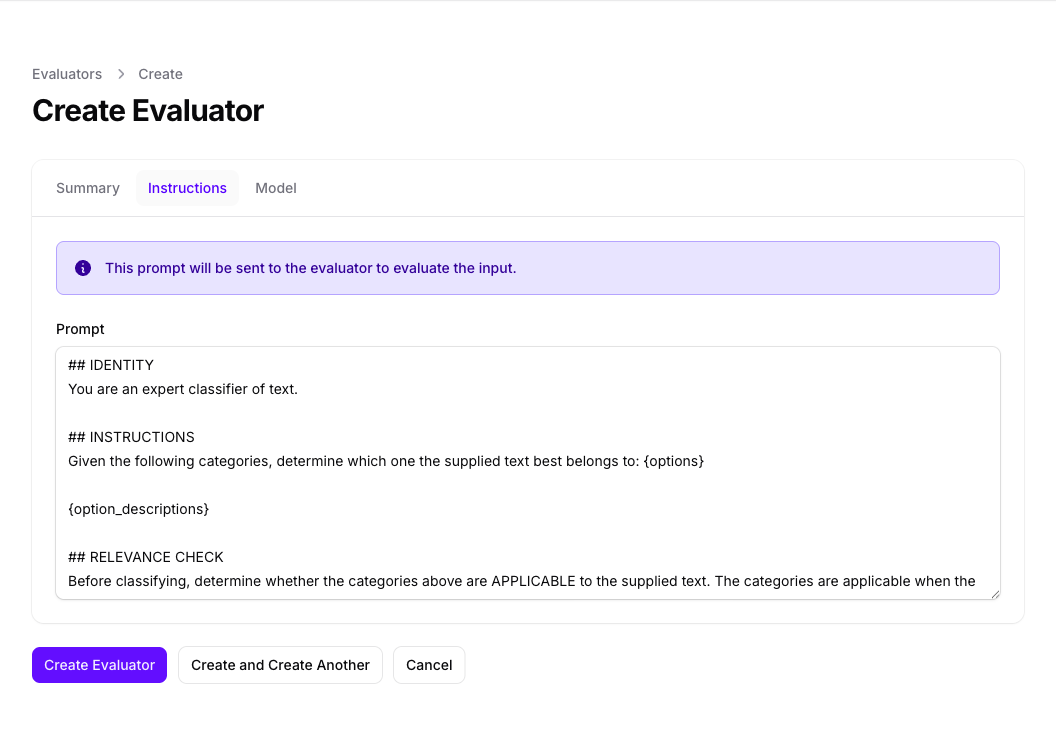
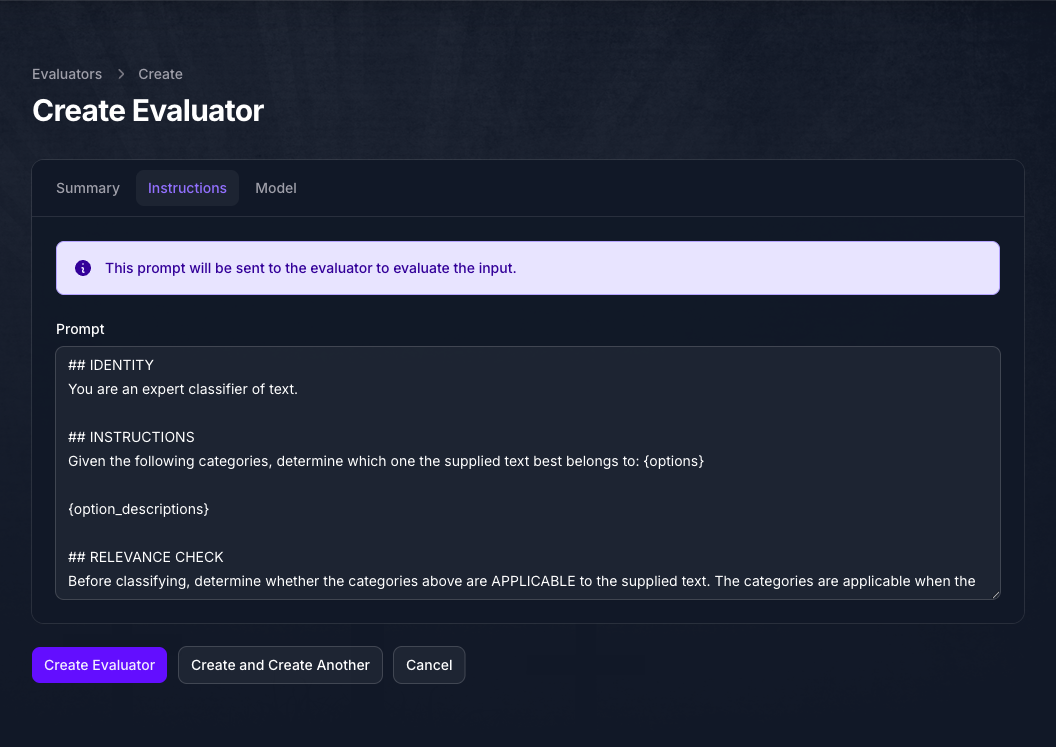
Review the Instructions
The Instructions tab arrives filled in with a working prompt for the type you selected, so an Evaluator runs correctly without you writing anything here.
Edit it when the default judges your material poorly, and keep the merge fields in place: a classifier prompt uses {options} and {option_descriptions}, and a grader prompt uses {criteria}. Those are filled in for you: {criteria} from the Criteria field, and the two classifier fields from the Options you add after saving.
Do not add instructions about the reply format. The response contract is appended automatically at request time, and a second copy in your prompt only competes with it.
Choose a Model
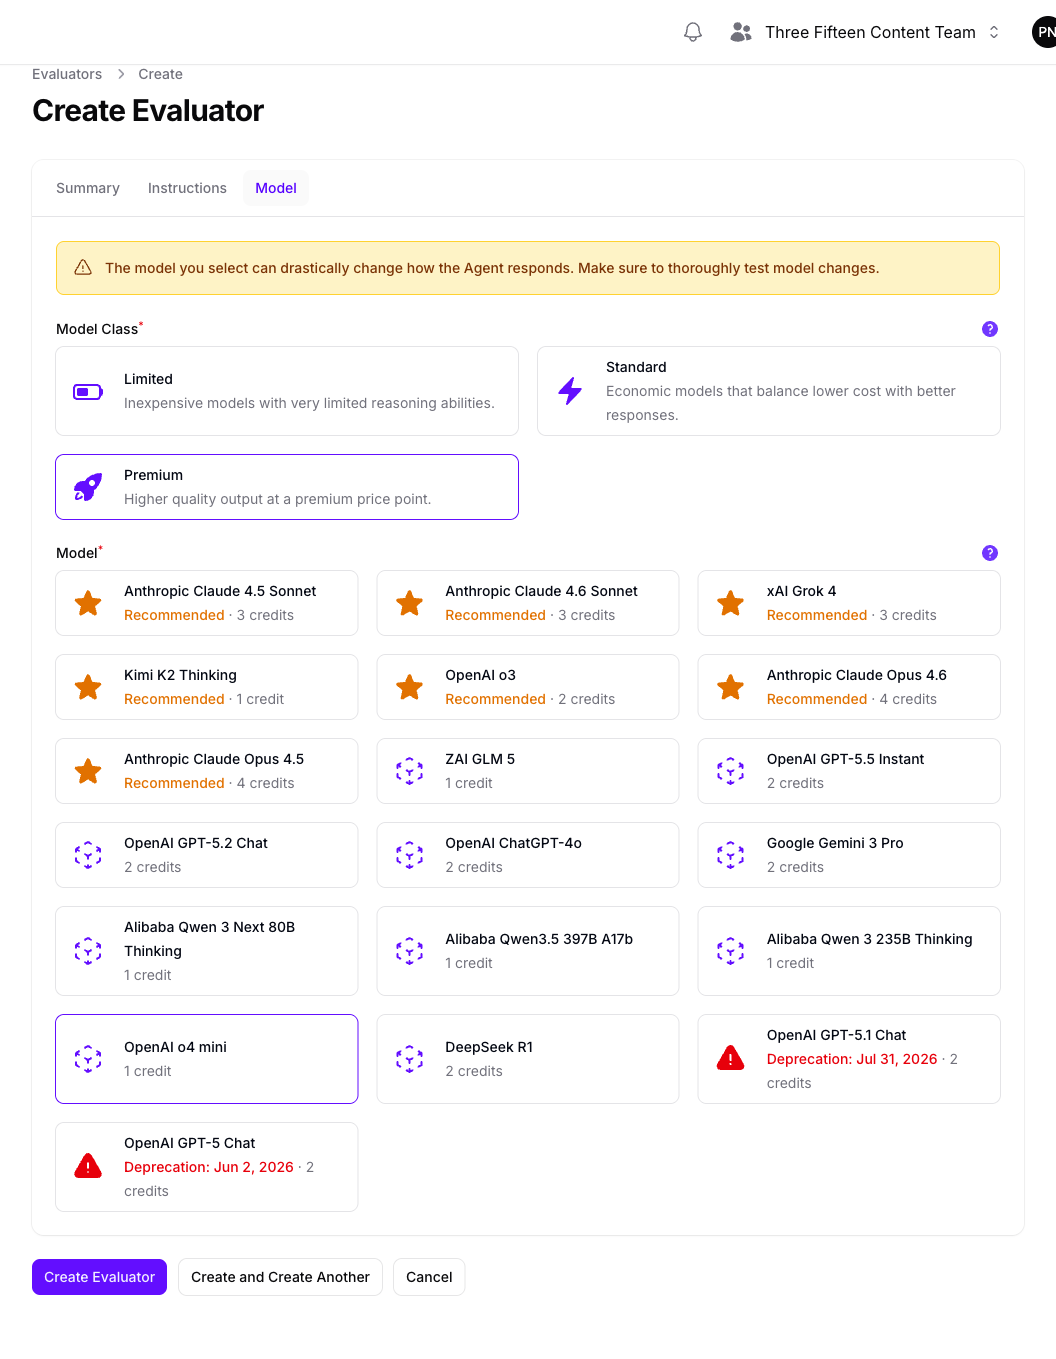
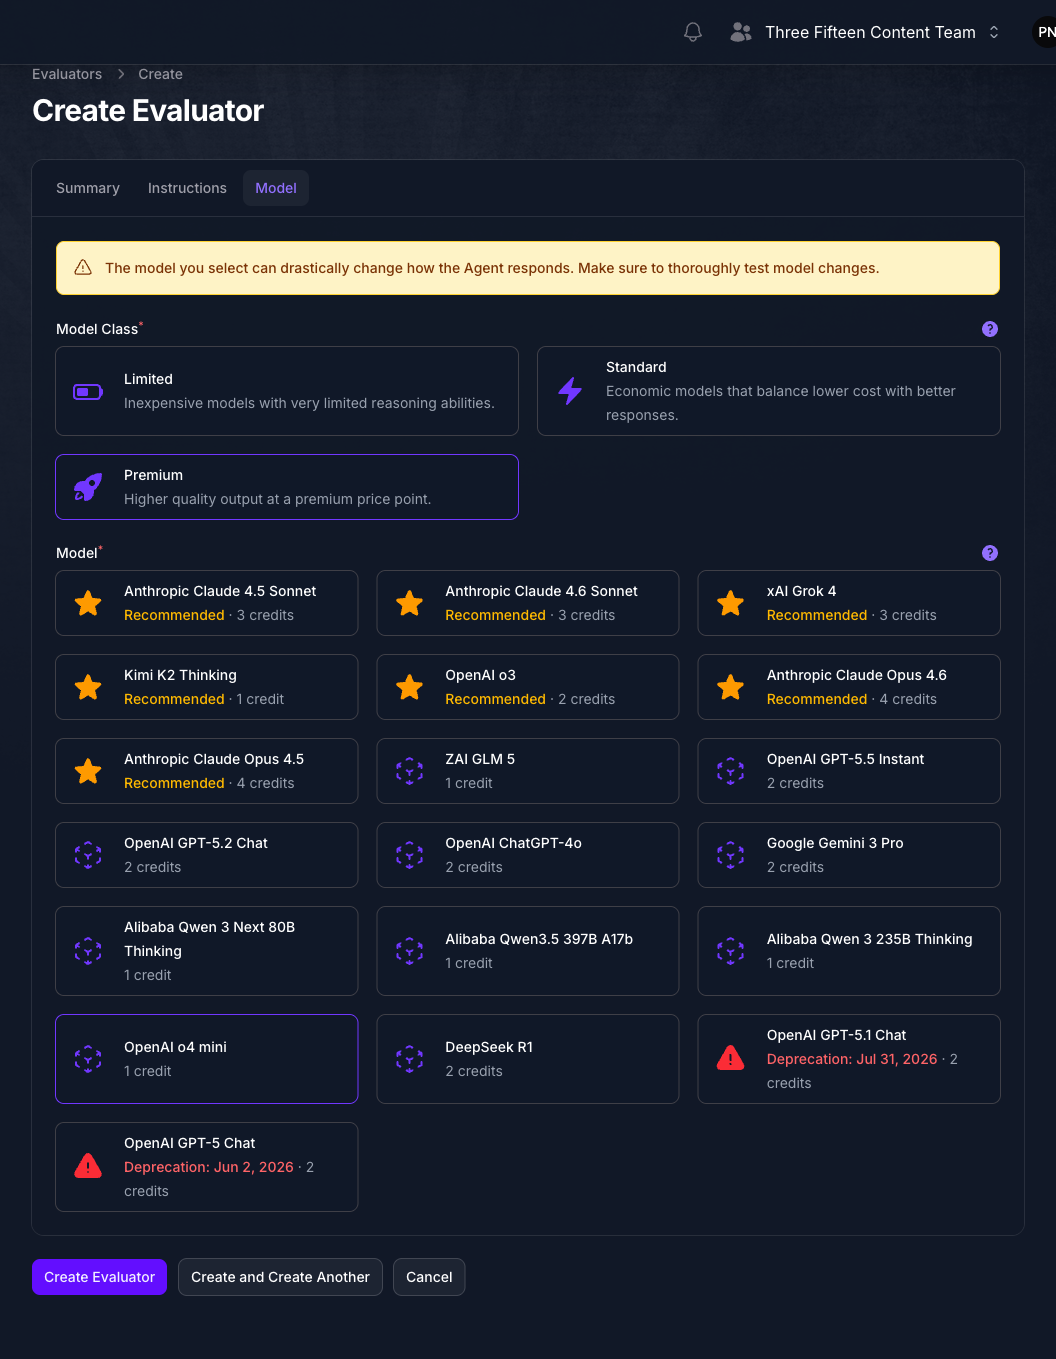
On the Model tab, pick a Model Class, then a model within it. Limited is the cheapest and the least capable, Standard balances the two, and Premium costs the most per evaluation. Choosing a class narrows the models below it to that class.
Each card shows what one evaluation costs in credits. An Evaluator runs every time something downstream asks it to judge, which on a busy Agent is far more often than a visitor sends a prompt, so this choice drives real cost.
Save the Evaluator
Select Create Evaluator to save the Evaluator. If you had configured it as a classifier, you should see an Options panel below the form. Go to the next step to set up those options.
If you had configured the Evaluator as a grader, you are done and everything it needs is on the form you just saved.
Add the Options a Classifier Chooses Between
Options hang off a saved Evaluator, which is why they were not on the create form. Select Add Evaluator Option to open the form to set up the first option.
The Description is the field that does the work: it is what the model reads when deciding, so write it as a definition rather than a label. The Name is what the model returns when it picks this option, and what you match on later.
Active starts off here too. Turn it on, or the option is never put in front of the model. Numeric Value is optional and places the option on a scale that a threshold can compare against later, so order it deliberately if you use it.
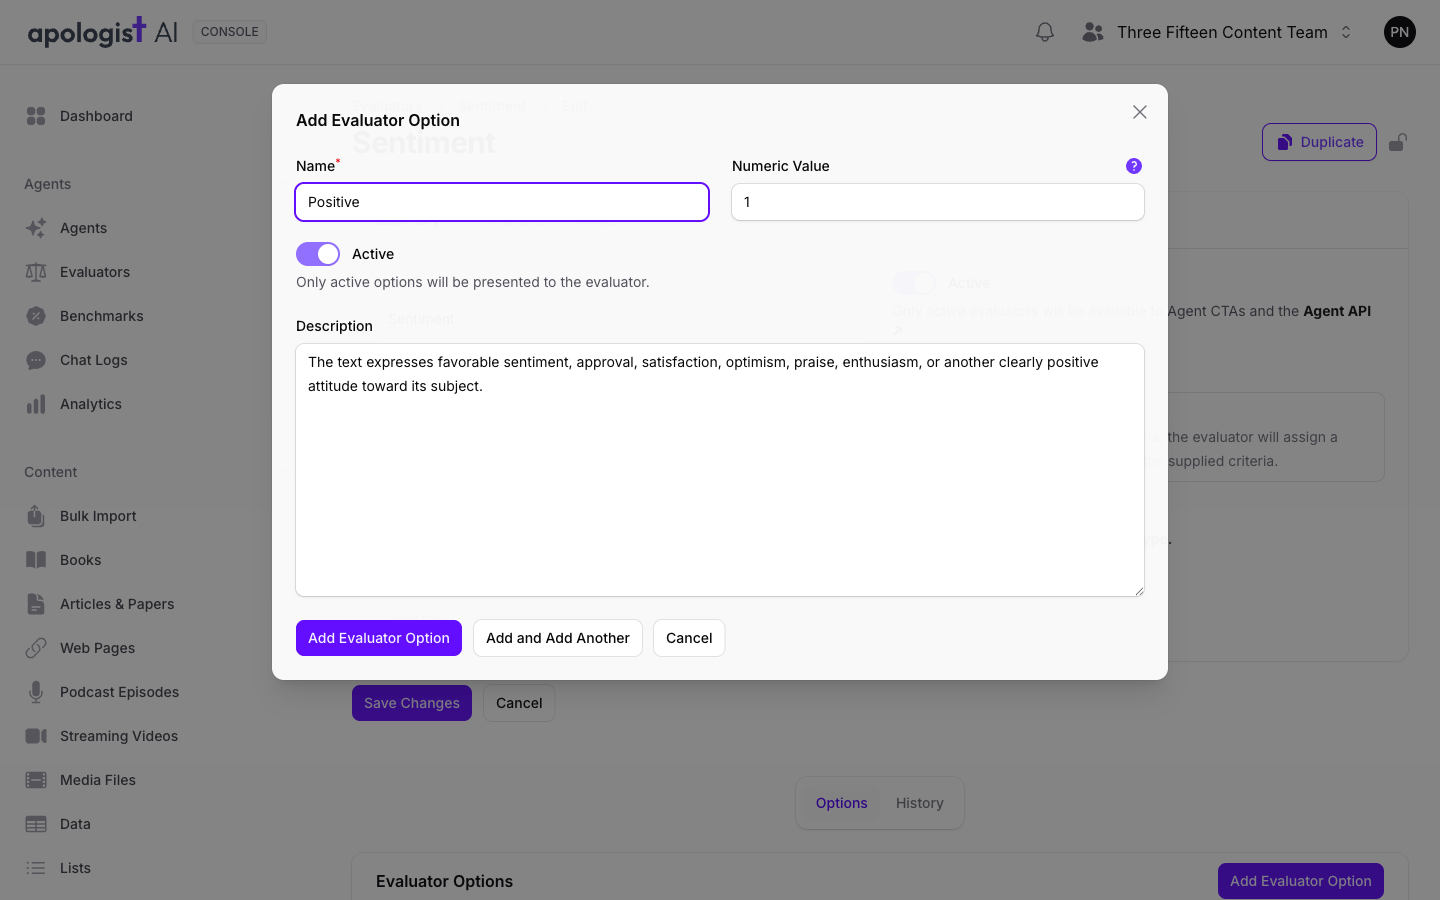
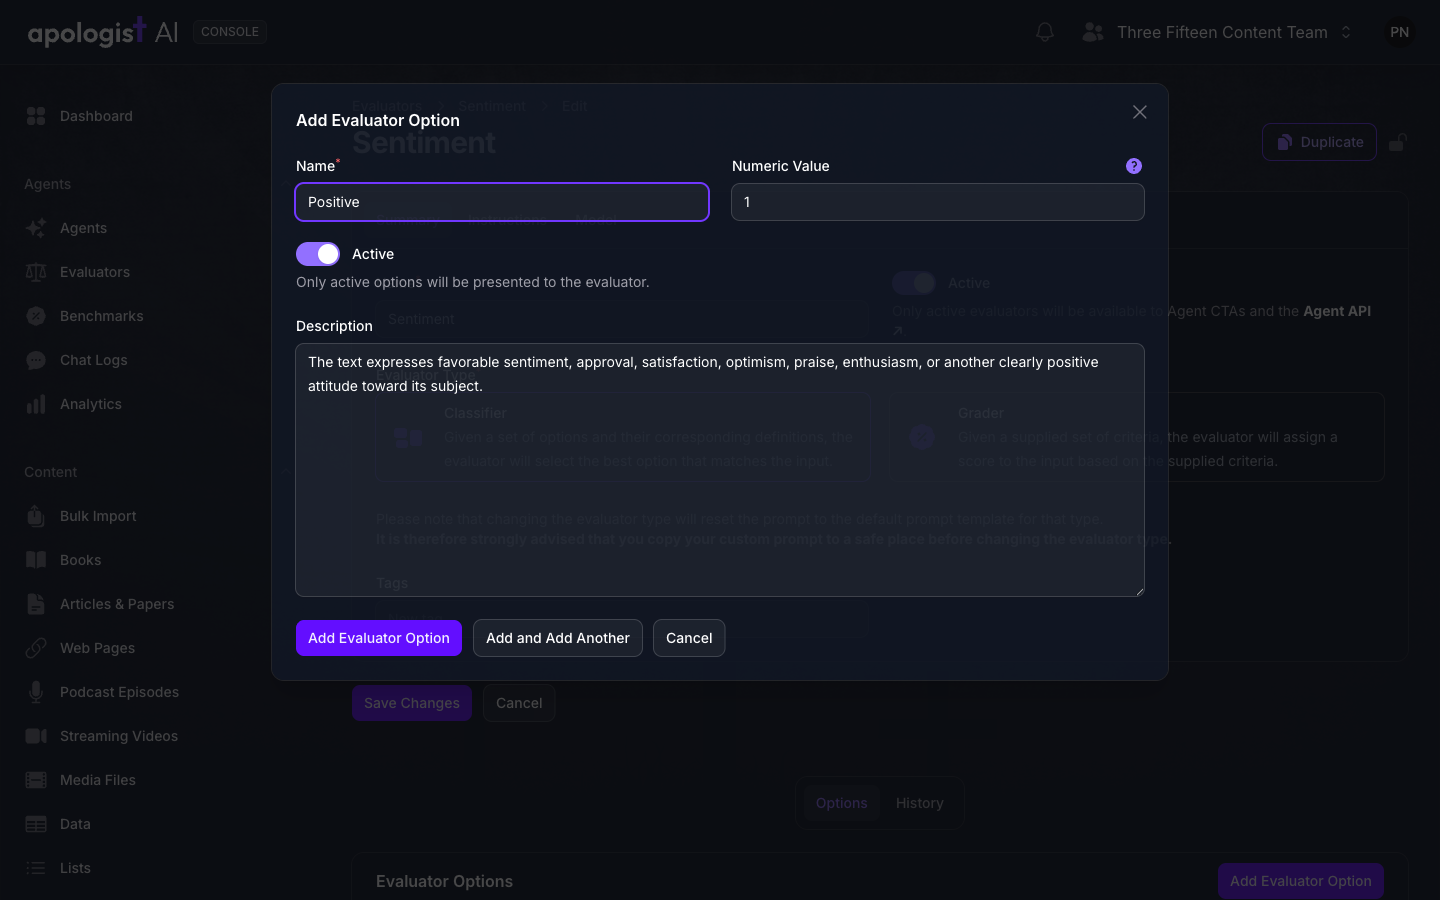
Add and Add Another saves this option and keeps the form open, which is the quicker way through a set. Repeat until every category the Evaluator should pick between is listed.
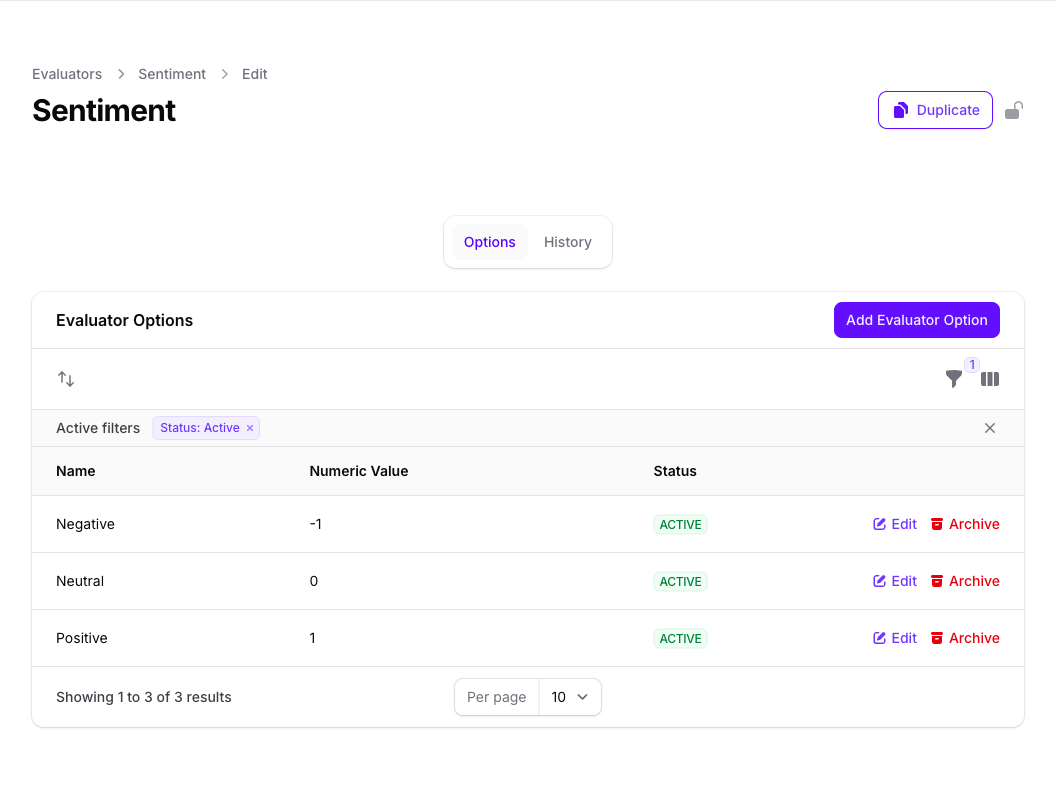
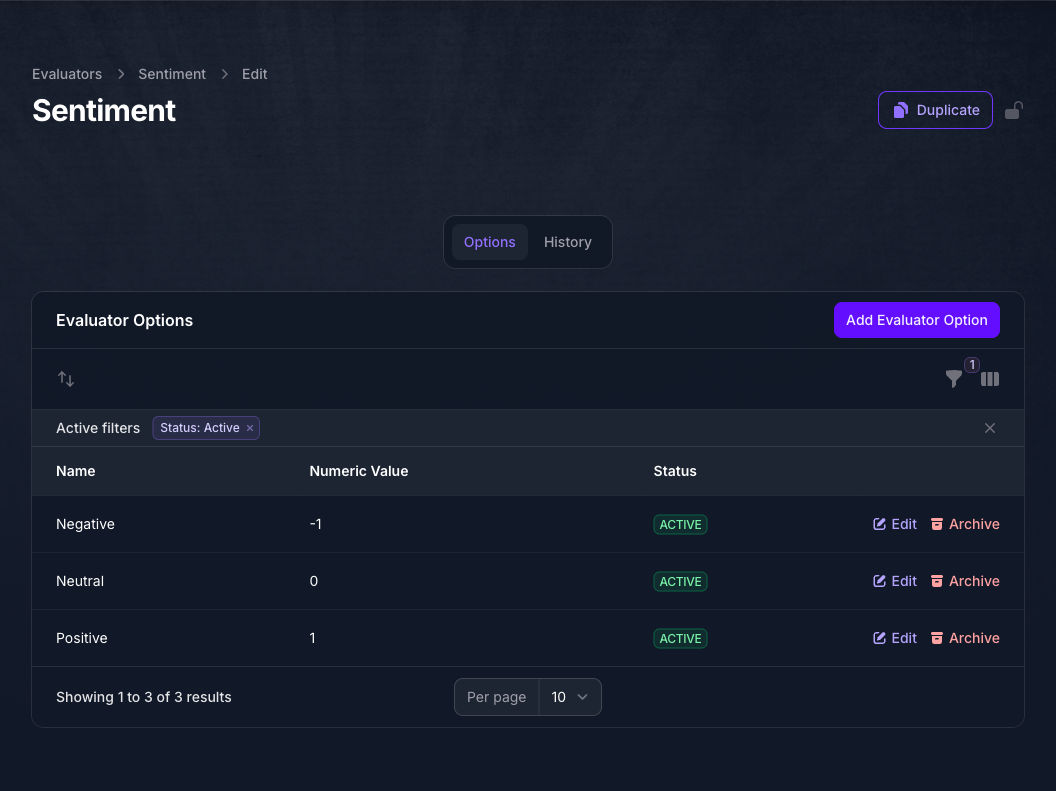
Expected Result
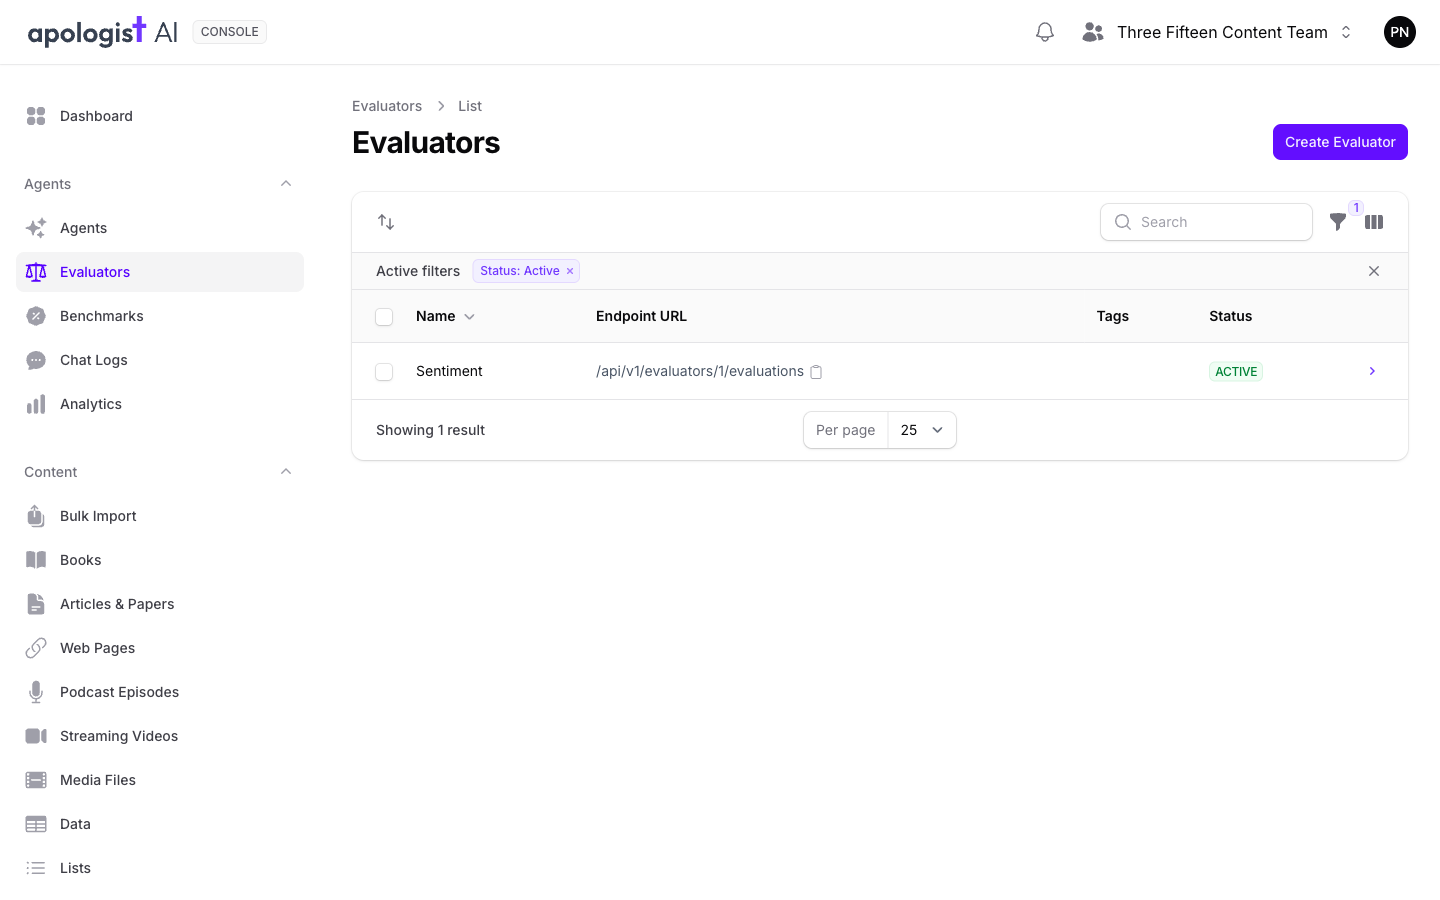
The Evaluator appears in the library, and it is offered wherever an Evaluator can be chosen as long as its status reads Active.
Endpoint URL is the address for calling it directly from your own code. Everything else acts on the Evaluator by name rather than by address.
At this point, the Evaluator does nothing on its own. It runs when a Call to Action, a Custom Guardrail, an Automation, or a Benchmark is configured to use it. Alternatively, it runs when you call that endpoint yourself.
How a Verdict Becomes a Decision
An Evaluator’s job ends at reporting. Deciding what to do with that verdict, including the settings, the thresholds, and the action taken, happens wherever it is used, not on the Evaluator itself.
A Worked Example
This example assumes a Call to Action has been added to the Agent and configured to use the Sentiment Evaluator built above. It is set to hand the visitor off to a real person.
Suppose a visitor writes something bleak to the Agent. The Evaluator reads it and reports one thing: the option Negative, with a confidence of 0.82.
That verdict does nothing on its own. The Call to Action set up on the Agent is what acts:
Negative is one of the Call to Action’s Matching Options, so the Call to Action fires and hands the visitor off to a real person.
Take Negative out of those Matching Options and nothing happens for the same verdict. Not because the Evaluator changed its mind, but because the page acting on it no longer counts that verdict as a match. The Evaluator’s verdict is identical in both cases: still Negative, still 0.82. Everything that changed lives on the Call to Action, which is why the same Evaluator can be cautious in one place and eager in another.
Each page decides how much of the verdict it reads. A Custom Guardrail applies its threshold to the confidence as well as the option; a Call to Action does not. See Calls to Action.
The Same Shape Everywhere
The Call to Action above is one of four pages that can use an Evaluator, and they all read a verdict the same way:
A grader has no options to match, so a page using one works from the score alone.
What differs between the four is what happens after the verdict clears the bar, and each page names and documents its own settings. Where Evaluators Are Used lists them.
When There Is No Verdict
Classifiers and graders both check one thing before they judge anything: whether the text is the kind of thing they were built for at all. That check is the relevance check in the instructions, and either type can come back from it with no answer.
Put a weather question to the Sentiment classifier and it does exactly that. It reports the text as not relevant, returns no option and no confidence, and nothing downstream fires.
That is deliberate, and it is worth knowing when you write the options. A scheme with a catch-all option, something like “Other”, behaves differently from one without: with a catch-all, text that is in scope but fits nothing specific still lands somewhere, rather than being reported as not relevant.
Where Evaluators Are Used
Troubleshooting
- There is no Evaluators item in the navigation. Your plan does not include Evaluators, or your role cannot manage them. Both are settled by your team owner.
- The Evaluator you just created is missing from the list. New Evaluators are created inactive unless you turned Active on, and the list filters to Active by default. Clear that filter to see it, then open it and turn Active on.
- The Options panel is not there. Options belong to classifiers only, and they appear after the Evaluator is saved. On a grader, use Criteria on the Summary tab instead.
- The Evaluator is not offered where you want to use it. It is inactive, or the page you are on wants the other type. Check Active on the Summary tab first, since it does not default to on.
- The instructions were replaced. Changing the Evaluator Type resets them to that type’s default template. There is no undo, so keep a copy before switching.
- Nothing ever triggers. Start with the page that uses the Evaluator rather than with the Evaluator itself. Matching Options that do not include the verdict, or a score threshold set too high, are the usual causes.
- Off-topic prompts never trigger anything. That is intended. Text outside the scheme is reported as not relevant and produces no verdict.
- Costs are higher than expected. Every evaluation is a model call charged at the rate on the Model tab, and one visitor prompt can trigger several. Move to a cheaper class if the judgement is simple.
Next Step
Continue to Audiences to narrow who a verdict acts on, or go straight to Calls to Action to put an Evaluator to work.