

Quickstart
Every Console workflow starts with an Agent. This guide walks through creating one, the first step in the Console User Guide path.
Purpose
Create an Agent and get it published to its own live URL, so it’s ready for further configuration and review.
Prerequisites
- An Apologist AI account.
- Membership on a team. Teams are created for you by an Apologist AI administrator, so you need an existing team before Console opens.
- Permission to create Agents within that team.
Registering an account does not create a team, and Console is only available to team members. If Create Agent is missing or disabled later in this guide, ask a team administrator to check your role.
Steps
Sign In To Console
Sign in to Apologist AI Console with your Apologist AI account. If you don’t have an account yet, register from the sign-in page and confirm the verification email before continuing. If you were invited to a team, open the invitation email and accept the invitation, which joins you to that team and verifies your email at the same time.
Everything in Console belongs to a team, including Agents and content, so your account has to be on a team before Console opens. Teams are set up for you: an Apologist AI administrator creates the team and adds you to it, either directly or by sending you an invitation. Signing in without a team takes you to Agent, the chat experience, rather than Console.
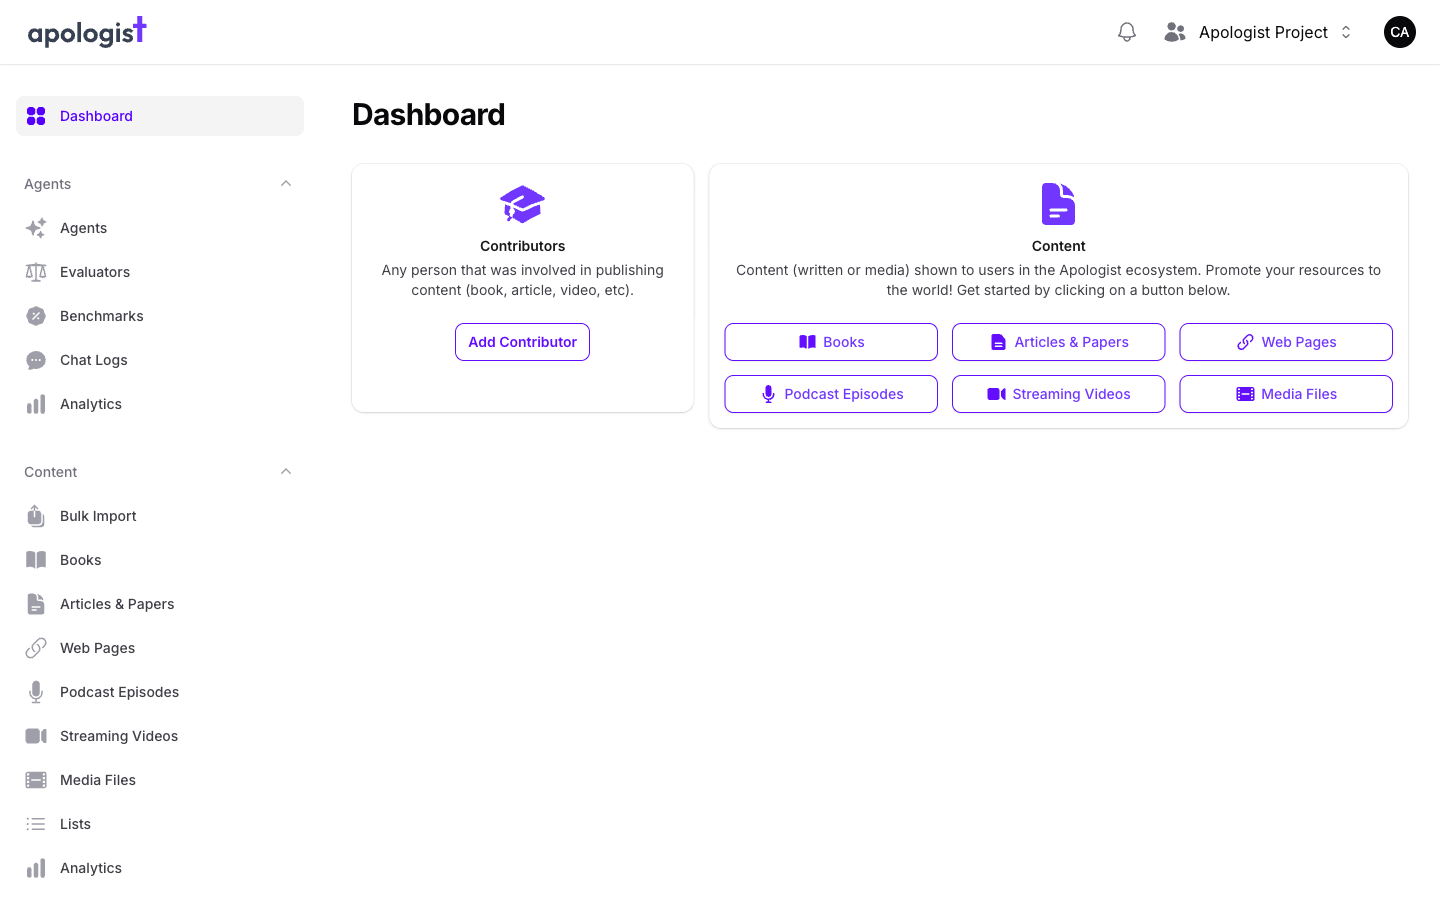
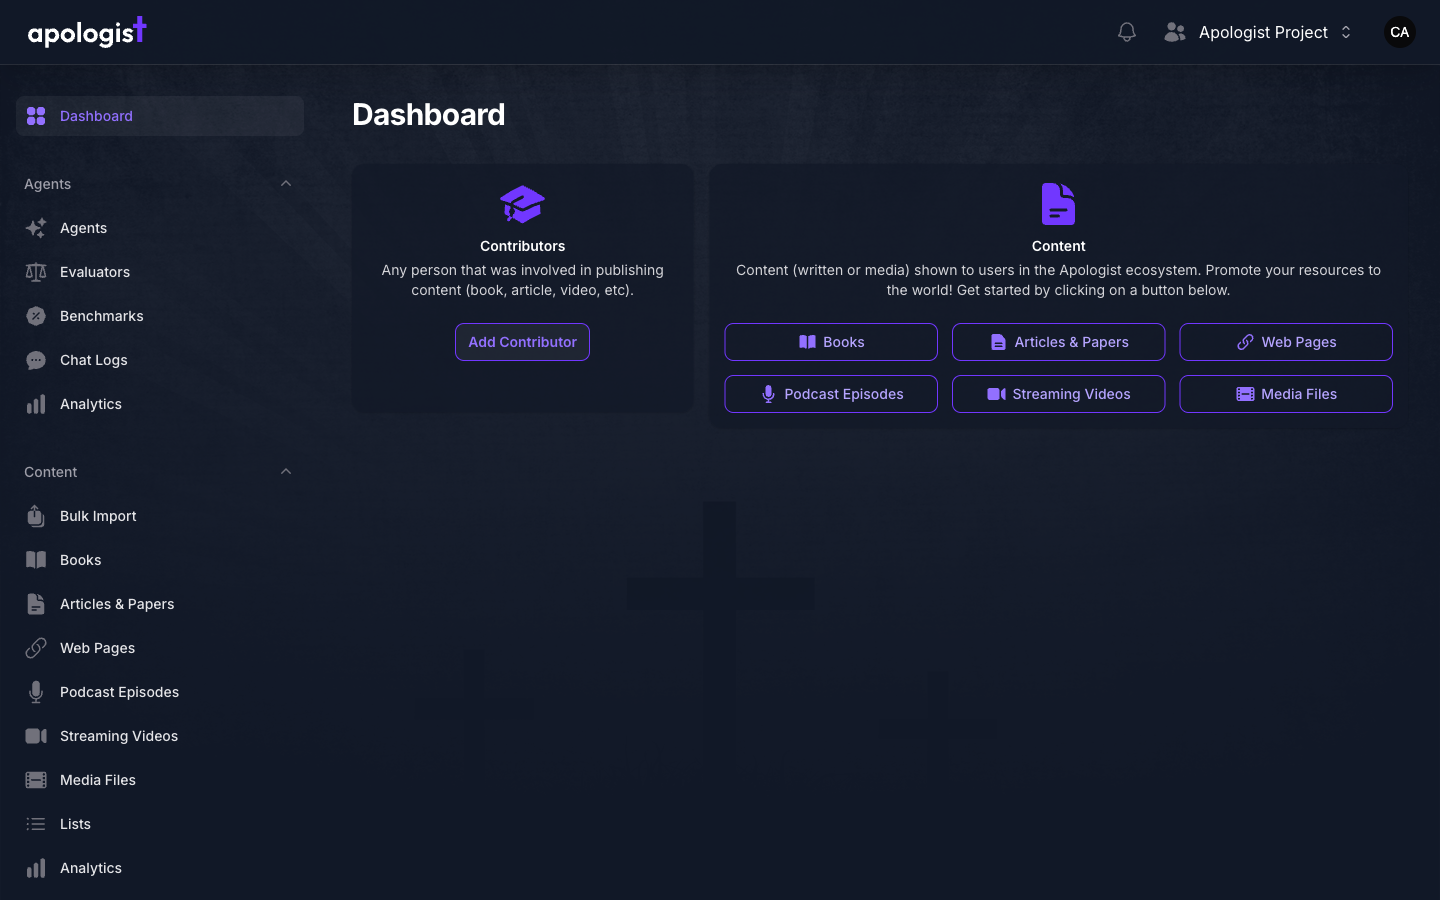
Once you’re on a team, signing in lands you on the Console Dashboard, with Agents, Content, and other sections available in the left-hand navigation.
Name the Agent
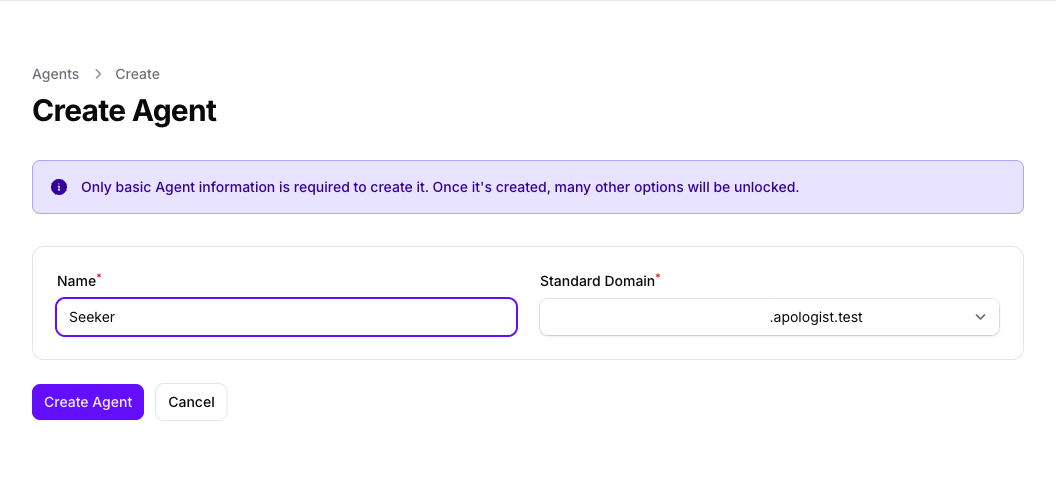
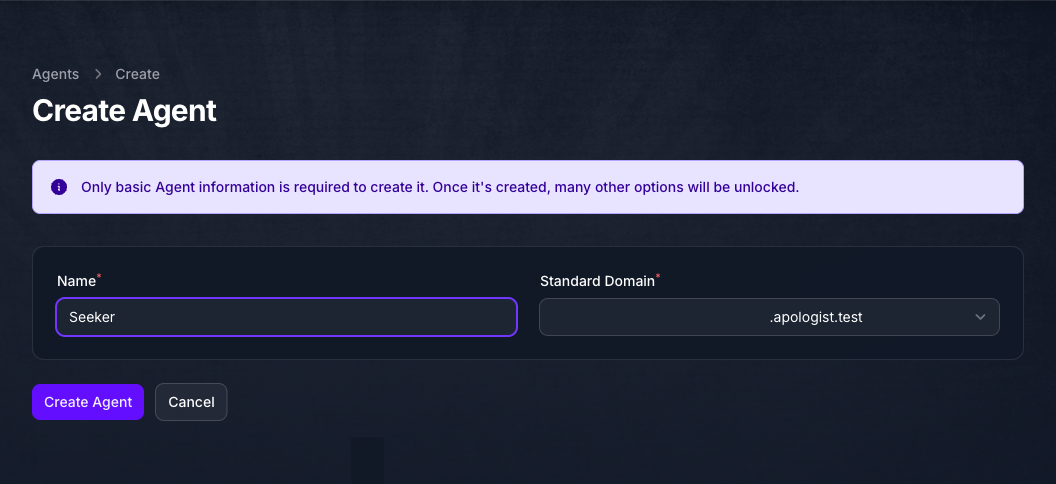
Enter a Name for the Agent. This identifies it throughout Console and can be changed later.
Choose the Standard Domain
Under Standard Domain, type a subdomain in the left field and pick a root domain from the list on the right. Together they form the Agent’s address, for example yourministry.apologist.bot. This becomes the Agent’s live URL once it’s created.
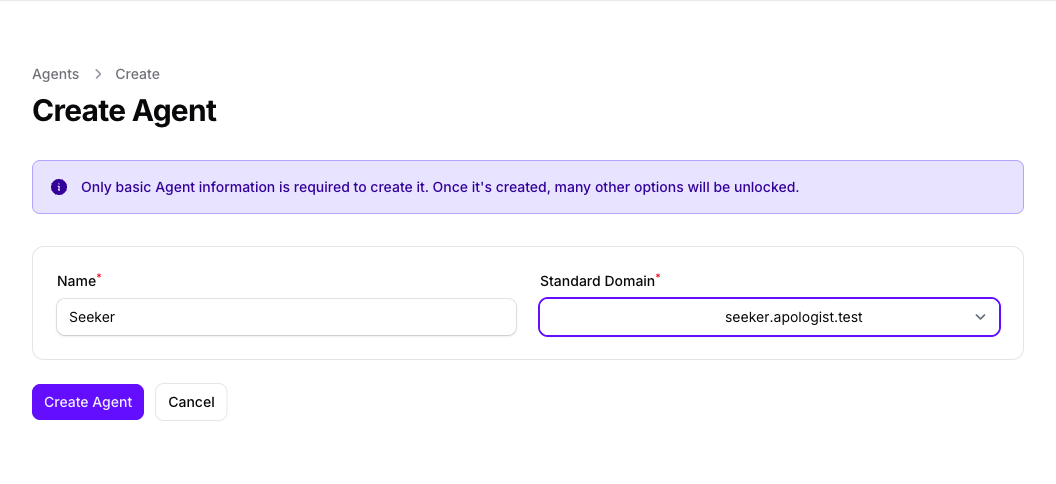
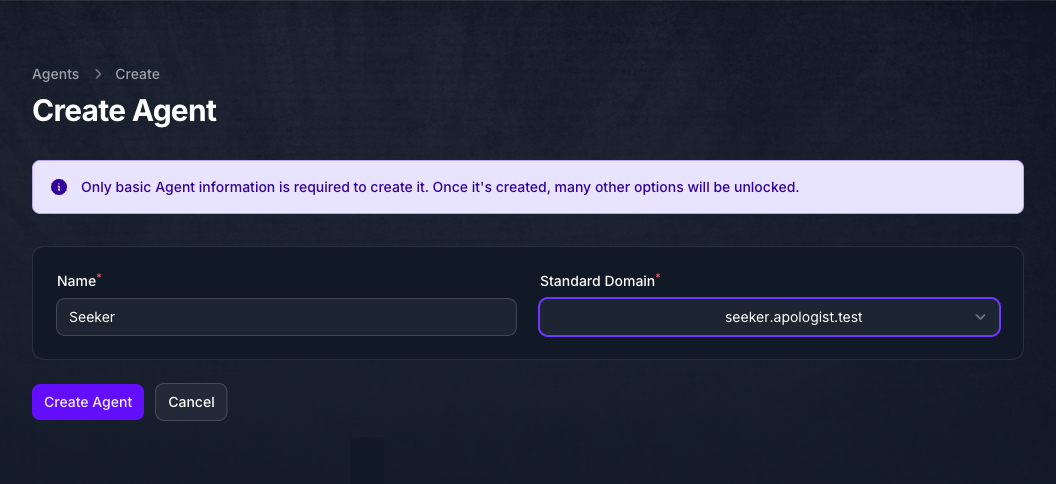
You can edit both the subdomain and root domain later from the Agent settings.
Create the Agent
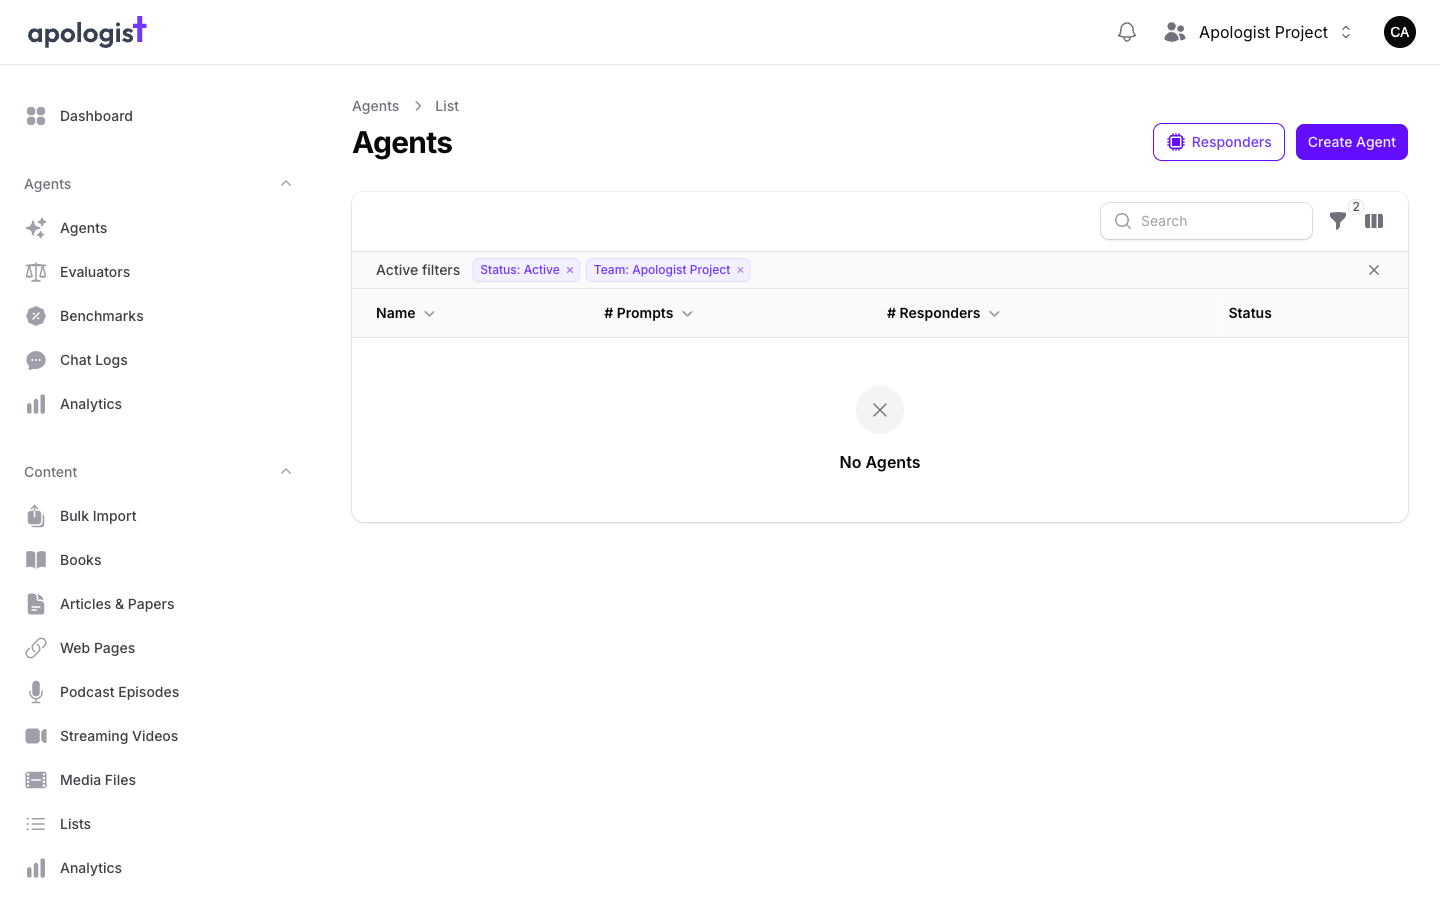
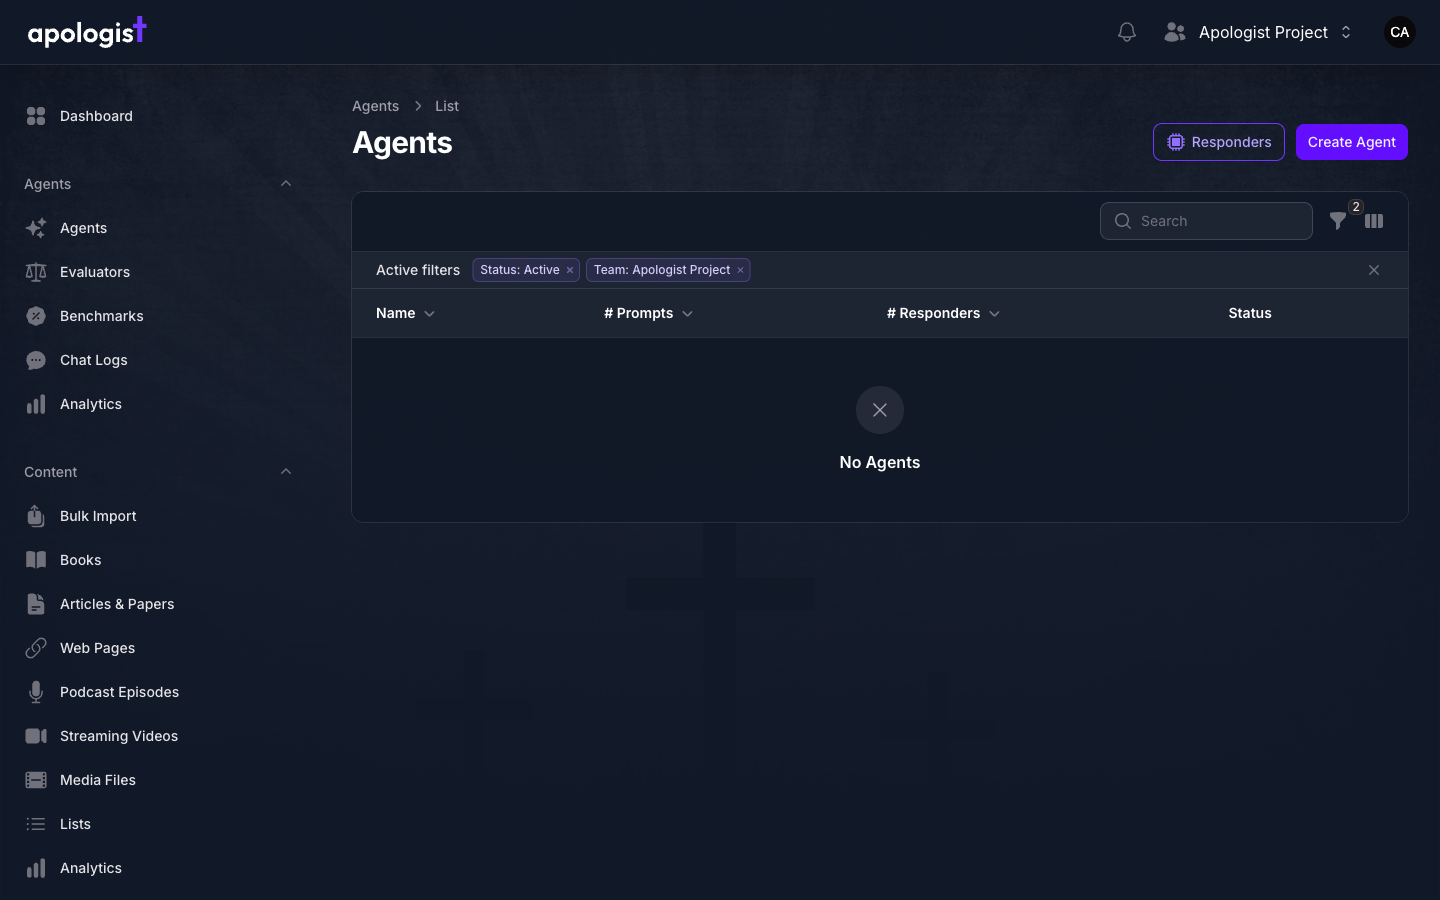
Select Create Agent. As the form notes, only basic Agent information is required to create it. Once it exists, the rest of Console’s configuration options unlock for that Agent.
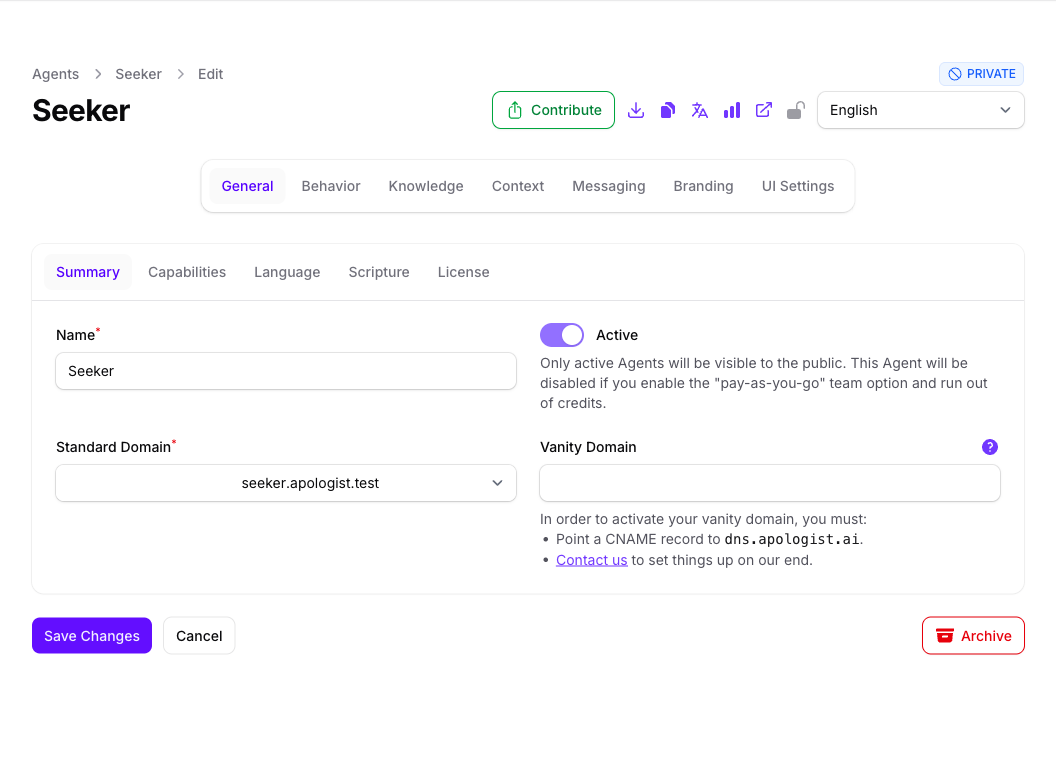
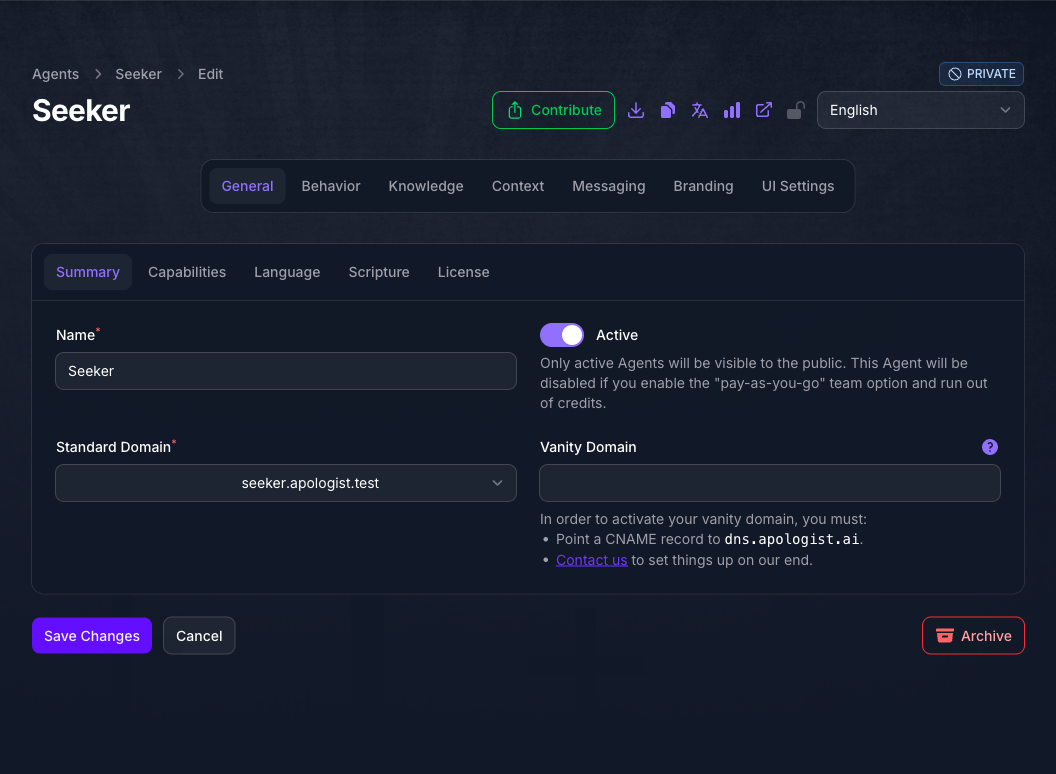
Console opens the new Agent on its General page. Select the Summary tab to confirm the Agent’s name and the Standard Domain it was published to.
Expected Result
The Agent is live at its own URL. Open the Standard Domain shown on the Summary tab (for example, https://yourministry.apologist.bot) to see it running.
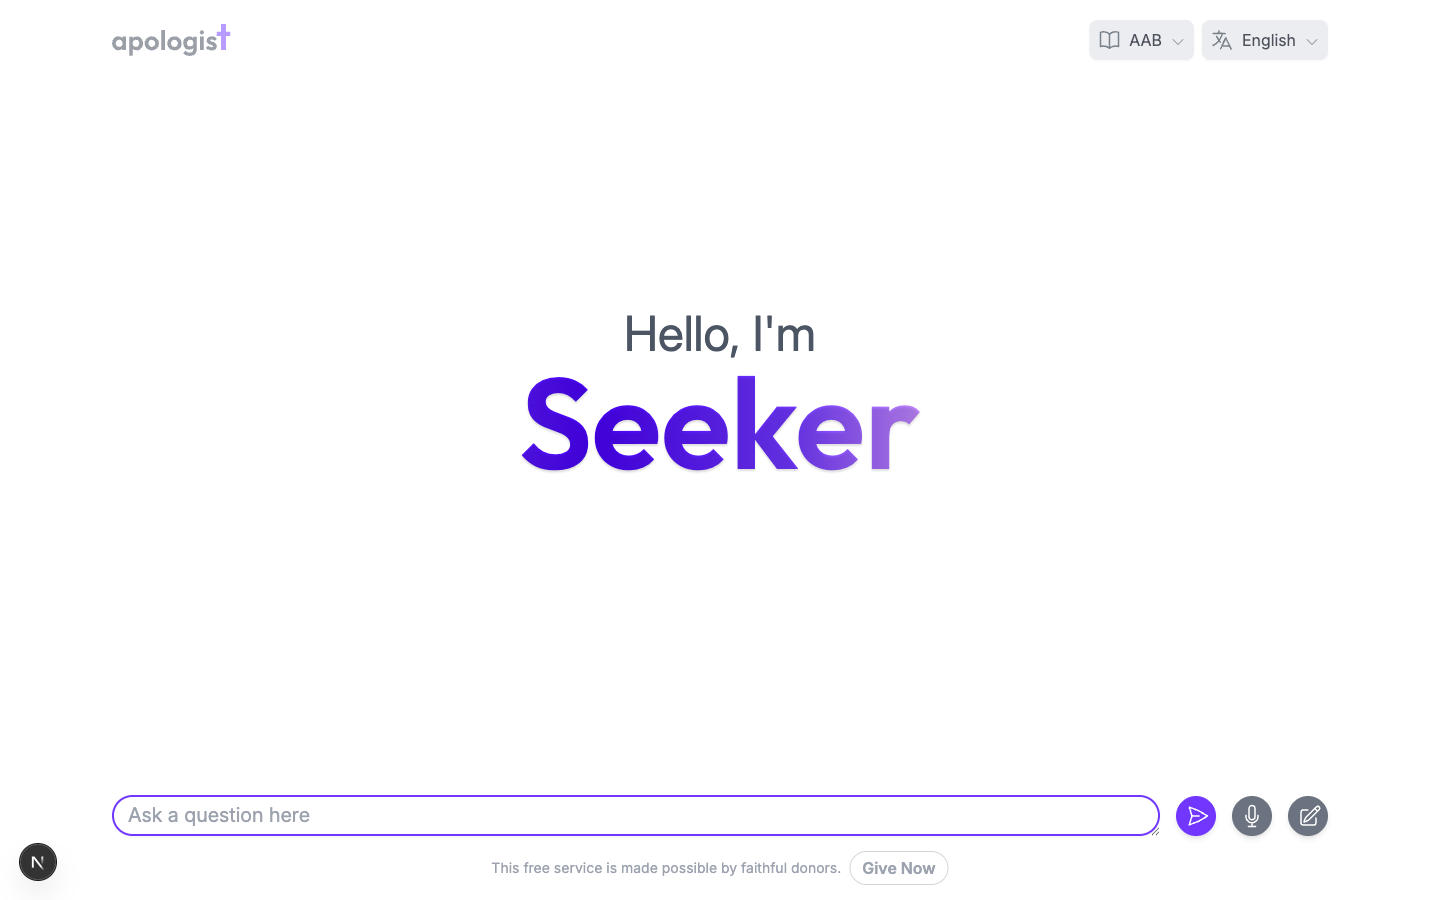
The greeting picks up the Name you gave the Agent, so a new Agent opens with “Hello, I’m your Agent’s name”. Everything else on the page, including branding, colors, and intro text, is still the default. Branding replaces those defaults with your own.
Troubleshooting
- Subdomain is already taken. Choose a different subdomain. Subdomains must be unique across all Agents on the platform.
- Root domain isn’t available to select. Some root domains may be limited by your team’s plan. Confirm your subscription tier if the domain you expect doesn’t appear in the list.
- Create Agent is disabled or missing. You may not have permission to create Agents for your team. Confirm your role with a team administrator.
- Signing in opens Agent instead of Console. Your account isn’t on a team yet. Ask an Apologist AI administrator to create your team or invite you to an existing one, then sign in again.
Next Step
Continue to Branding to replace the Agent’s default greeting, logo, and colors with your own.